

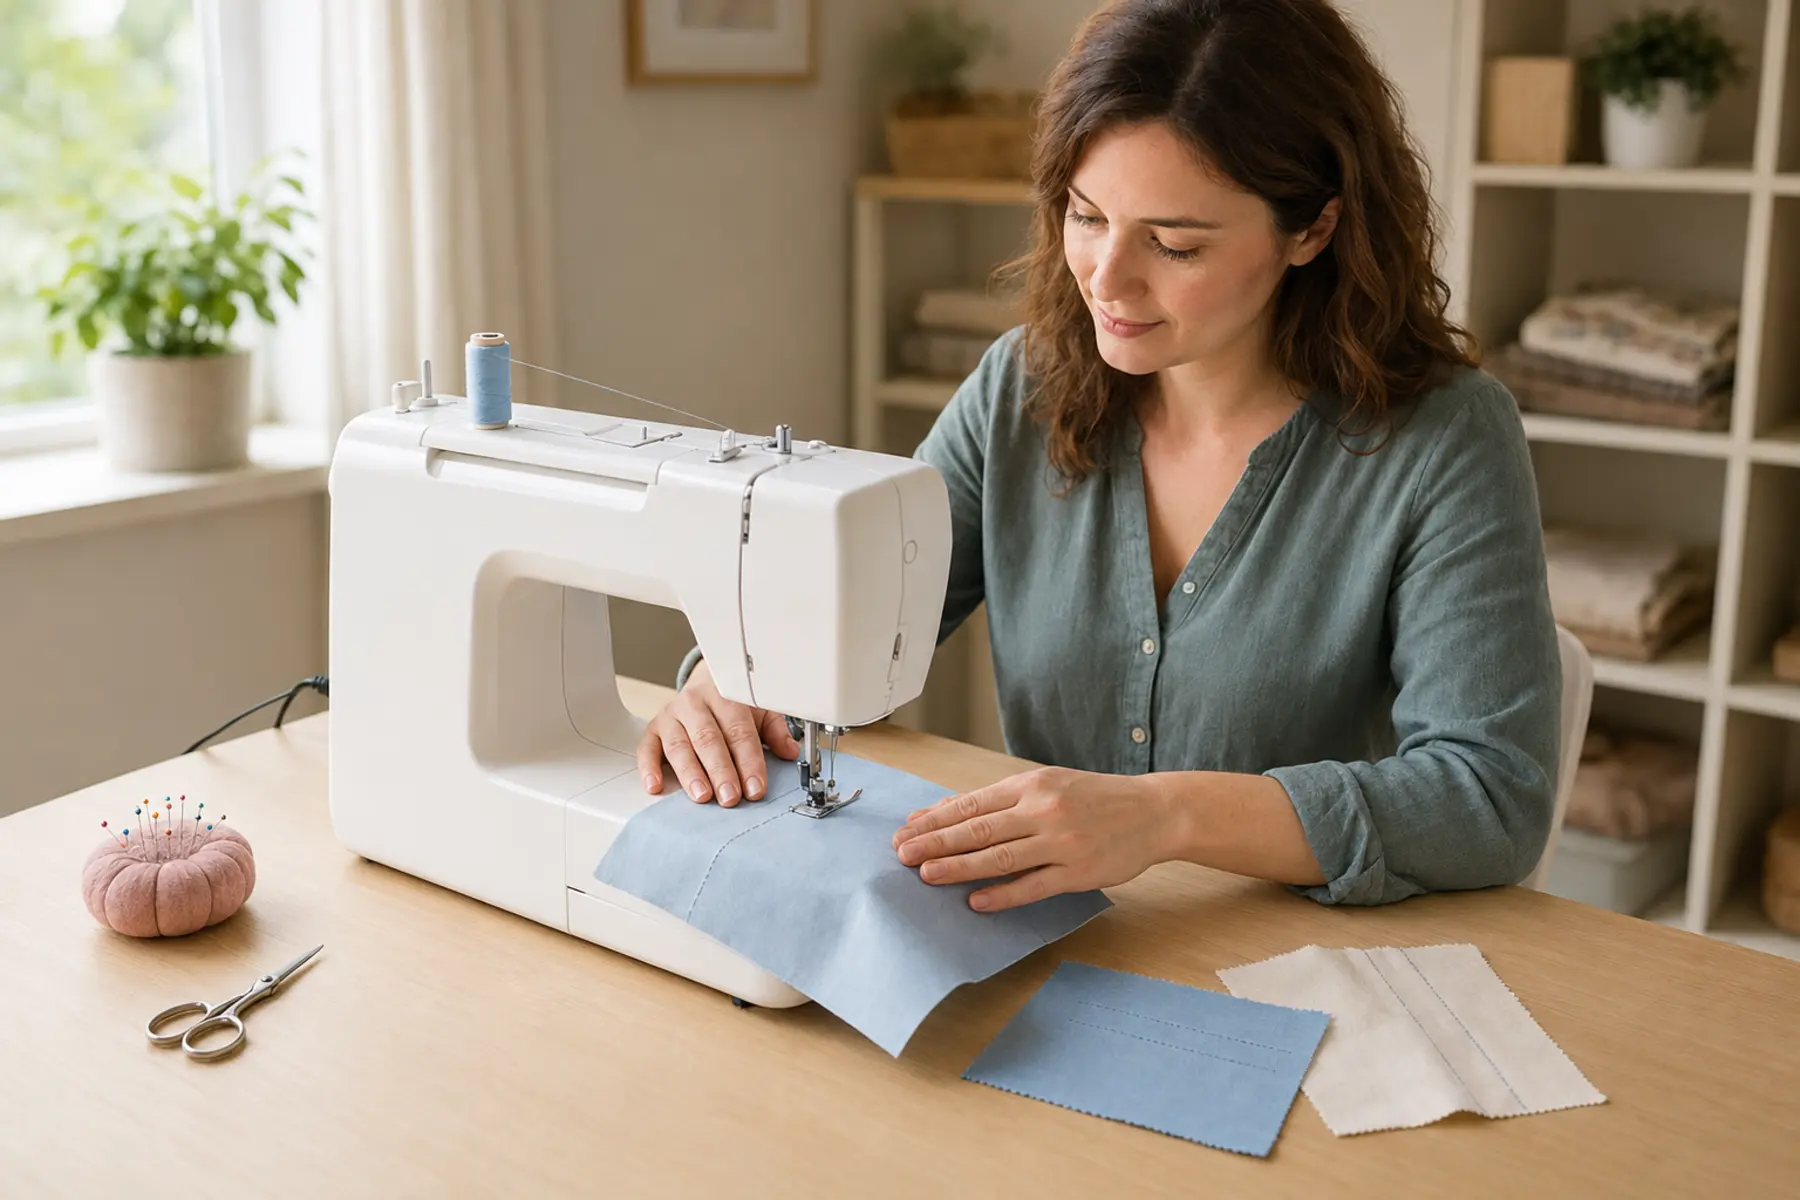
A beginner does not need every decorative stitch, accessory, or advanced setting on the first day. You need a correctly set up machine, a suitable needle and thread, stable practice fabric, a basic straight stitch, and a repeatable sequence for starting and stopping.
This guide assumes the machine is in working condition. Before sewing, complete the main sewing machine setup, learn the key controls in the sewing machine parts guide, thread the upper path correctly, and install a properly wound bobbin.
1. Complete the safety and setup checks before switching on
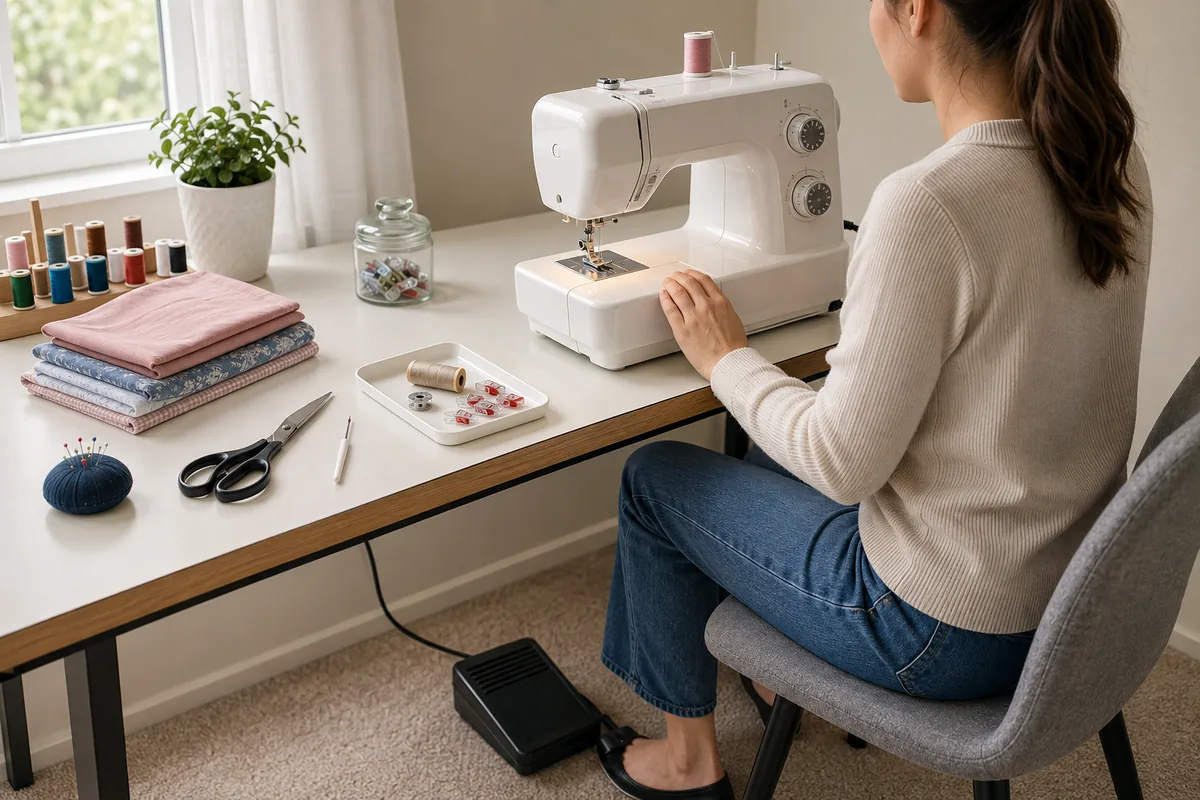
Place the machine on a stable table with enough room for the fabric to rest without dragging. Position the foot controller where your foot can press it comfortably without stretching. Keep the power cord away from chair legs and the moving handwheel.
With the machine switched off, check that the needle is straight, fully inserted, and tightened. Confirm that the presser foot is attached securely and that the needle can pass through its opening for the selected stitch. Remove pins, loose tools, and thread scraps from the needle area.
Review the controls explained in Basic Sewing Machine Tips for Beginners before using unfamiliar buttons, dials, or automatic functions.
2. Choose easy materials for the first test seam
Use two layers of stable, medium-weight woven cotton. Quilting cotton, plain calico, or a similar non-stretch fabric is easier to control than jersey, satin, chiffon, denim, or several bulky layers.
Use a general-purpose sewing thread in both the needle and bobbin. Install a fresh universal needle in a size suitable for the fabric. Use the standard zigzag or all-purpose presser foot supplied with the machine.
Cut a practice rectangle large enough to sew several lines. Draw straight guide lines with a removable fabric marker, or plan to align the fabric edge with the seam-guide markings on the needle plate.
3. Confirm the upper thread and bobbin before sewing
Thread the machine with the presser foot raised so the upper thread can enter the tension discs. Raise the needle and take-up lever to the position specified by the manual. Follow the complete sequence in How to Thread a Sewing Machine Correctly.
Check that the bobbin is the correct type, wound evenly, inserted in the model-specific direction, and seated in its tension path. The full process is covered in How to Wind and Insert a Bobbin Correctly.
Bring up the bobbin thread when your machine requires it. Place both thread tails under the presser foot and toward the back, leaving enough length that they cannot be pulled immediately into the needle plate.
4. Select safe beginner settings
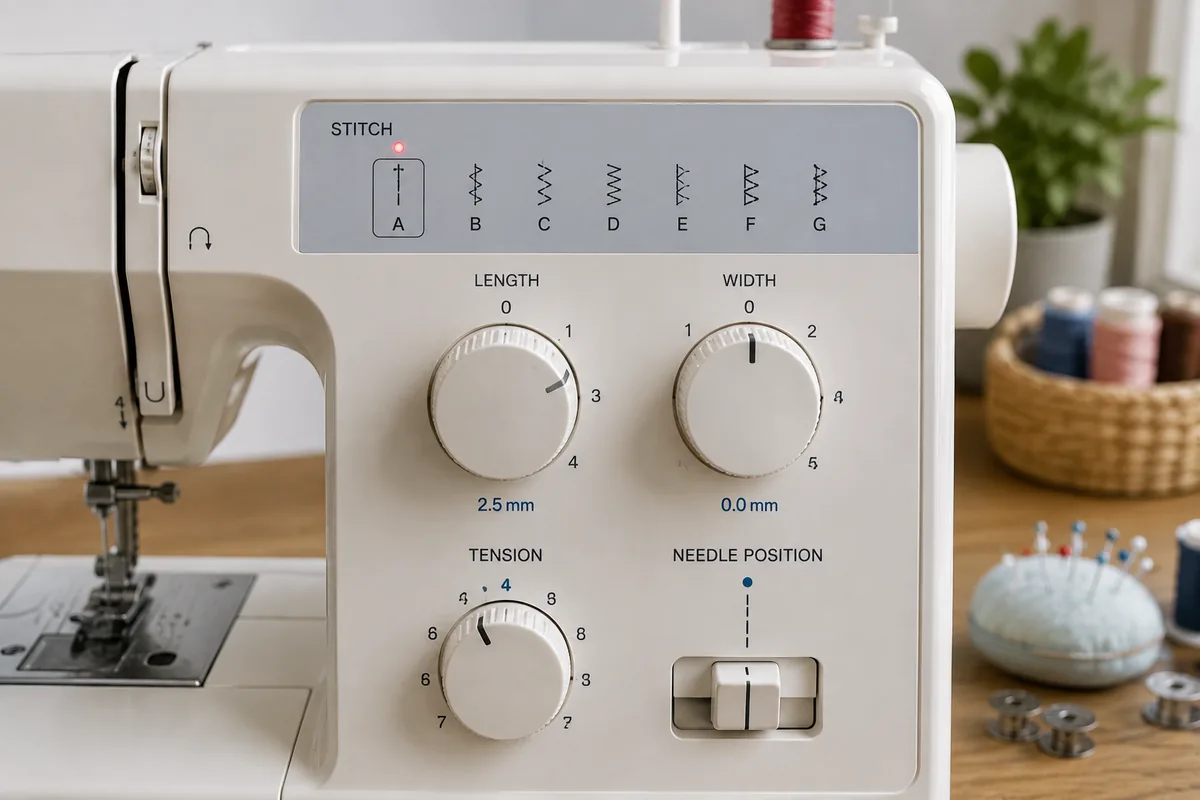
Select a centred straight stitch. Set a medium stitch length, commonly around 2.5 mm on many domestic machines, unless the manual uses a different scale.
Keep stitch width at zero for a straight stitch. Use the standard needle position unless the seam guide or presser foot requires another position. Leave upper tension at the normal default setting rather than adjusting it before testing.
5. Position the fabric under the presser foot
Raise the presser foot. Place the fabric so the starting point sits slightly behind the needle and the fabric edge aligns with the desired seam allowance guide.
Turn the handwheel toward you to lower the needle into the fabric at the exact starting point when the machine manual recommends this. Lowering the needle first helps anchor the fabric and is especially useful near an edge or corner.
Lower the presser foot before sewing. A raised presser foot leaves the fabric uncontrolled and may leave the upper tension discs open, causing large loops or thread nesting underneath.
6. Start the first seam slowly
Hold the thread tails gently behind the presser foot for the first few stitches when your model requires it. Do not pull them tight. Their purpose is only to prevent loose tails from being drawn into the needle plate.
Press the foot controller gradually. Learn how little pressure is needed to start. On a computerized model, set the speed slider low before using the start-stop button or pedal.
Sew two or three stitches forward. To secure the seam, use the reverse stitch control for two or three stitches, then continue forward. Machines with an automatic lock-stitch or reinforcement button may secure the seam differently.
7. Guide the fabric without pulling it
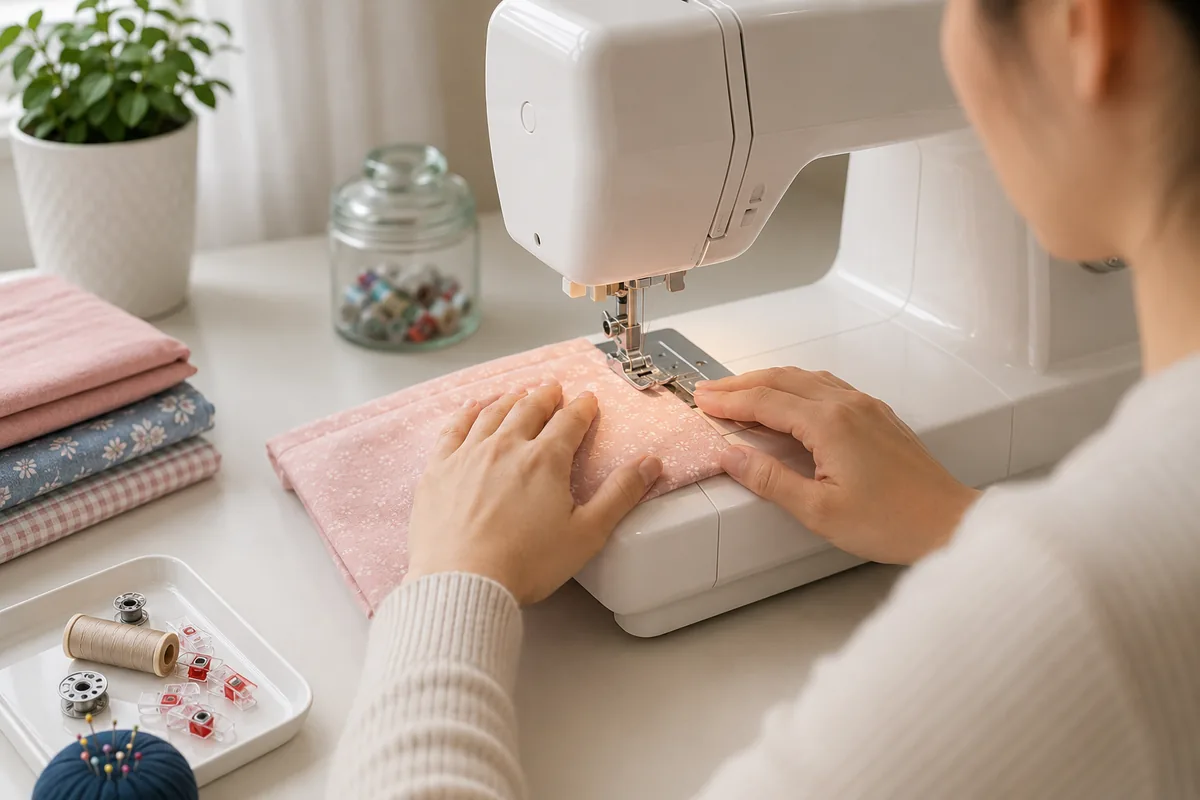
Rest your hands lightly on either side of the fabric. Watch the seam guide and fabric edge rather than staring directly at the needle. This wider view makes it easier to keep a consistent line.
The feed dogs should move the fabric. Your hands keep the fabric aligned and prevent its weight from pulling sideways. Do not push from the front or pull from behind.
Support large pieces on the table so they do not hang. If the fabric begins drifting, slow down and make a small gradual correction instead of turning it sharply while the needle is moving.
8. Learn speed control before trying to sew fast
A steady slow speed produces better control than repeatedly pressing and releasing the pedal. Keep the heel of your foot supported and use the front of the foot to change pressure gradually.
Computerized machines may provide a speed-limiting slider. Set it low during practice. The slider limits the maximum speed, while the foot controller still controls acceleration within that range.
Stop sewing if you hear knocking, grinding, repeated clicking, or a sudden change in motor sound. Do not continue pressing the pedal against resistance.
9. Turn a corner without losing the seam position
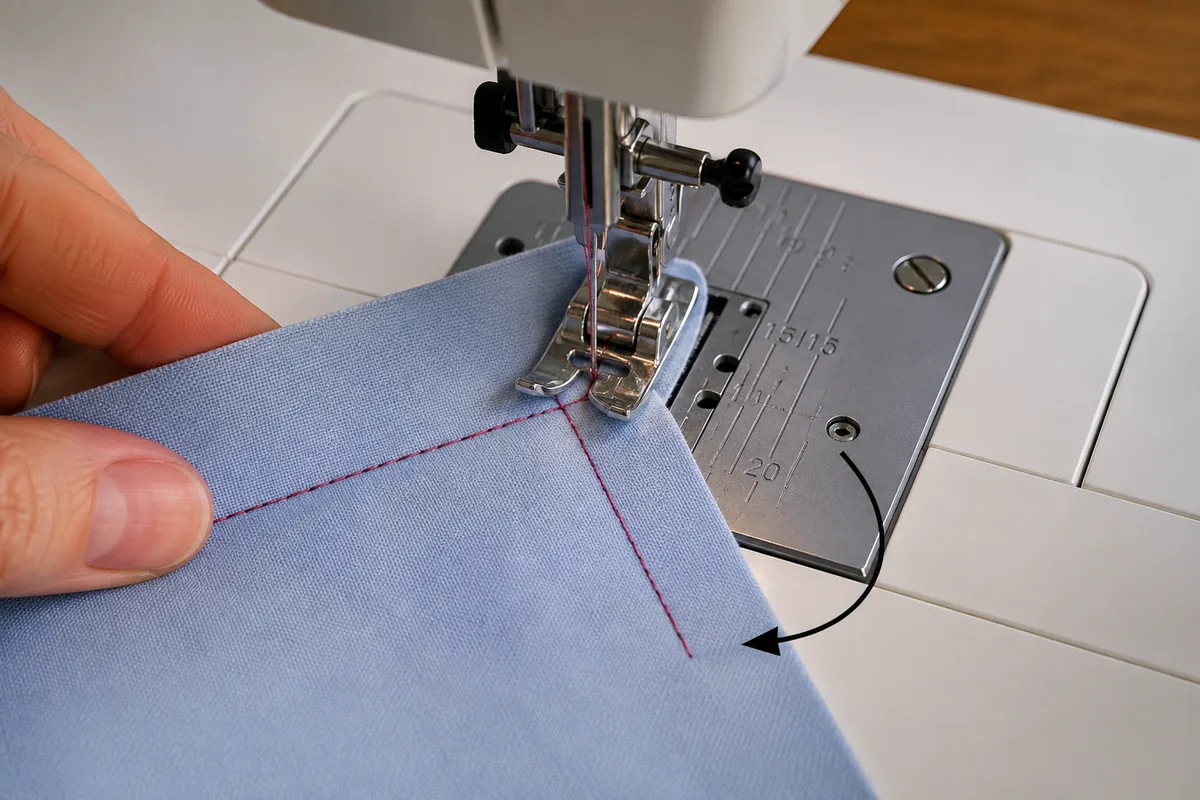
Stop at the corner with the needle down in the fabric. Raise the presser foot while leaving the needle inserted. Rotate the fabric around the needle until the next edge aligns with the seam guide.
Lower the presser foot and continue sewing. On computerized machines, a programmable needle-down setting can make this easier. On mechanical models, turn the handwheel toward you to position the needle manually.
Do not rotate the fabric with the needle raised unless the project specifically requires it. The seam can shift and leave an open or uneven corner.
10. Finish and remove the fabric correctly
Near the end, slow down and stop at the intended point. Secure the seam with two or three reverse stitches or the machine’s lock-stitch function.
Raise the needle fully. Raise the presser foot and pull the fabric gently toward the back or side in the direction recommended by the manual. Cut the threads with the built-in cutter or scissors, leaving enough tail for the next seam.
Do not pull the fabric while the needle is still down. Do not force the thread if the fabric will not release. Raise the take-up lever and needle fully, then check for a snag.
11. Evaluate the first seam
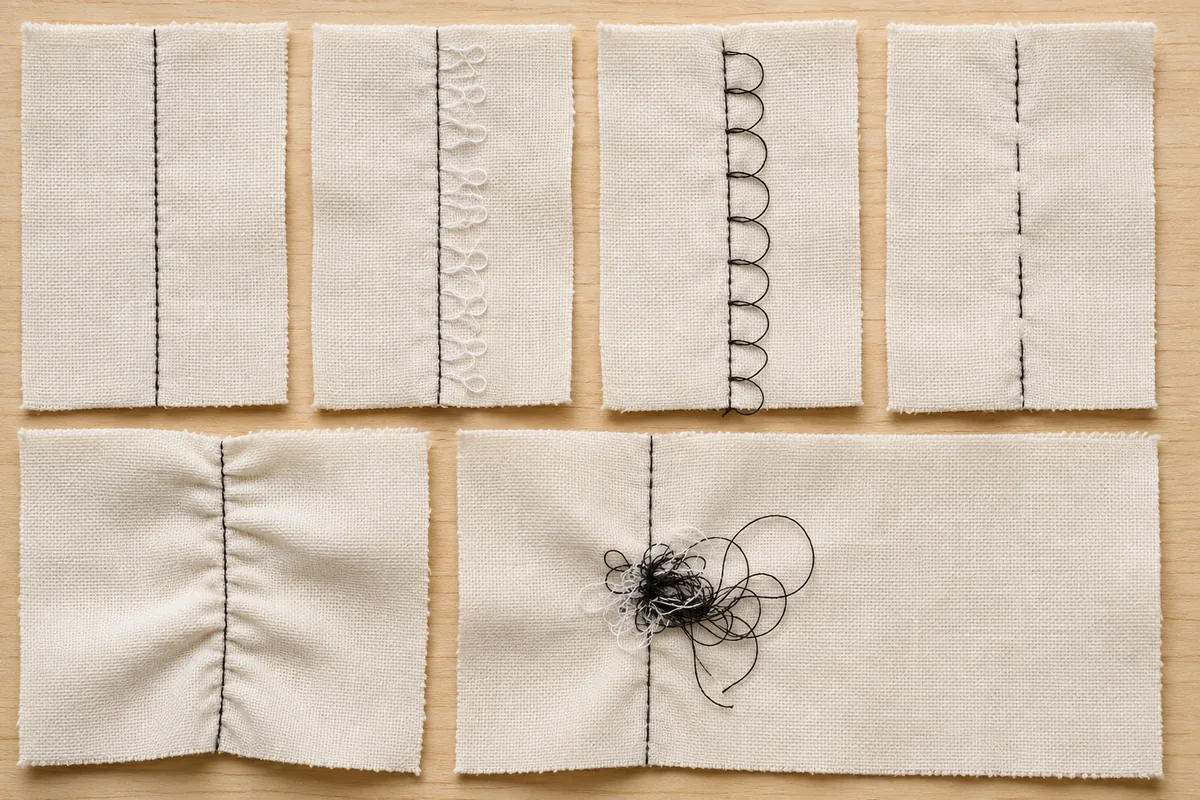
Look at both sides. The stitch line should be reasonably straight, the fabric should lie flat, and the upper and bobbin threads should lock within the fabric rather than forming obvious loops on either surface.
For repeated skipped stitches, jams, broken needles, or feeding problems, continue with the main sewing machine troubleshooting guide.
12. Avoid the most common first-time mistakes
Sewing before lowering the presser foot
Starting with stretch, slippery, or very thick fabric
Pulling the fabric instead of guiding it
Changing tension before checking threading
Using a bent, dull, or incorrectly inserted needle
Leaving the machine in bobbin-winding mode
Using zigzag with a straight-stitch needle plate
Sewing over pins or forcing bulky seams
Removing fabric while the needle is still down
13. Use a simple practice plan
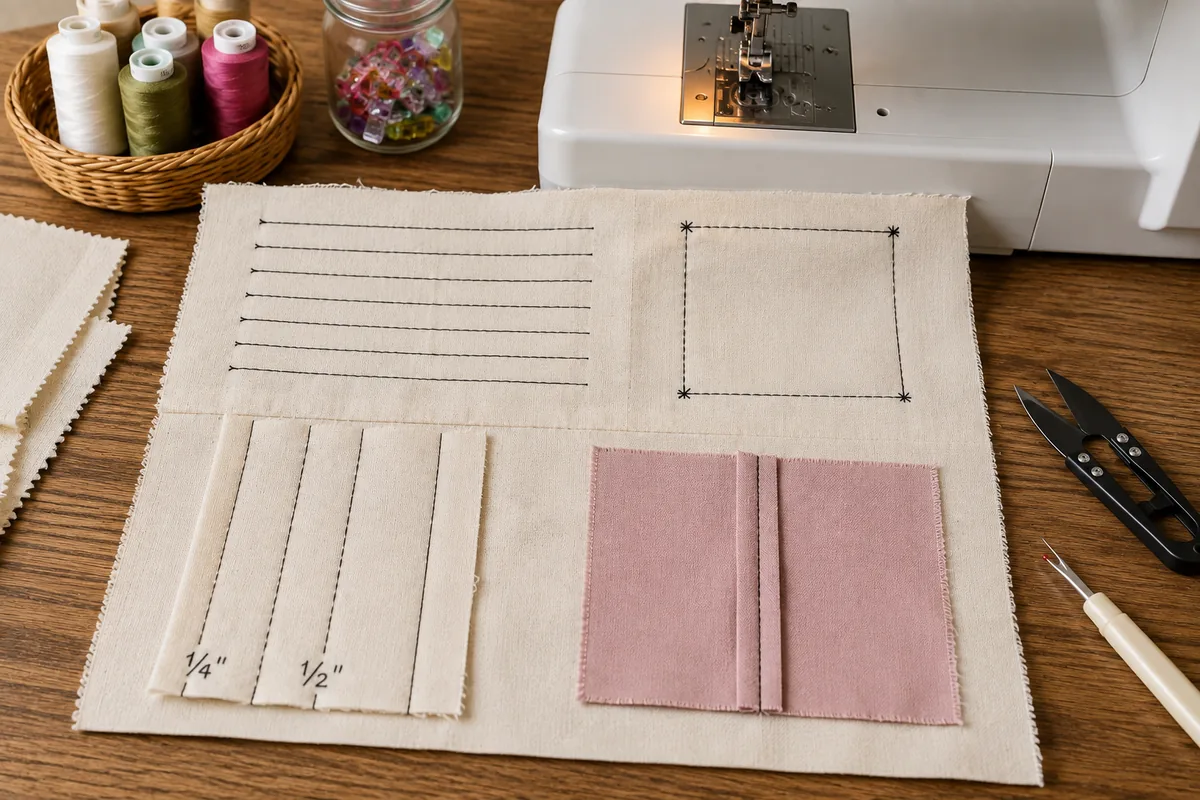
First, sew several parallel straight lines while following a marked guide. Next, practise starting and stopping at exact points. Then sew a square, stopping with the needle down at each corner.
After that, practise two different seam allowances using the needle-plate markings. Finish by sewing two fabric pieces together, securing both ends, pressing the seam, and examining both sides.
Repeat these exercises before moving to curves, stretch fabrics, zippers, buttonholes, or bulky layers. Control becomes automatic through repetition, not by increasing speed.
14. Complete first-use checklist
The machine is stable, powered correctly, and clear of loose objects
The needle is fresh, suitable, fully inserted, and tightened
The standard presser foot is attached and lowered before sewing
The upper thread follows every guide and the take-up lever
The bobbin is correct, evenly wound, and inserted properly
A centred straight stitch and medium stitch length are selected
The practice fabric is stable woven cotton in two layers
The fabric is aligned with a seam guide
The seam is started slowly and secured correctly
The fabric is guided, not pushed or pulled
The needle is fully raised before removing the fabric
Both sides of the test seam are checked before changing settings
Frequently Asked Questions
Using a sewing machine for the first time
What stitch should a beginner use first?
Start with a centred straight stitch, a medium stitch length, and the standard presser foot on two layers of stable woven cotton. This setup makes it easier to see whether the machine is threaded and feeding correctly.
Should I hold the thread tails when I start sewing?
On many machines, holding both thread tails gently behind the presser foot for the first few stitches helps prevent them from being pulled into the needle plate. Some quick-set systems manage the lower thread differently, so follow the model manual.
Why should I not pull the fabric?
The feed dogs are designed to move the fabric. Pulling can bend the needle, distort stitch length, shift layers, and in severe cases affect timing.
How do I secure the beginning and end of a seam?
Use a few reverse stitches or the machine’s lock-stitch function, unless the project instructions require a different method. Avoid repeatedly sewing back and forth over a large area because this creates bulk.
What should I do if the first seam looks wrong?
Stop, remove the fabric safely, check the needle, rethread the upper path with the presser foot raised, verify the bobbin, return to a basic straight stitch, and test again on scrap fabric before changing tension.
Your first goal is a controlled seam, not a perfect project
A successful first session means the machine is threaded correctly, the fabric feeds without force, the seam stays close to the guide, and you can start, stop, turn, and remove the fabric safely.
Once those actions feel predictable, the rest of sewing becomes a series of manageable skills rather than one overwhelming process.