

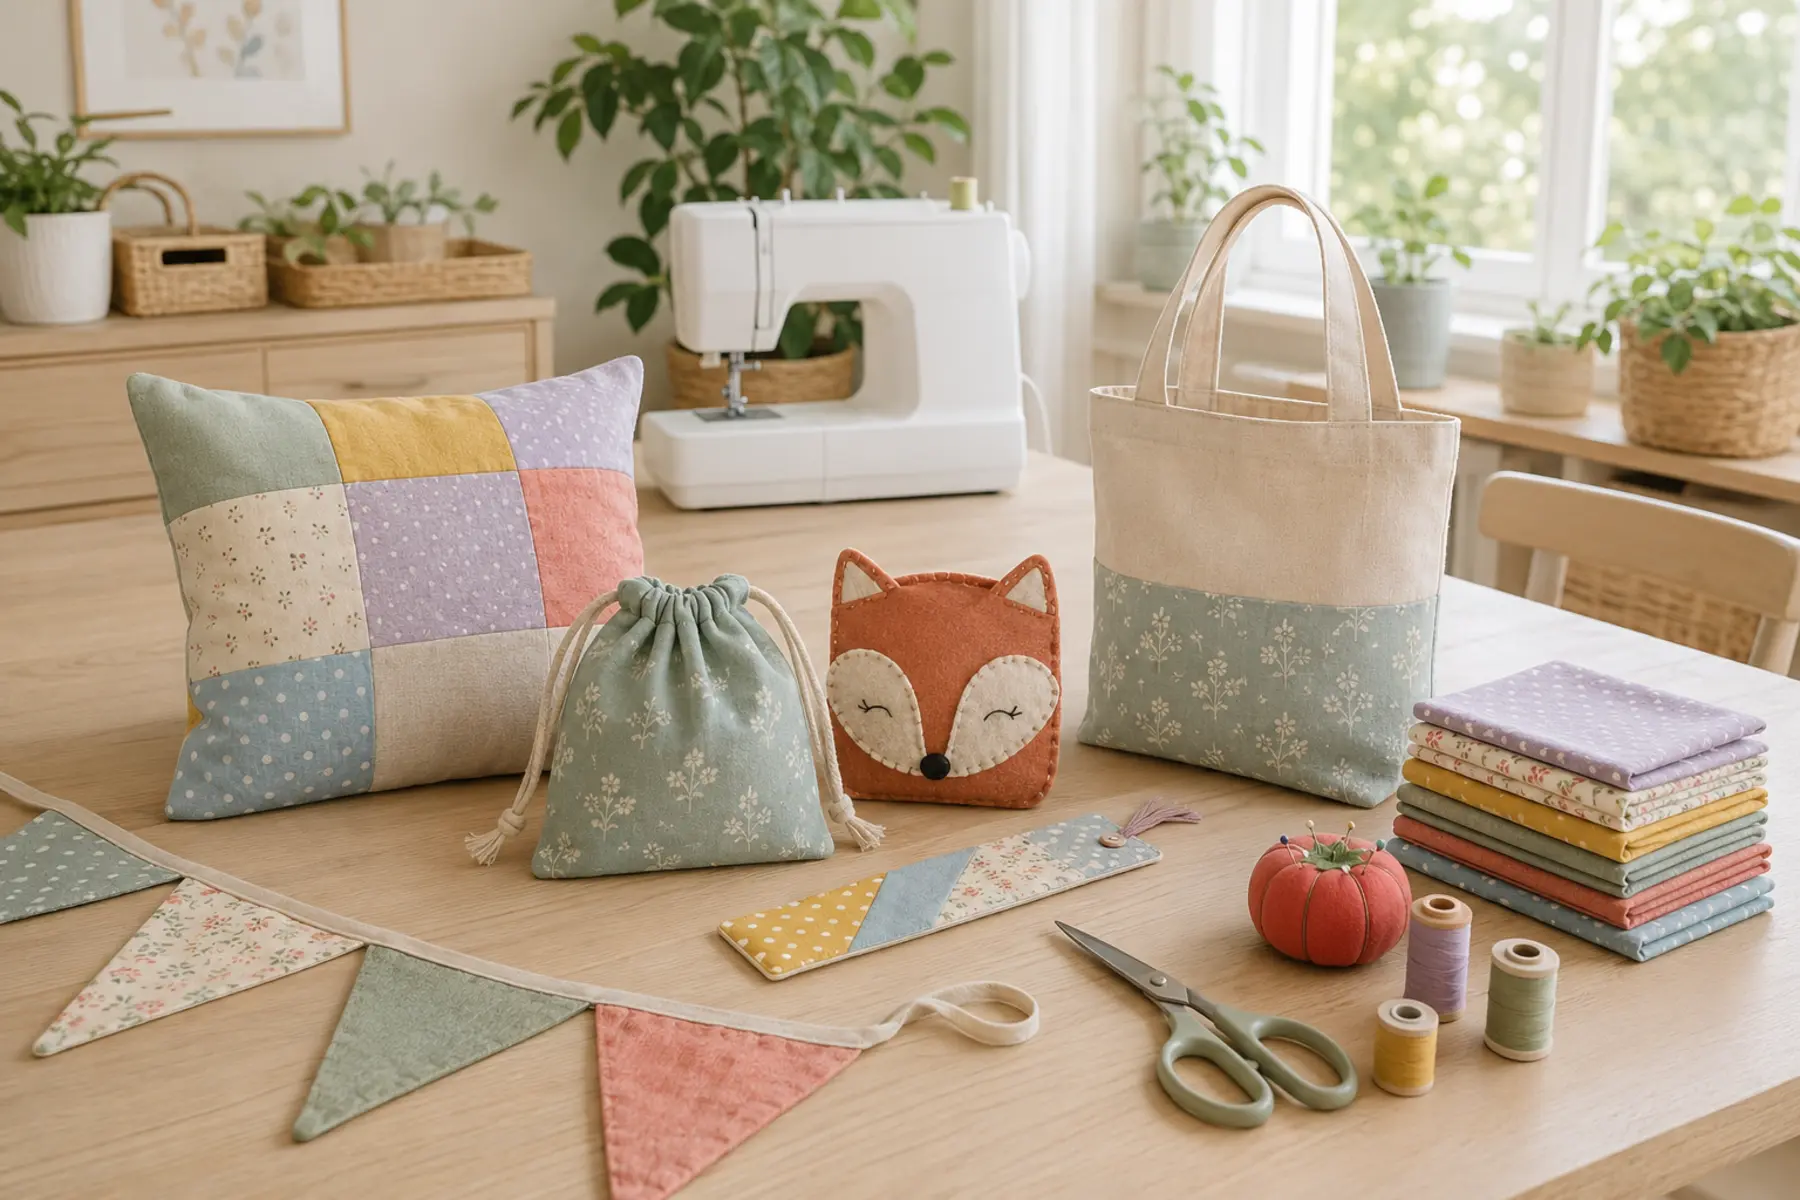
A successful first project lets a child make recognisable progress without struggling with slippery fabric, tiny seam allowances, difficult curves, or too many separate pieces. Stable materials and short construction sequences make it easier to concentrate on hand placement, stitch control, and accuracy.
This guide helps you choose and adapt projects. It does not determine whether a child is ready to operate a powered machine. Use the separate guide to assess what age a child can use a sewing machine safely, and keep an adult responsible for the tools and steps the child is not yet prepared to manage.
Choose a project by readiness, not age alone
Age ranges can suggest a starting point, but they should not be treated as fixed levels. A child who already draws, builds models, knits, or completes detailed crafts may manage fabric placement more easily. Another child may need more time with lacing, marking, and hand sewing before using a machine.
Move to the next level only when the current skills are predictable. A child does not need to complete every easy project before progressing, but they should be able to control the tools and understand the construction step they are about to perform.
Should the project use hand sewing or a machine?
Hand sewing makes the stitch formation visible and gives the child time to stop between movements. It is particularly useful for learning how a needle enters and leaves the fabric, how thread tension affects puckering, and why a knot or finishing stitch is needed.
Machine sewing allows the child to join longer seams and complete a functional item sooner, but the project should be selected only after the child can operate the machine safely under supervision. The first machine project should not introduce a zipper, elastic casing, curve, lining, and several layers at the same time.
Use materials that make learning easier
Start with felt or stable cotton
Craft felt is easy to cut into clear shapes and does not require raw-edge finishing. Stable woven cotton, including quilting cotton, is suitable for early machine projects because it lies flat, accepts markings, and feeds more predictably than stretch or slippery fabric.
Make the pieces large enough to control
Tiny projects can be harder than medium-sized ones. Small pieces place fingers closer to the needle and leave little room for guiding or correcting. Enlarge a pattern when needed and use a wider seam allowance that the child can see clearly.
Use visible markings
Draw the stitch line, stopping points, turning points, and opening directly on the practice material with a removable fabric marker. Clear visual instructions reduce the need to correct the child while the needle is moving.
Use clips where pins create difficulty
Fabric clips can be easier to see and remove than pins, particularly around felt and simple cotton pieces. You can compare sewing clips for fabric on Amazon, but keep loose clips away from very young children and remove each clip before it reaches the presser foot.
Easy hand-sewing projects for kids
Felt bookmark
Cut one long felt rectangle and mark a straight stitch line around its edge. The child can use a blunt tapestry needle and embroidery thread to practise an evenly spaced running stitch. Add a pre-cut felt shape at one end only after the border is complete.
Skills: threading direction, running stitch, spacing, and finishing a thread.
Running-stitch practice card
Draw straight lines, a gentle wave, a square, and a wide spiral on firm felt or a pre-punched card. The goal is to follow the path rather than create a finished object. Use contrasting thread so the child can see how the stitch appears on both sides.
Skills: following a line, changing direction, and controlling thread tension.
Simple felt pouch
Fold a felt rectangle in half and stitch the two sides, leaving the top open. The child can use a running stitch or an overcast stitch around the edges. Avoid buttons and snaps on the first version, then add a simple flap once the basic pouch is successful.
Skills: joining two layers, keeping edges aligned, and understanding an opening.
Stuffed felt shape
Prepare two matching large shapes, such as a heart, star, cloud, or animal outline. Stitch most of the edge, add a small amount of stuffing, and close the remaining gap. Avoid narrow points that are difficult to fill or turn.
Skills: sewing around a shape, leaving a gap, stuffing lightly, and closing the seam.
Beginner sewing-machine projects for kids
Before beginning a project, the child should be able to sew a straight line, stop at a marked point, keep hands in the agreed safe area, and remove their foot from the controller immediately when asked. Use straight-line sewing practice when those movements are not yet consistent.
Fabric coaster
Use two equal cotton squares and a layer of light batting if the machine can handle the stack comfortably. Sew around the shape while leaving an opening, turn it right side out, and topstitch near the edge. An adult can trim corners before turning.
Skills: seam allowance, stopping, turning corners, and topstitching.
Small square pillow
Cut two medium cotton squares and mark the seam line and turning opening. Sew four straight sides with clear stopping points at the corners. The adult can help clip corners, control the stuffing, and hand-close the final opening if necessary.
Skills: four connected seams, pivoting, turning, filling, and closing.
Fabric bunting
Begin with square or rectangular flags instead of narrow triangles. Hem or finish the visible edges, arrange the pieces in order, and attach them to prepared tape. The repeated construction helps the child practise one seam several times without making the project feel like an exercise sheet.
Skills: repetition, edge finishing, spacing, and working in sequence.
Drawstring bag
A basic drawstring bag uses two rectangles, side and bottom seams, and a top casing. Prepare or press the casing before the child sews it if handling a narrow folded edge would introduce too many skills. Use a bodkin or safety pin to insert the cord under adult supervision.
Skills: seam order, parallel stitching, creating a channel, and inserting a drawstring.
Simple tote bag
Use sturdy woven cotton without heavy interfacing. Start with two rectangles and prepared webbing or fabric handles. The child can sew the main side and bottom seams while the adult helps position and reinforce the handles.
Skills: longer seams, matching pieces, handle placement, and basic reinforcement.
Elasticated scrunchie
A scrunchie is small but introduces a tube, elastic, and a closing step, so it works better after the child has completed a flat project. Use a wider fabric strip and a manageable length of elastic. The adult can secure the elastic and close the final opening if needed.
Skills: sewing a tube, turning, inserting elastic, and closing an opening.
Build a sewing-project progression
Projects become difficult for different reasons. A smaller item is not always easier, and a familiar-looking item may contain several advanced steps. Progress by changing one construction demand at a time.
What should the adult prepare?
Preparation should remove unnecessary difficulty without taking away the part the child is learning. If the lesson is about straight seams, it is reasonable for the adult to cut accurate rectangles, press folds, thread the machine, and mark stopping points. The child can then concentrate on fabric control and construction order.
Read the entire project before the session.
Prepare a finished sample or a clear picture of the result.
Cut pieces accurately when sharp-tool use is not appropriate.
Mark seam lines, openings, corners, and matching points.
Thread and test the machine on project scraps.
Set out only the tools needed for the current step.
Divide the project into stages that fit the child’s attention span.
Do not repair mistakes secretly after the session. Show the child what changed and why, while keeping correction proportionate to the project. A slightly uneven seam can remain if it is secure and the child understands the result.
How to prevent an easy project from becoming frustrating
Demonstrate one complete step
Explain the purpose, demonstrate once, and then let the child repeat it. Giving several future instructions while the child is controlling a needle or machine makes the task harder to process.
Stop before concentration disappears
A project does not need to be completed in one sitting. Label the pieces and store them together so the child can return without rebuilding the entire setup. A calm stopping point protects confidence and reduces rushed mistakes.
Use scrap fabric for every new technique
Test the seam, casing, curve, elastic, or buttonhole on scrap before using the project pieces. The fabric guide explains how to adapt sewing setup to different materials when the project introduces a new fabric.
Keep the child’s work recognisable
Adult help should make the project possible, not replace the child’s contribution. Let the child choose colours, arrange shapes, mark a simple design, or decide how the finished item will be used.
Frequently Asked Questions
Sewing projects for children
What is the easiest sewing project for a child?
A felt bookmark or simple running-stitch practice card is usually the easiest place to start. Both use stable material, short straight lines, and very little construction, so the child can focus on controlling the needle and following a marked path.
Should children start with hand sewing or a sewing machine?
Hand sewing is a useful starting point for children who are still developing coordination and patience. A supervised sewing machine lesson may suit a child who can follow instructions, stop immediately, maintain safe hand placement, and control their movements consistently.
What fabric is easiest for children to sew?
Craft felt and stable woven cotton are the easiest common choices. Felt does not fray, while quilting cotton is easy to mark, fold, press, and guide. Avoid slippery satin, stretchy jersey, loose weaves, and thick bulky layers for early projects.
How long should a sewing project take a child?
A first session may last only 15 to 30 minutes. Choose a project that can be divided into short stages and stop while the child is still focused. Completing one careful step is more useful than rushing through an entire project.
Can a child sew a pillow as a first machine project?
A small square pillow can be a suitable early machine project after the child can sew straight lines, stop at a mark, and turn a corner. An adult should prepare the pieces, supervise the machine, and help with stuffing and closing the opening when necessary.
Which sewing tasks should an adult prepare?
For a young beginner, the adult should handle sharp cutting, pressing, machine threading, needle changes, jam removal, difficult marking, and any step involving thick seams or unfamiliar tools. Responsibility can increase as the child demonstrates safe and consistent habits.
Choose the project that teaches the next skill
A useful children’s sewing project sits just beyond what the child can already do. It should contain enough repetition to build control, but not so many new steps that the adult must complete most of the work.
Begin with felt or stable cotton, prepare difficult steps in advance, and increase complexity through clear stages. The finished bookmark, pillow, pouch, or bag matters, but the real result is a child who understands how fabric pieces become a useful object and feels ready to try the next skill.