

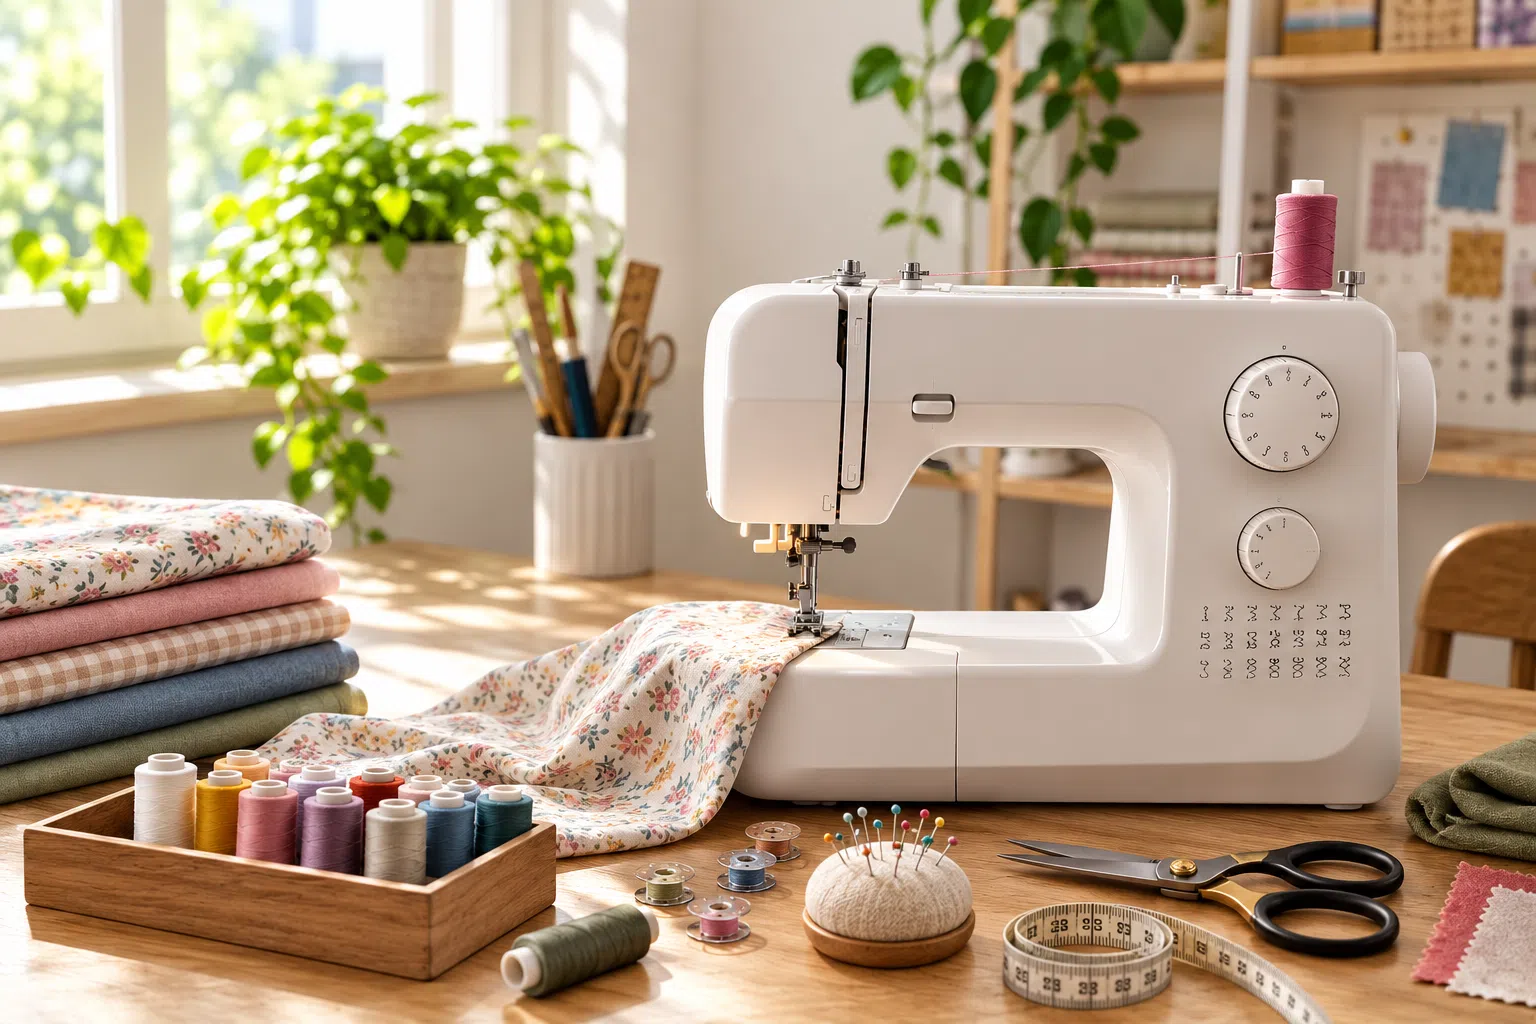
This is not a setup tutorial or a first-use walkthrough. Complete your sewing machine setup first, then follow the first sewing session guide when you need a complete start-to-finish seam.
The purpose of this guide is to help you develop repeatable habits: controlling speed, guiding fabric accurately, testing before sewing, correcting one variable at a time, and recognising when a problem comes from technique rather than the machine.
1. Reset the machine before each practice session
Do not assume the machine is still configured the way you left it. A changed needle position, decorative stitch, altered width, lowered feed dogs, or engaged bobbin-winding mode can make a simple seam behave unexpectedly.
Before practice, return to a centred straight stitch, a medium stitch length, the standard presser foot, and the normal tension range recommended by the manufacturer. Confirm that the presser foot and needle suit the selected stitch.
2. Test on the same fabric before sewing the project
Use two layers of the actual project fabric whenever possible. A machine may sew stable cotton perfectly and behave very differently on jersey, satin, denim, coating, or a bulky seam intersection.
Test the needle, thread, stitch length, seam finish, and handling method. Look at both sides of the seam, then gently stress it in the direction the finished item will move. Keep labelled samples of combinations that work well.
3. Practise steady speed instead of trying to sew fast
Speed is not the same as control. Use gradual pressure on the foot pedal and set the speed limiter low when the machine has one. Your goal is to start smoothly, maintain one pace, and stop exactly where intended.
Practise on marked lines before beginning a project. Straight lines, gentle curves, squares, and parallel rows teach more useful control than racing through a long seam.
4. Guide the fabric without pushing or pulling it
The feed dogs move the fabric. Your hands guide direction and support weight. Pulling from behind can bend the needle, distort stitch length, shift layers, and make the seam drift.
Keep both hands at a safe distance from the needle and support large pieces on the table. When fabric begins to wander, slow down and make a small correction rather than forcing it sideways.
5. Watch the seam guide, not the moving needle
A consistent seam allowance depends on keeping the raw edge beside a fixed guide. Looking directly at the rapidly moving needle encourages late corrections.
Watch slightly ahead of the needle where the fabric edge approaches the guide. Extend the guide with removable tape when necessary, without covering the feed dogs, bobbin cover, or moving parts.
For a dedicated skill lesson, follow how to sew a straight line with a sewing machine.
6. Match the needle and thread to the fabric
Poor stitch formation is not always a machine fault. A needle that is too large, too fine, dull, bent, or wrong for the fabric can cause skipped stitches, damaged fibres, popping sounds, puckering, and thread breakage.
Use the needle sizes and types guide for needle selection and the fabric sewing guide for fabric-specific handling. This page keeps the principle brief so those dedicated resources can provide the detailed recommendations.
7. Change only one variable at a time
Random adjustments make troubleshooting harder. When a test seam looks wrong, return to the last known-good setup and check one item at a time: upper threading, bobbin insertion, needle condition, stitch selection, fabric handling, and then tension.
Photograph the original setting before changing a dial. Sew and label a new test line after each adjustment so you can identify what actually improved the result.
8. Secure seams according to the technique
Many ordinary seams use two or three reverse stitches at each end. Repeatedly sewing back and forth creates unnecessary bulk and can push delicate fabric into the needle plate.
Darts, gathers, quilting lines, and delicate fabrics may use tied thread tails, a lock stitch, or another method. Follow the project technique rather than backstitching automatically.
9. Learn to read common beginner problems
10. Use a focused practice plan
Repeat short exercises until the movement feels predictable, then choose a simple project with mostly straight seams. Difficulty should increase one skill at a time.
11. Build simple machine-care habits
Switch off and unplug the machine before cleaning or changing the needle. Remove lint from the bobbin area using the method in the manual. Do not blow lint deeper into the mechanism or add oil unless the manufacturer specifically instructs you to.
Cover the machine when it is not in use and stop sewing when you hear grinding, knocking, repeated striking, or an abrupt change in sound.
Frequently Asked Questions
Beginner sewing machine questions
What should a beginner practise first on a sewing machine?
Start with straight lines on two layers of stable woven cotton. Practise controlling speed, following a seam guide, stopping at an exact point, turning corners, and securing the beginning and end of a seam.
How can a beginner sew straighter seams?
Watch the fabric edge beside the seam guide instead of staring at the needle. Sew slowly, support the fabric on the table, and make small corrections without pulling it.
Should beginners adjust sewing machine tension?
Usually not as a first response. Check threading, needle condition, bobbin insertion, thread quality, and fabric choice before making one small tension adjustment on a test swatch.
Why should I test stitches on scrap fabric first?
A test swatch shows whether the needle, thread, stitch length, seam finish, and handling method work with the actual fabric before you sew the cut project pieces.
How often should a beginner clean a sewing machine?
Remove lint from the bobbin area regularly according to the machine manual, especially after lint-producing fabrics. Unplug the machine first and do not oil it unless the manufacturer instructs you to.
Good habits make the machine easier to understand
Set up and threading belong in their dedicated guides. During regular practice, focus on control, testing, accurate fabric guidance, suitable materials, and one change at a time. Those habits help you recognise the actual cause of a problem without turning every sewing session into a complete reset.