

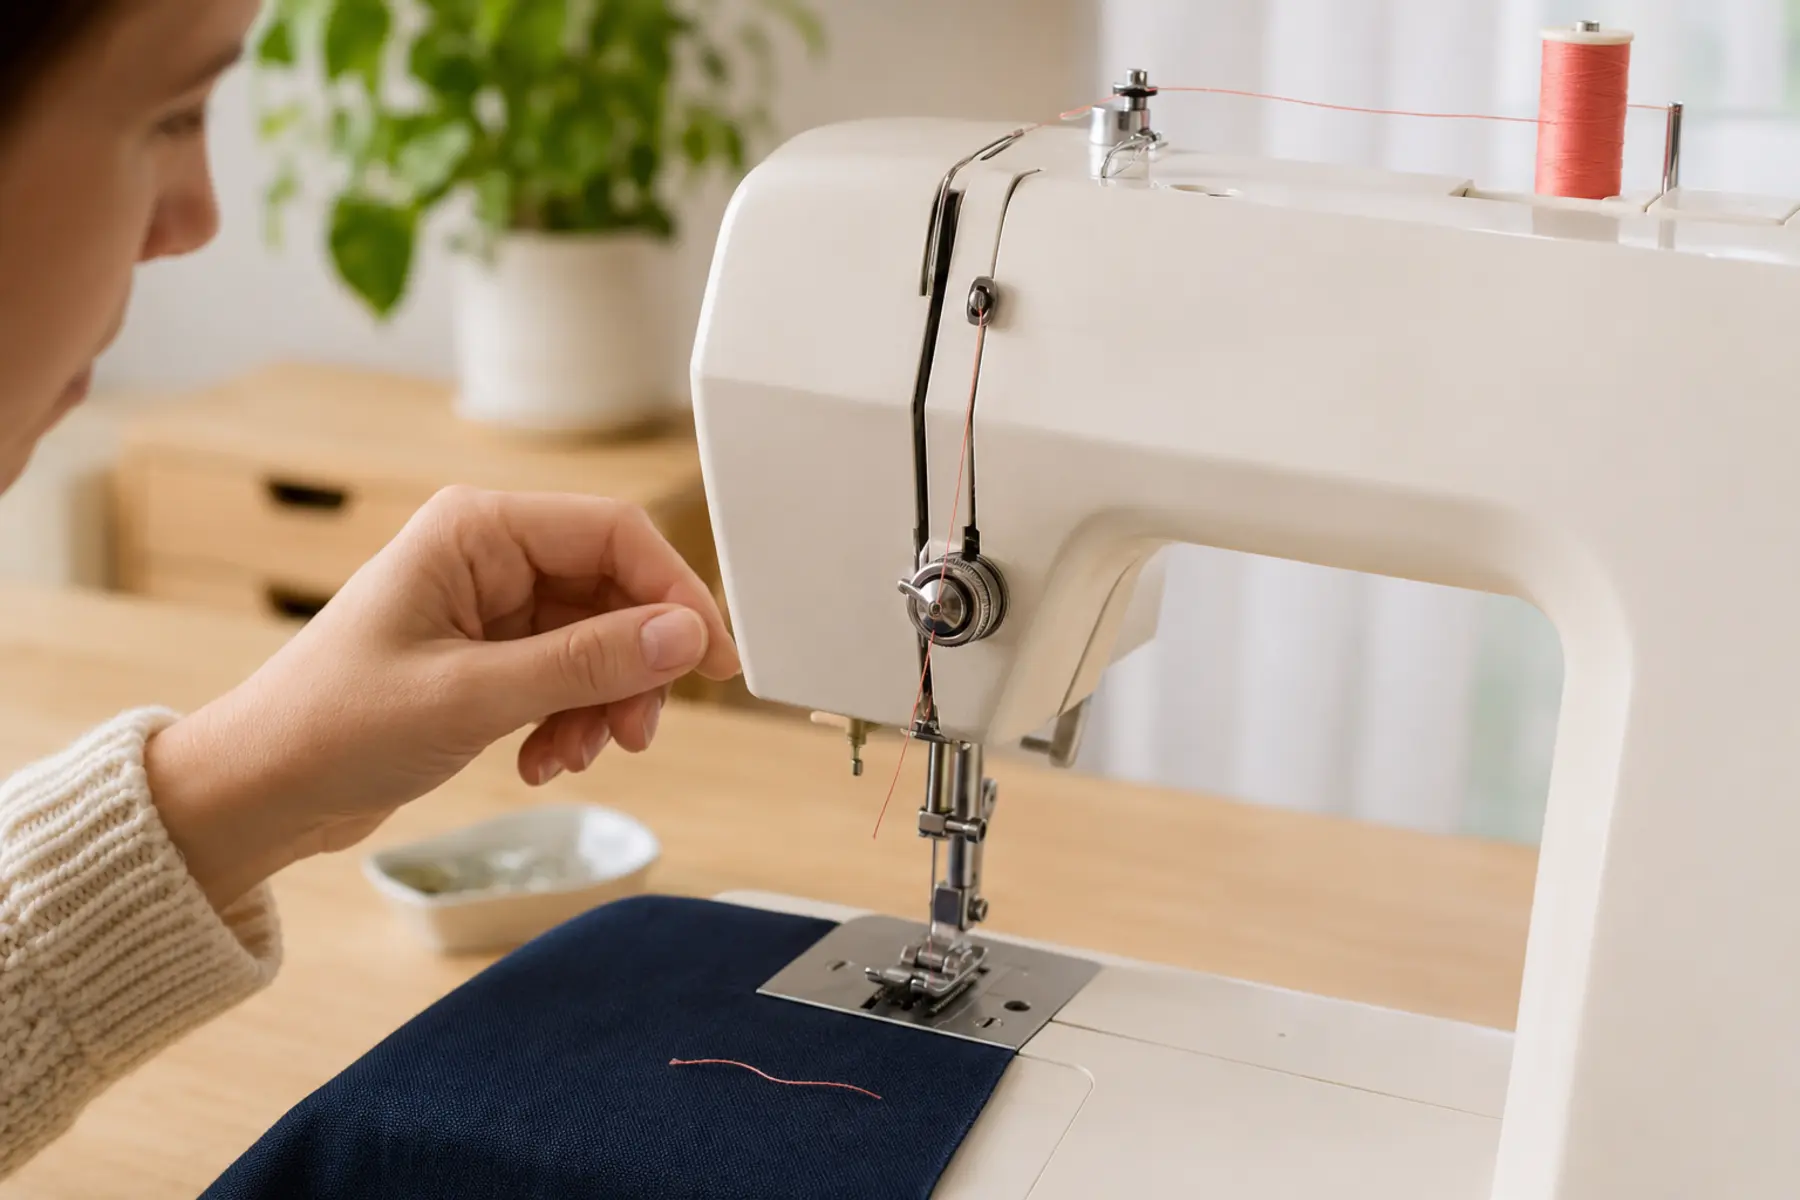
Do not begin by randomly changing tension. Thread can break because it is too tight, but it can also be cut by a burr, trapped at the spool, forced through a needle eye that is too small, or struck against the presser foot or needle plate.
Use the checks below in order. Change one variable at a time and test on scrap fabric after each correction.
Quick answer: the most common causes
Upper thread is not seated correctly in the tension discs
The take-up lever was missed during threading
The needle is bent, blunt, burred, or installed incorrectly
The needle eye is too small for the thread
Upper tension is too high
The thread catches on the spool, spool cap, or a guide
The thread is old, weak, fuzzy, or poor quality
The needle strikes the presser foot or needle plate
A burr or rough edge is cutting the thread
Lint or thread debris is interfering with the hook area
1. Identify exactly when the thread breaks
The timing of the break narrows the cause. Before changing anything, note whether the thread breaks immediately, only at high speed, only on thick seams, only during zigzag, or after several centimetres of normal sewing.
2. Rethread the machine with the presser foot raised
On most domestic machines, raising the presser foot opens the upper tension discs. If the machine is threaded with the foot lowered, the thread may sit outside the discs and feed unpredictably.
Raise the presser foot, move the take-up lever to its highest point, remove the thread completely, and follow every guide in the correct order. Confirm that the thread passes through the take-up lever.
Use the full sewing machine threading guide when any part of the thread path is uncertain.
3. Check whether the spool feeds smoothly
Pull the thread gently from the spool and watch how it unwinds. It should leave the spool without catching, jerking, or wrapping around the spool pin.
Common spool-related causes include a cap that is too small, a cap pressed too tightly against the spool, thread catching in the storage notch, a large cone used without a thread stand, or a slippery spool unwinding too quickly.
Match the spool cap to the spool size
Turn the spool so the storage notch cannot catch the thread
Remove thread wrapped around the spool pin
Use a thread stand for large cones when required
Use a spool net only when thread unwinds too freely
4. Replace the needle and confirm the correct size
A needle may be bent or burred even when it looks normal. Replace it with a new needle, push it fully into the clamp, and install it in the correct direction for the machine.
The eye must be large enough for the thread. Heavy thread forced through a fine needle eye can fray and snap. A bent needle can also rub the presser foot or plate.
Use the sewing machine needle size and type guide to match the needle to the thread and fabric.
5. Test with fresh, suitable thread
Old, brittle, fuzzy, uneven, or poorly wound thread can break even when the machine is correctly set. Thread stored in heat, sunlight, moisture, or dust may weaken over time.
Replace the upper thread with a fresh spool of good-quality all-purpose thread for the test. Use compatible thread in the bobbin and avoid testing with decorative or heavy thread until ordinary thread sews correctly.
If you need a fresh control spool for troubleshooting, you can compare all-purpose polyester sewing thread on Amazon. Select by fibre, weight, and project suitability rather than colour range alone.
6. Return upper tension to the normal range
Upper tension that is set too high can pull the thread until it snaps. Return the dial to the machine's usual starting range and test with a basic straight stitch on two layers of scrap fabric.
Do not loosen the dial to an extreme. If threading is incorrect, changing tension may temporarily alter the symptom without fixing the cause.
Follow the controlled process in the sewing machine tension guide.
7. Check needle, foot, and plate clearance
Thread can break when the needle clips the presser foot or needle plate. This is common after changing stitch width, needle position, presser foot, twin needle, or decorative stitch settings.
Turn the handwheel slowly through one full stitch cycle before using the pedal. Watch the needle at its farthest left and right positions. It must clear both the foot opening and needle plate.
For wide-stitch setup, review the zigzag stitch guide.
8. Inspect for burrs and rough surfaces
A previous needle strike can leave a sharp burr on the needle plate, presser foot, hook, or bobbin case. The thread may repeatedly fray at the same location before breaking.
Inspect accessible surfaces carefully with the machine unplugged. Replace damaged removable parts or have precision hook components checked professionally.
9. Clean the bobbin and hook area
Lint, thread fragments, and wrapped thread can interfere with the hook and increase stress on the upper thread. Remove the bobbin and needle plate only as allowed by the manual, then brush away lint and remove trapped thread.
Confirm that the bobbin is the correct type, wound evenly, inserted in the correct direction, and seated under its tension spring. Use the bobbin winding and insertion guide when needed.
10. Adjust for thick seams, difficult fabric, and speed
Thick seam intersections can tilt the presser foot and deflect the needle. Slow down, use the correct needle, and keep the foot level where appropriate. Do not pull the fabric from behind because this bends the needle and increases friction.
Sticky or coated materials can add drag. Delicate fabric can also distort and place uneven stress on the thread. Test the complete needle, thread, foot, and stitch combination on scrap before sewing the project.
Use the fabric sewing guide for material-specific setup.
Use this diagnostic order
Stop sewing and remove broken thread
Rethread with the presser foot raised
Confirm the take-up lever is threaded
Replace the needle
Test fresh thread
Return tension to normal
Check spool feed
Hand-turn through the selected stitch
Clean the bobbin area
Inspect for burrs or damage
Test slowly on scrap fabric
When the machine needs service
Professional inspection is appropriate when the thread still breaks after correct threading, a new suitable needle, fresh thread, normal tension, smooth spool feed, cleaning, and clearance checks.
Seek service sooner if the hook is visibly damaged, the tension dial has no effect, the needle repeatedly strikes metal, the machine makes unusual noise, or the thread catches inside the machine.
Continue with the main sewing machine troubleshooting guide when breakage occurs alongside jams, skipped stitches, feeding faults, or timing symptoms.
Frequently Asked Questions
Thread breakage questions
Why does my sewing machine thread keep breaking near the needle?
Breakage near the needle usually points to a damaged needle, a needle eye that is too small for the thread, incorrect needle installation, excessive upper tension, or a burr on the presser foot or needle plate.
Can bad thread cause repeated thread breakage?
Yes. Old, brittle, fuzzy, uneven, or low-quality thread can snag in the thread path and fail under normal sewing tension. Testing with fresh, good-quality thread is one of the fastest ways to rule this out.
Why does the thread break only when sewing fast?
Higher speed increases friction, heat, and strain. This often exposes a small mismatch between the thread and needle, a rough guide, excessive tension, poor thread quality, or a slight snag at the spool.
Should I change bobbin tension if the upper thread keeps breaking?
Usually no. Upper-thread breakage should first be diagnosed through the spool, upper threading path, tension setting, needle, thread quality, presser foot, and needle plate.
When should a sewing machine be serviced for thread breakage?
Service is appropriate when thread still breaks after correct threading, a new suitable needle, fresh thread, normal tension, cleaning, and clearance checks, especially if the hook, plate, or tension system appears damaged.
Fix the cause, not only the broken thread
The most reliable method is to identify when the break happens, reset threading and needle condition, then check tension, spool feed, clearance, and rough surfaces in order. Random adjustments usually make diagnosis slower.