

Affiliate disclosure: We may earn from qualifying Amazon purchases at no extra cost to you. Products are selected for utility and reader fit, not ratings or commission.
The most useful sewing tools are rarely the largest kit or the most novel gadget. They are the small tools that solve repeated problems without creating new ones: holding a material that should not be pinned, removing a wrong seam without cutting the fabric, measuring a curve accurately, marking a visible temporary line, shaping a turned corner, or stopping a tiny raw edge from unravelling when stitching is impractical.
This guide recommends six broad essentials, each chosen for a different task. Clover Wonder Clips hold bulky or mark-sensitive layers. The Clover Seam Ripper removes stitches with controlled cutting. The Dritz 60-Inch Tape Measure follows bodies and curves that a rigid ruler cannot. The Clover White Chaco Liner creates fine temporary marks on medium-to-dark fabric. The Clover Point 2 Point Turner shapes corners and curved seams after turning. Dritz Fray Check seals selected thread ends and small raw areas when a proper stitched finish is not practical.
This is intentionally not a list of every object found in a sewing room. Scissors, rotary cutters, cutting mats, needles, bobbins, presser feet, irons, stabilisers, thread, rulers, tables, cabinets, cases, and thread stands have their own buying decisions and dedicated guides. Repeating their product rankings here would make this page less useful and compete with the specialist pages.
Quick comparison
Showing three products at a time. Scroll vertically to see the remaining models.
| Product image | Title and best fit | Type | Current price |
|---|---|---|---|
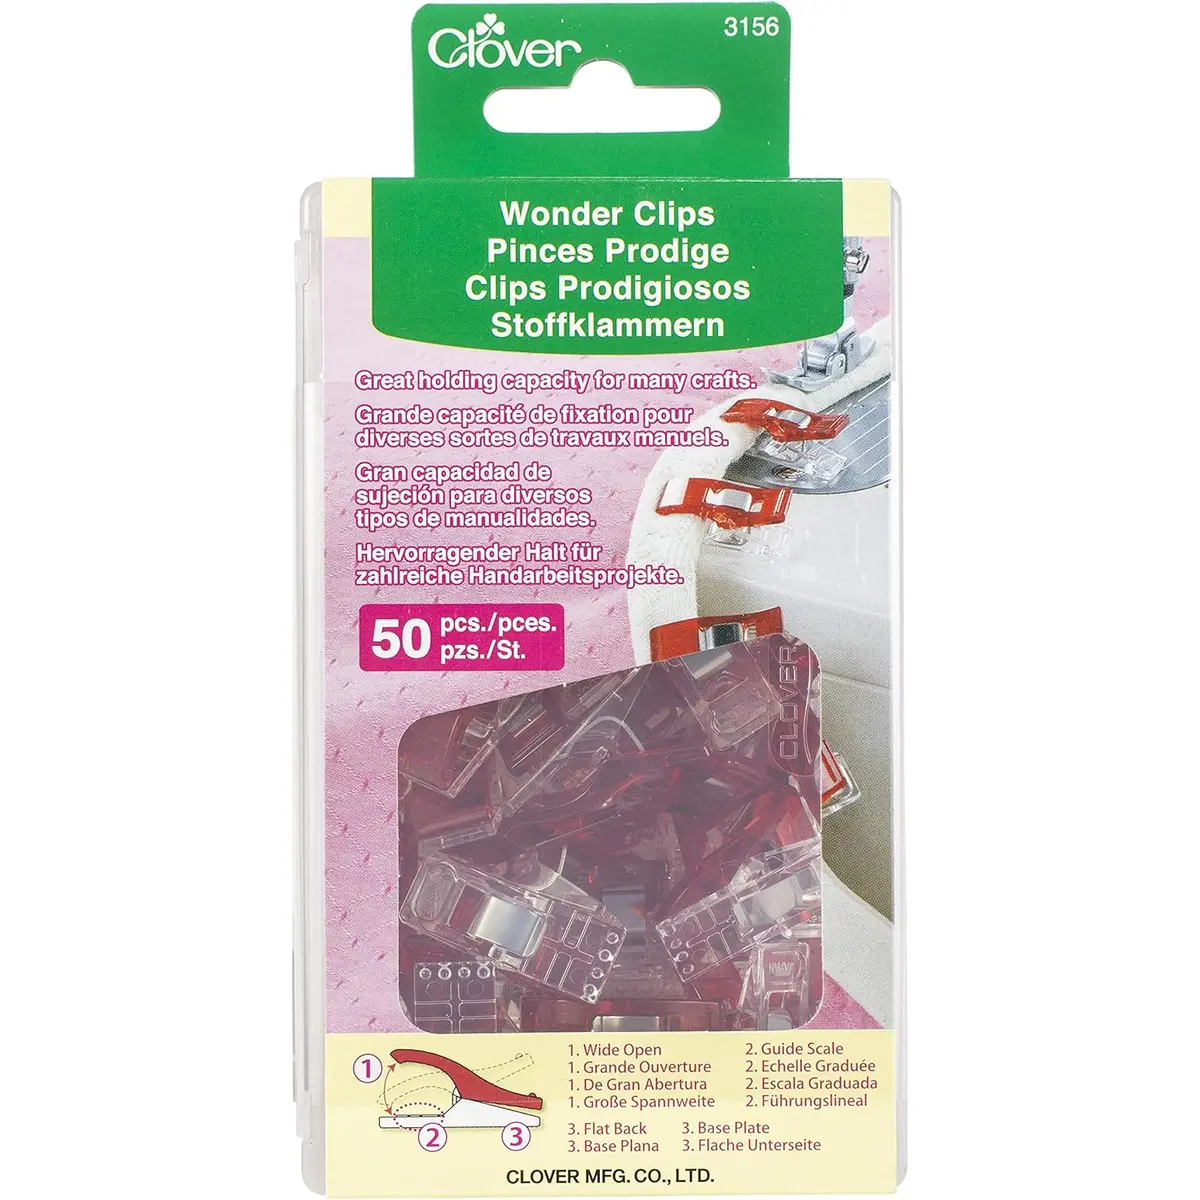 | Clover Wonder Clips, 50 pack Vinyl, leather, binding, bags, knits, and bulky layers | Holding | Check price |
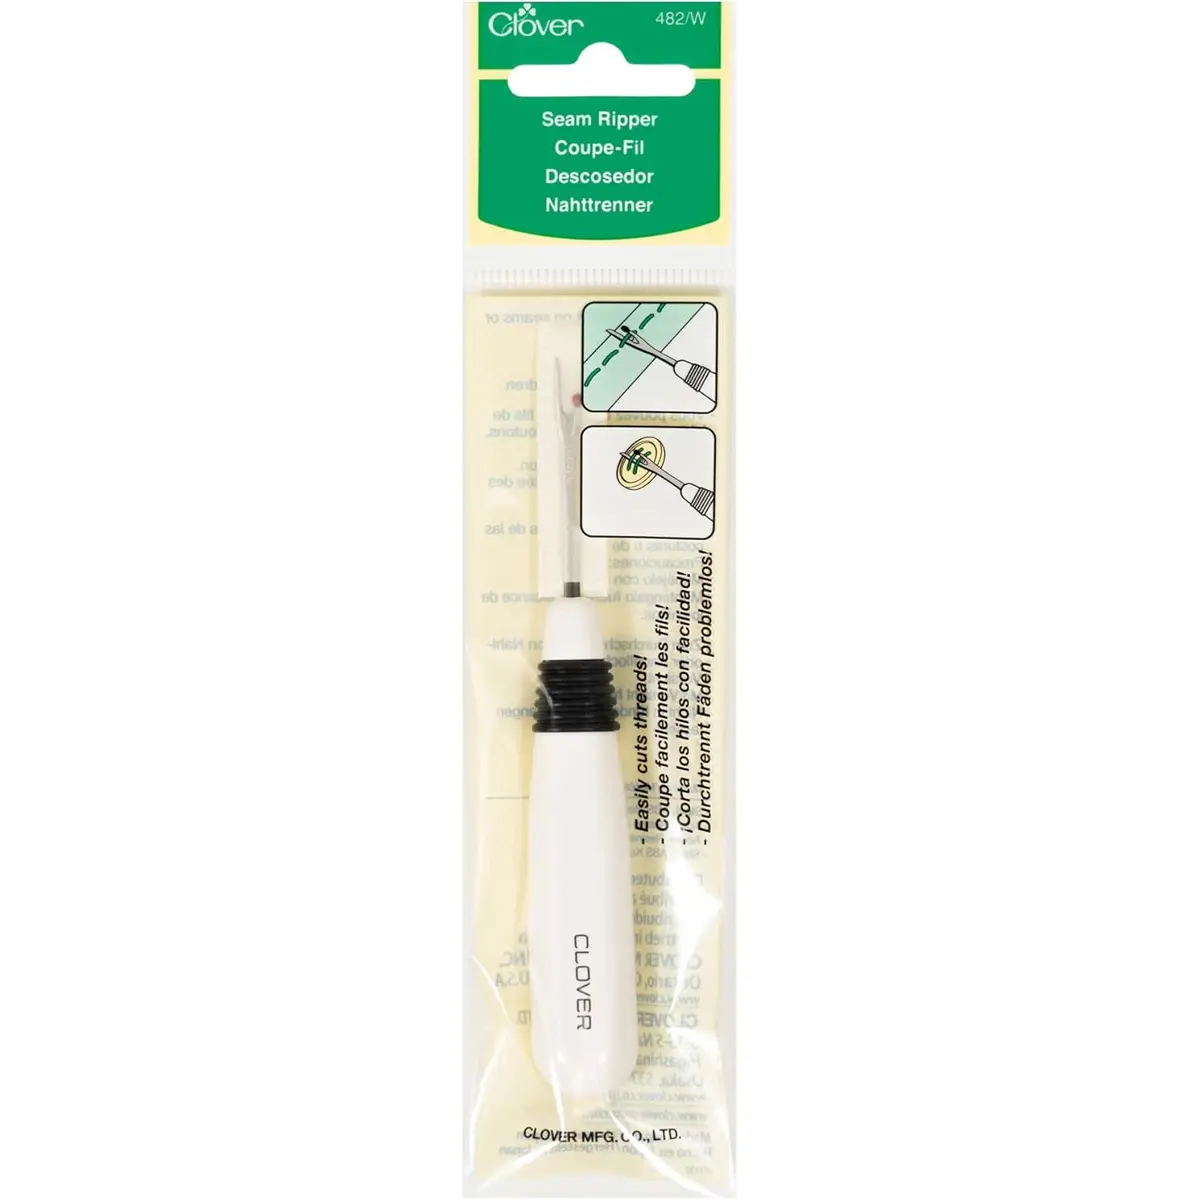 | Clover Seam Ripper Removing individual stitches and short seam sections | Unpicking | Check price |
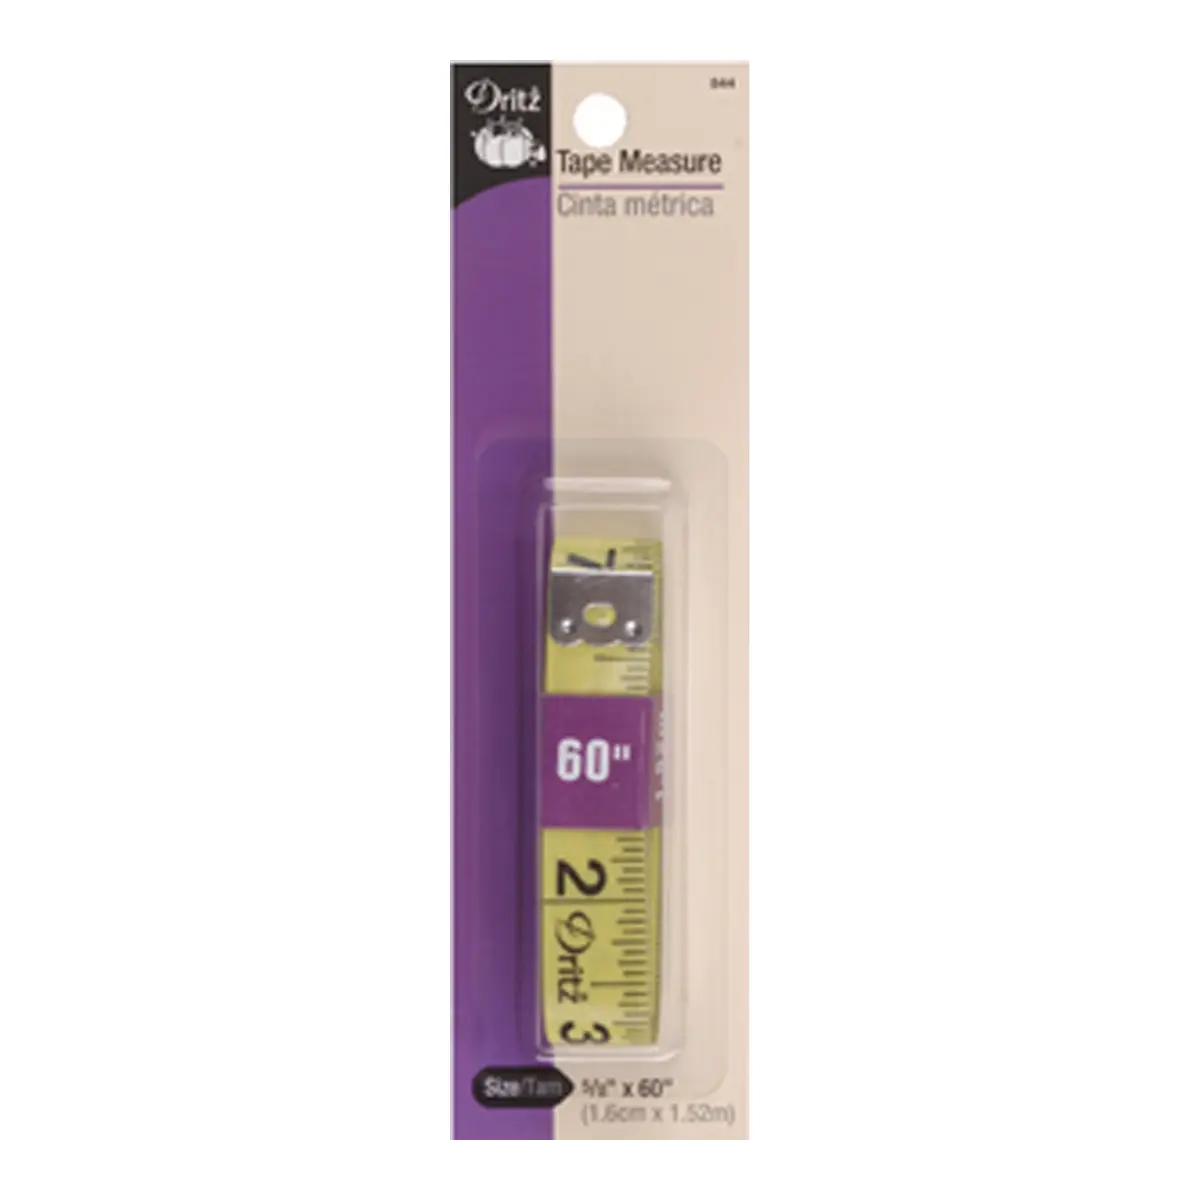 | Dritz 5/8 x 60-Inch Tape Measure Bodies, curves, circumferences, and alterations | Flexible measuring | Check price |
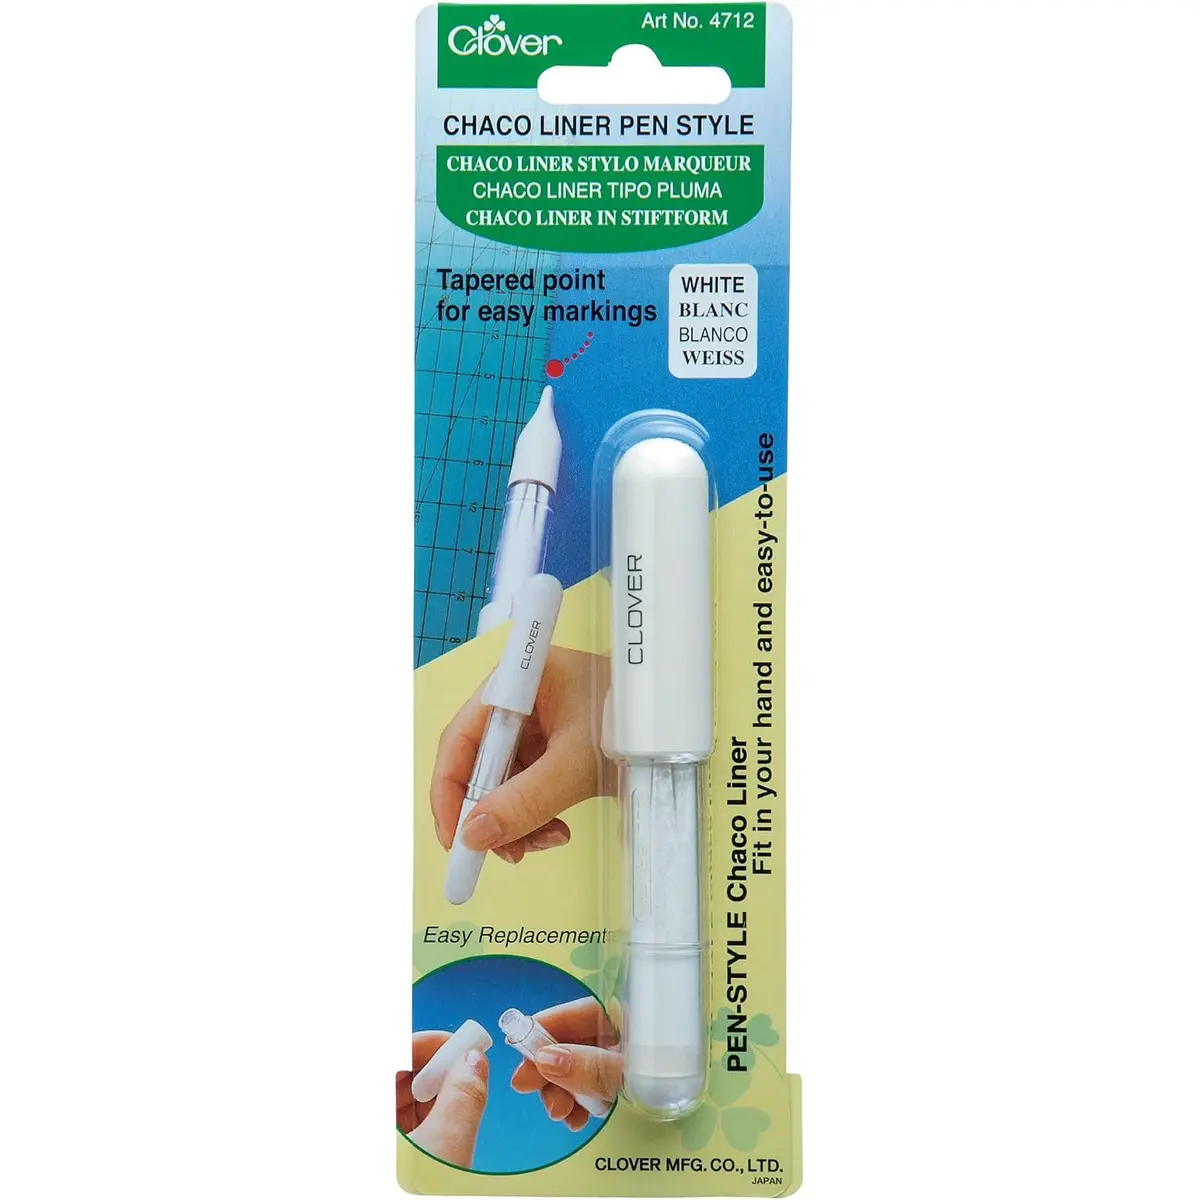 | Clover White Chaco Liner Fine construction lines on medium-to-dark fabric | Temporary marking | Check listing |
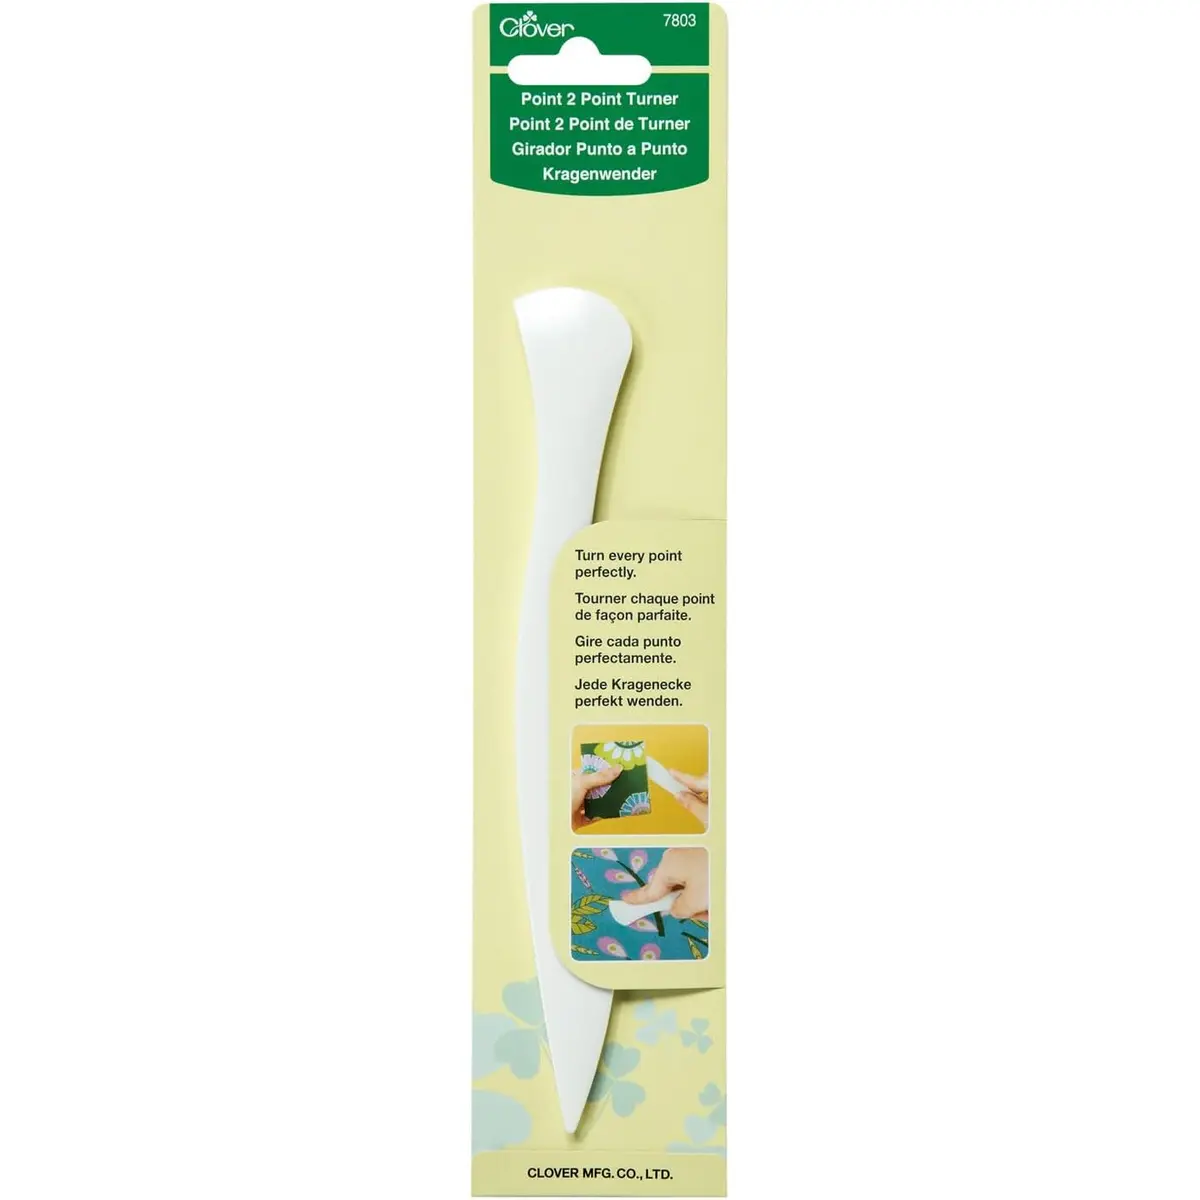 | Clover Point 2 Point Turner Turned collars, cuffs, straps, and bag corners | Shaping | Check price |
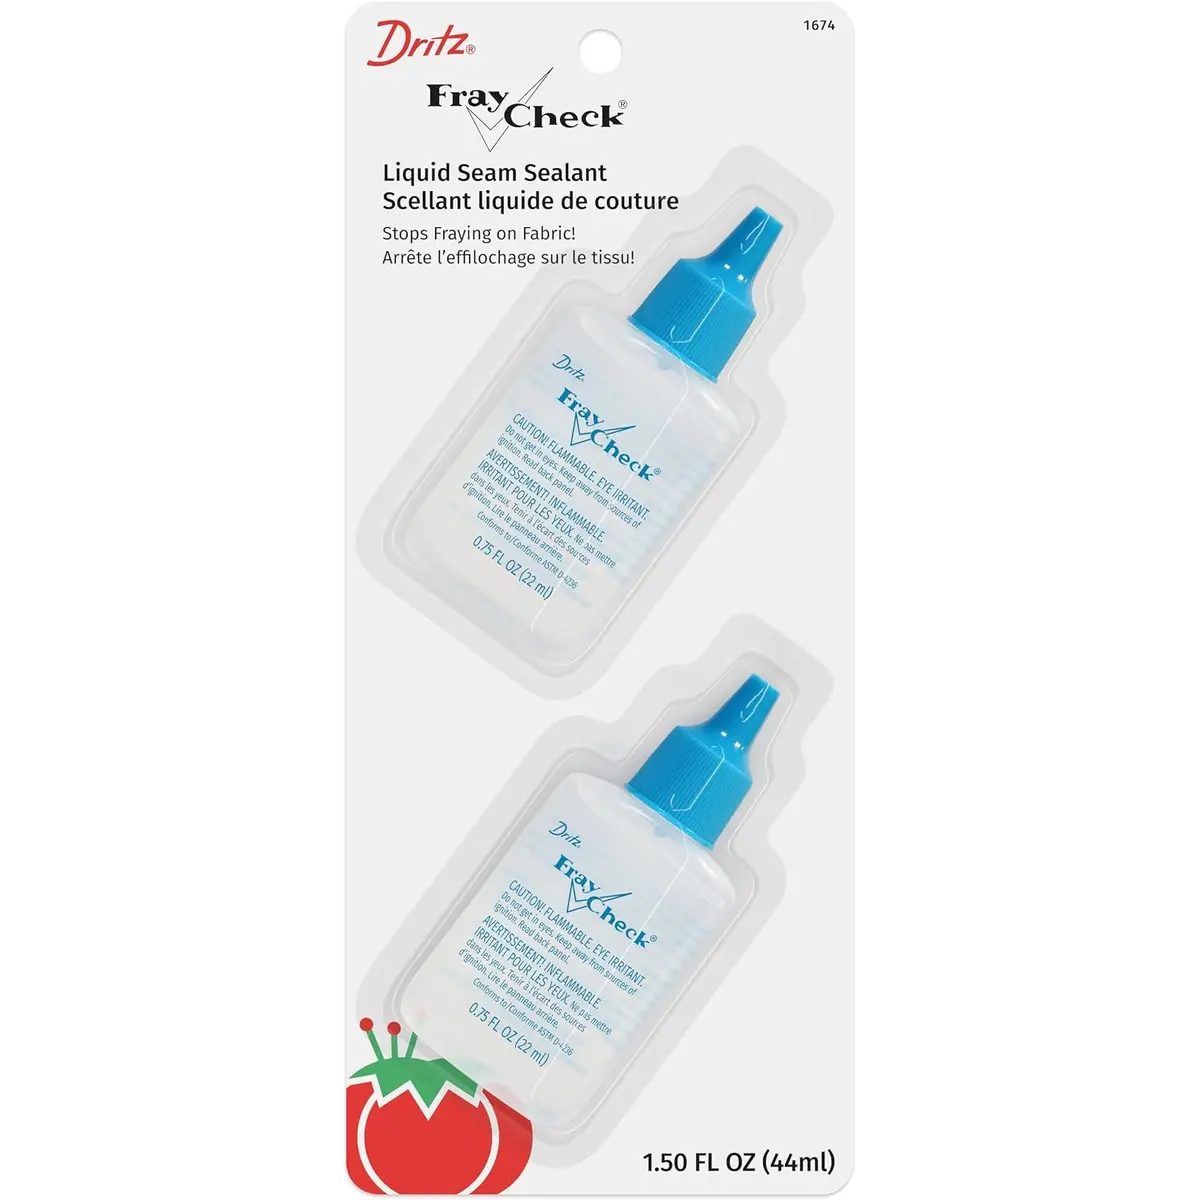 | Dritz Fray Check, 2 pack Small fraying areas, thread ends, cord tips, and selected edges | Limited edge sealing | Check price |
Detailed recommendations
Clover Wonder Clips
Best for holding without pin holes
Clover Wonder Clips solve a problem that pins cannot always solve safely. Leather, vinyl, laminated cotton, oilcloth, faux leather, and other mark-sensitive materials can retain every pin hole. Thick bag seams and quilt binding can also be awkward to pierce repeatedly. A clip holds from the edge without puncturing the project.
The selected ASIN is a 50-piece pack of red clips. Clover states that the clips open wide for layers, have a flat base for feeding toward the presser foot, and include 1/4-inch and 1/2-inch seam-allowance reference marks. The flat underside allows the clipped edge to rest more steadily on a table than a round clamp.
Where clips are better than pins
Clips are especially useful for binding a quilt, holding bag panels, organising a leather seam before stitching, matching the edge of vinyl pieces, securing piping, controlling knit layers at an edge, and holding several bulky allowances together before they reach the machine.
They are also easier to see than fine pins when dropped on a table or floor. That visibility is valuable in a shared room or a home with children or pets, though the clips themselves are small objects and must still be stored safely.
The seam-allowance markings can provide a quick reference when the fabric edge sits correctly in the clip. They are not a replacement for the machine's seam guide or an accurate ruler. The fabric can shift within the jaw, and the mark only helps when the clip is positioned consistently.
Where pins remain better
Fine pins provide more precision when easing a sleeve cap, matching a tiny notch, holding a tight curve, pinning far from an edge, or controlling two delicate layers at many close points. A clip's plastic body occupies more space and cannot reach the interior of a large panel.
Clips also become an obstruction near the presser foot. Remove each clip before it contacts the foot, needle plate, needle bar area, or cutting mechanism. Do not sew over a clip. A collision can break the needle, throw a fragment, damage the foot, or pull the seam out of alignment.
Pressure and material testing
Although clips avoid holes, the jaw can leave a temporary pressure impression on pile, foam, delicate coatings, or easily crushed fabric. Test on a scrap and avoid leaving clips attached for long storage. Space them closely enough to control the seam but not so densely that removal interrupts every stitch.
Who should buy them
Choose the 50-pack if you make bags, bind quilts, sew vinyl or leather, work with bulky seams, or regularly run out of clips along a long edge. A smaller pack may be enough for occasional garment sewing.
Who should not rely on them alone
Do not replace every pin with a clip. Precision easing, internal placement, small curved sections, and very fine fabric may still require pins, hand basting, washable glue, or another fabric-appropriate method.
Best for: Bag makers, quilters, leather and vinyl sewists, and anyone holding bulky or hole-sensitive materials at an edge.
Skip it if: You mainly need fine interior pinning, close easing, or a small number of holding points.
Clover Seam Ripper
Best for controlled stitch removal
A seam ripper is not an admission of poor sewing. It is a correction tool that can save fabric, preserve seam allowance, and prevent a small construction error from being buried under later steps. The Clover 482/W is a compact handled ripper with a pointed end for entering beneath a stitch and a protected cutting curve for severing thread.
The value of a good seam ripper is control, not aggression. A sharp blade needs less pushing than a dull one. Less pushing reduces the chance that the tip jumps through the fabric after a thread breaks.
A safer unpicking method
Place the work on a stable, well-lit surface. Spread the seam so the stitches are visible and the fabric is not folded beneath the blade. Start by cutting every few stitches on one face, then turn the seam and pull the loosened thread from the other side. For delicate or unstable material, cut one stitch at a time.
Keep the blade moving away from fingers and away from hidden fabric layers. Do not insert the ripper deep into a closed seam and push rapidly along the channel. That method can slice the project before resistance is felt.
For a long straight seam in robust woven fabric, some experienced sewists use the ball-tipped side within the seam. That still requires full visibility and fabric support. The cautious default is controlled, short removal rather than ploughing through the entire seam.
Choosing the right end for the job
The pointed tip helps lift a single stitch, reach a bartack thread, open a buttonhole after stitching, or begin a dense seam. Buttonholes require special care. Place a pin across the end of the buttonhole as a physical stop so the ripper cannot travel beyond the bartack.
Use fine tweezers or a lint brush after cutting to remove thread fragments. Do not scrape the fabric repeatedly with the point because that can snag fibres or disturb the surface.
When to replace it
A seam ripper is a cutting tool and does become dull. If it requires force, shreds thread instead of cutting cleanly, catches repeatedly, or has a damaged point, replace it. Protect the tip with its cap during storage and keep it away from children.
Who should buy it
Every active sewist needs at least one dependable seam ripper near the machine. A second can live at the cutting or pressing station, but this guide does not recommend buying a decorative set merely to increase quantity.
Who should use another tool
Very dense machine embroidery, industrial bartacks, heavy topstitching, and safety-critical seams may require specialised snips, magnification, or professional alteration. If the fabric is already damaged, stop before additional cutting enlarges the problem.
Best for: Any sewist correcting construction seams, individual stitches, buttonholes, and short areas of topstitching.
Skip it if: The task requires cutting dense industrial thread or embroidery where a different controlled cutting tool is more appropriate.
Dritz 5/8 x 60-Inch Tape Measure
Best for bodies and curves
A rigid ruler is essential for straight pattern work, but it cannot wrap around a waist, follow an armscye, measure a sleeve-cap curve, or check the circumference of a bag opening. The Dritz tape is 5/8 inch wide and 60 inches long, with inch and centimetre markings for flexible measurement.
The selected product is described as a lightweight vinyl tape for curved and flat surfaces. Large visible markings make it easier to read during fitting and project checks. The 60-inch length covers most body and garment measurements without becoming excessively cumbersome.
How to take useful body measurements
Use the same undergarments and posture relevant to the garment. Keep the tape level around the body, snug enough to remove slack but not tight enough to compress. A second person can improve accuracy for back width, torso length, shoulder, and full-body measurements.
Record the measurement immediately and label it clearly. “Waist 34” is less useful than “natural waist, over intended undergarments, 34 inches.” For pattern alteration, distinguish body measurement, pattern measurement, finished garment measurement, and intended wearing ease.
How tension creates errors
A flexible tape can be pulled tighter for a smaller number or allowed to sag for a larger one. Hold it with consistent contact and no stretch. When measuring a curved pattern edge, stand the tape on its edge or walk it gently along the seam line without stretching it.
Do not confuse the cut edge with the stitching line. Curved seam allowances have different lengths at their outer edges. Measure the line that must actually join its matching piece.
Check the tape itself
Flexible tapes can stretch, shrink, curl, crack, or lose a metal end. Compare the zero point and a known 10-inch or 25-centimetre section against a trusted rigid ruler periodically. Also compare multiple tapes used by different people on the same project. Two nominally identical tapes can disagree after wear.
Store it loosely rolled or folded without sharp creases. Keep it away from high heat and solvents that may affect the material or markings.
Who should buy it
Choose this tape for garment fitting, alterations, curved seams, soft furnishings, bags, circumferences, and flexible project dimensions. It is inexpensive enough to keep one in a fitting kit and one at the main sewing station, provided both are checked for agreement.
What it does not replace
Use a rigid ruler, quilting ruler, set square, or patternmaking curve when straightness, right angles, cutting, or exact drafted geometry matters. A flexible tape measures but does not establish a straight cutting edge.
Best for: Garment makers, alteration sewists, bag makers, and anyone measuring bodies, curves, and circumferences.
Skip it if: You need a cutting edge, square corner, or rigid drafting reference rather than a flexible measure.
Clover Pen-Style White Chaco Liner
Best for fine marks on dark fabric
The Clover White Chaco Liner uses a small wheel to dispense chalk through a narrow tip. Clover describes the pen-style liner as suitable for accurate straight lines and freehand curves, with replaceable refills. The white version is intended to create visible temporary marks on medium-to-dark fabric where a dark marker would disappear.
Its main advantage over a broad wedge of tailor's chalk is line width. Fine construction marks can be easier to place at a dart, hem fold, pocket position, pleat, buttonhole, quilting reference, or seam intersection.
How to mark accurately
Support the fabric on a firm, flat surface. Keep the liner reasonably upright so the wheel rotates and dispenses chalk. Use a ruler for straight lines, but protect the ruler edge and fabric from excessive pressure. For a curve, draw in a smooth motion rather than repeatedly scrubbing one spot.
Mark only what the next construction step needs. Long grids and excessive pattern information can rub away before use or transfer chalk around the project. Small notches can often be indicated within the seam allowance rather than across the visible garment area.
Why every fabric needs a test
Temporary does not mean universally removable. Chalk can lodge in a loose weave, pile, brushed finish, perforation, coating, or textured surface. White chalk may be invisible on light fabric and can appear differently after pressing or exposure to moisture.
Test on a scrap from the actual project. Apply the mark, leave it for the expected construction time, press through the intended method if relevant, then remove it exactly as planned. Check under daylight and angled light. Do not assume a mark has disappeared because it is invisible under one lamp.
Avoid pressing or steaming an untested mark because heat or moisture can change how it behaves. Follow Clover's current care and removal guidance for the exact refill colour.
Visibility is also temporary
Chalk is designed to brush away, which means it can disappear too early. If a project will be handled for days before sewing, mark one section at a time or use thread tracing for critical long-term references. A faint disappearing line is not suitable for a step that must remain exact through repeated fitting.
Who should buy it
Choose the white Chaco Liner if you often sew navy, black, brown, burgundy, dark denim, or other medium-to-dark fabrics and want a fine mechanical chalk line. Refillability makes sense for regular users.
Who should choose another marking method
Use thread tracing for couture accuracy, long-duration marks, napped fabric, or a surface that does not release chalk cleanly. A washable pen, air-erasable pen, wax chalk, tracing paper, or tailor's tack may suit another fabric, but every method still requires testing.
Best for: Fine temporary hems, darts, pleats, pocket positions, and construction marks on compatible medium-to-dark fabric.
Skip it if: The fabric is light, highly textured, easily marked, or needs references to remain through long handling and pressing.
Clover Point 2 Point Turner
Best for corners without scissors
Turned collars, cuffs, lapels, straps, pillow corners, bag flaps, and fabric tabs often look blunt even when the stitching line was accurate. The seam allowances inside the corner occupy space and need to be shaped after the piece is turned.
The Clover Point 2 Point Turner provides two differently shaped ends for that work. One end can reach into a defined corner, while the other helps smooth a seam or broader curve. The tool is designed to give more control than pushing with scissor tips, a knitting needle, or another sharp household object.
Good corners begin before turning
No point turner can correct an untrimmed mass of fabric. Stitch the corner accurately, shorten the stitch near a high-stress point if the pattern recommends it, trim or grade seam allowances, clip or notch curves correctly, and remove bulk without cutting the seam.
For an angled collar point, trimming across the corner may reduce the fabric that must fold into the tip. For a curve, small clips or notches allow the seam allowance to spread or overlap. The correct treatment depends on whether the curve is inward or outward and on the fabric's tendency to fray.
How to use the tool without puncturing
After turning, support the corner from the outside with one hand. Insert the appropriate end and push gradually along the seam rather than stabbing directly at one point. Alternate between internal shaping and external rolling with the fingers.
Stop when the seam reaches its natural stitched shape. A sharp-looking corner should come from construction and controlled shaping, not enough force to stretch the weave beyond the stitching line.
Delicate silk, loose weave, nonwoven material, and fabric weakened by a very close trim require less pressure. Test the tool on a sample construction when the finished project cannot be repaired easily.
Curves and seam rolling
The broader end can help smooth a rounded flap, collar stand, scallop, or bag edge. Work in short sections, then press using the method suitable for the fabric. The tool shapes before pressing; it does not replace the iron, pressing cloth, ham, clapper, or other appropriate pressing support.
Who should buy it
Choose it if collars, cuffs, bags, straps, soft furnishings, lapels, and turned details are regular projects. It is especially useful for beginners who are tempted to reach for closed scissors.
What it cannot fix
It cannot repair a corner stitched at the wrong angle, replace missing seam allowance, remove excessive bulk that was not trimmed, or restore fabric already punctured. If a point remains blunt, turn it back and inspect the internal construction rather than applying more pressure.
Best for: Garment makers, bag makers, and home-décor sewists shaping turned corners, points, and curved seams.
Skip it if: You rarely sew enclosed details or already use a safe blunt tool that gives controlled results without fabric damage.
Dritz Fray Check
Best for limited edge sealing
Dritz Fray Check is a liquid seam sealant for selected small areas where loose fibres or thread ends need to be secured. The approved ASIN is a two-pack of 0.75-ounce bottles. Dritz instructs users to apply a very small amount and allow it to dry for approximately 15 to 30 minutes.
The product can be useful at a cord tip, ribbon end, cut buttonhole edge, thread end, small notch, doll-clothing detail, or another controlled location where stitching, binding, turning, or overlocking is impractical.
What “limited” means
Fray Check is not a bottle-based replacement for seam construction. It should not be painted along every raw edge of a garment, used to hold a load-bearing strap, substituted for a hem, or expected to reinforce a tearing seam. A proper stitched finish distributes stress and encloses or controls the edge through structure.
Liquid sealant changes the material. Even when it dries clear, it can add stiffness, alter drape, create a hard edge, darken a porous area, remain visible under certain light, or feel rough against skin. The effect may become more noticeable after washing or pressing.
Test before applying
Place a scrap of the actual fabric over cardboard or another disposable barrier. Apply the smallest practical amount with the bottle tip or a controlled applicator. Let it dry fully for the stated time, then test flexibility, appearance, laundering, pressing, abrasion, and skin contact as relevant to the project.
Check both faces because the liquid can wick beyond the point of application. A thin fabric may draw it farther than expected. Keep the treated scrap as a reference until the project is complete.
Application control
Puncture and open the tip only as instructed. Squeeze gently. A flood is harder to remove and creates a larger stiff area. Protect the table and other fabric layers, cap the bottle immediately after use, and store it according to the current label.
Use in a well-ventilated area and avoid inhaling vapour or touching wet product unnecessarily. Keep it away from children, heat, flame, food surfaces, and eyes. Follow the package safety information and current safety data rather than relying on general craft advice.
Better alternatives for structural edges
Choose a French seam, flat-felled seam, bound seam, overlock, zigzag finish, pinked edge, lining, turned hem, bias binding, or enclosed construction when the design and material support it. Fray Check belongs where the sealed area is small and the limitation is understood.
Who should buy it
Choose the two-pack if you regularly make buttonholes, ribbons, cords, doll clothes, costumes, small crafts, or repairs that include limited fray-prone points. A single bottle may be more sensible for rare use because storage age and tip blockage can waste the second.
Who should skip it
Skip it for delicate fabric without a successful test, large raw edges, structural seams, areas requiring soft drape, or projects where chemical odour and ventilation cannot be managed safely.
Best for: Small, tested fray-prone areas and thread or cord ends where a stitched finish is impractical.
Skip it if: The edge is structural, large, next to sensitive skin, or made from a fabric that stiffens or marks during testing.
Essential Sewing Tools and Accessories
The most useful sewing tools are rarely the largest kit or the most novel gadget. They are the small tools that solve repeated problems without creating new ones: holding a material that should not be pinned, removing a wrong seam without cutting the fabric, measuring a curve accurately, marking a visible temporary line, shaping a turned corner, or stopping a tiny raw edge from unravelling when stitching is impractical.
This guide recommends six broad essentials, each chosen for a different task. Clover Wonder Clips hold bulky or mark-sensitive layers. The Clover Seam Ripper removes stitches with controlled cutting. The Dritz 60-Inch Tape Measure follows bodies and curves that a rigid ruler cannot. The Clover White Chaco Liner creates fine temporary marks on medium-to-dark fabric. The Clover Point 2 Point Turner shapes corners and curved seams after turning. Dritz Fray Check seals selected thread ends and small raw areas when a proper stitched finish is not practical.
This is intentionally not a list of every object found in a sewing room. Scissors, rotary cutters, cutting mats, needles, bobbins, presser feet, irons, stabilisers, thread, rulers, tables, cabinets, cases, and thread stands have their own buying decisions and dedicated guides. Repeating their product rankings here would make this page less useful and compete with the specialist pages.
Quick tool matcher
Choose Clover Wonder Clips for leather, vinyl, coated fabric, quilt binding, bag layers, bulky seams, and other places where pin holes, distortion, or thick stacks make ordinary pins awkward.
Choose the Clover Seam Ripper for correcting seams one controlled section at a time. It belongs beside every machine, but it should be used with the fabric supported and the blade visible.
Choose the Dritz 5/8 x 60-Inch Tape Measure for body measurements, curved seams, pattern alterations, hems, circumferences, and flexible project dimensions. Check its zero point periodically against a trusted rigid rule.
Choose the Clover Pen-Style White Chaco Liner for narrow temporary lines on medium-to-dark fabrics. Test visibility, removal, and surface behaviour on a scrap before marking the project.
Choose the Clover Point 2 Point Turner for collars, cuffs, bag corners, straps, lapels, and turned details where scissors or another sharp improvised object could puncture the fabric.
Choose Dritz Fray Check for a small cut buttonhole edge, thread end, cord tip, ribbon edge, or other limited area where liquid sealing is appropriate. It is not a substitute for a seam, hem, overlock, binding, or structural reinforcement.
How we selected these sewing essentials
The six products and their task roles come from the site's approved Amazon master shortlist. Exact ASINs, current product identity, official brand information, selected listing claims, and safety-relevant instructions were checked on July 22, 2026.
Selection was based on repeated utility rather than review volume, gift appeal, or the number of pieces in a bundle. Each tool had to improve accuracy, safety, material handling, or correction and had to serve a broad task that does not already belong to a specialist buying guide.
The final list covers holding, unpicking, flexible measuring, temporary marking, point turning, and limited edge sealing. Only one representative product is recommended for each task. A reader does not need five seam rippers and twelve marking gadgets to understand which function matters.
We also looked for the point where every tool stops being useful. Clips do not replace precision pinning. A sharp seam ripper can damage fabric. A flexible tape can distort. Chalk is not universally removable. A point turner can still poke through a weak corner. Liquid sealant can stiffen fabric and cannot replace construction.
This is a research-based guide and does not claim personal hands-on testing. Manufacturer instructions are treated as the primary source for product use. Fabrics, finishes, dyes, coatings, age, storage, and cleaning methods vary, so test-dependent recommendations remain clearly identified.
Tools this guide intentionally does not rank
Cutting tools
Fabric shears, embroidery scissors, thread snips, rotary cutters, and self-healing mats have different blade geometry, safety, handedness, size, replacement, and project requirements. Use the dedicated fabric scissors, rotary cutter, and cutting mat guides rather than treating one cutter as a universal accessory.
Machine compatibility items
Needles, presser feet, and bobbins must match the exact sewing-machine model, needle system, shank or attachment standard, hook, and manufacturer guidance. A broad essentials page should not recommend a “universal” set that may strike the needle plate or form poor stitches.
Thread and stabiliser
Serger thread, machine embroidery thread, and embroidery stabiliser are selected by machine, stitch, design density, fabric, fibre, finish, and intended care. Each category needs its own evidence and cannot be reduced to a single broad essential.
Pressing equipment
An iron, pressing surface, wool mat, tailor's ham, sleeve board, clapper, and pressing cloth serve different jobs and carry heat, fibre, steam, and surface risks. Use the dedicated iron and pressing-mat guides for product decisions.
Furniture and storage
A sewing table or cabinet must fit the machine footprint, bed height, lift, weight, vibration, room, and operator ergonomics. A case or trolley must fit the exact dimensions and protect vulnerable controls. These are workspace decisions rather than notions.
Quilting and embroidery organisation
Quilting rulers and thread stands need separate comparison by scale, visibility, stability, thread path, and machine setup. This hub only routes readers to those specialist guides.
Build a useful sewing kit by task
Start with the project steps rather than a pre-filled box. A garment workflow usually needs measurement, marking, cutting, pinning or clipping, machine setup, seam correction, turning, and pressing. A bag workflow may need clips, heavy-material marking, corner shaping, and specialist machine accessories. A quilter needs different rulers and cutting support.
Buy one dependable tool for the problem currently slowing the work. Learn how it interacts with the fabric, then add a specialist item when a repeated limitation appears. This approach produces a smaller, more reliable sewing kit than buying a large assortment with unknown metals, dull blades, inaccurate tapes, and incompatible feet.
Safety and maintenance checklist
- Store seam rippers, pins, needles, rotary blades, scissors, and point tools with their covers or guards in place.
- Remove clips and pins before they reach the needle or presser foot.
- Replace dull or damaged cutting tools instead of applying more force.
- Verify flexible measuring tapes against a rigid reference.
- Test chalk, ink, adhesive, sealant, heat, and cleaning methods on project scraps.
- Cap powders and liquids after use and follow label ventilation, storage, and disposal instructions.
- Keep small notions, magnets, blades, chemicals, and broken needles away from children and pets.
- Clean tools before they transfer oil, rust, chalk, adhesive, or dye onto fabric.
Frequently asked questions
What sewing tools does a beginner actually need?
A beginner needs tools for accurate measuring and cutting, holding pieces, marking construction points, correcting stitches, turning details, pressing, and maintaining the machine. Buy by task and exact machine compatibility rather than choosing the largest kit.
Are Wonder Clips better than pins?
They are better for many thick, edge-held, or hole-sensitive materials. Pins remain better for fine easing, interior placement, tight curves, and close precision. Most sewing rooms benefit from both.
How do I use a seam ripper without cutting fabric?
Support the seam on a lit surface, keep the blade visible, cut a few stitches at a time, and pull loosened thread from the opposite face. Avoid pushing blindly through a long closed seam.
How do I know whether a tape measure is accurate?
Compare its zero point and a known section against a trusted rigid ruler. Check again after heat exposure, heavy use, curling, stretching, or damage to an end tab.
Does white chalk come out of every fabric?
No. Fibre, colour, weave, pile, finish, moisture, pressure, and heat can change removal. Test the exact mark on a scrap and reproduce the project's pressing and cleaning plan before marking visible areas.
Can I use scissors to push out a fabric corner?
It is risky because a closed scissor tip can puncture the seam or fabric. A purpose-built point turner gives more controlled pressure, but it must still be used gradually after the seam allowances are trimmed correctly.
Is Fray Check a permanent seam finish?
It is a liquid sealant for selected small areas and thread ends. It can withstand care when used as directed, but it does not provide the structure of a sewn, bound, enclosed, or overlocked finish.
Should I buy a 100-piece sewing kit?
Only if every included tool has a known function, acceptable quality, and compatibility with the recipient's work. Many large kits inflate piece count with duplicate pins, weak thread, inaccurate tapes, dull scissors, and machine accessories that may not fit.
Which accessories must match my sewing machine model?
Needles, bobbins, presser feet, walking feet, extension tables, cases, embroidery hoops, stitch plates, spool holders, and many maintenance parts require model-specific confirmation. Brand name alone may not establish compatibility.
Final verdict
The six recommendations form a practical mini-system. Clover Wonder Clips hold materials that pins may damage. The Clover Seam Ripper corrects a seam before the mistake spreads. The Dritz tape measures bodies and curves. The Clover White Chaco Liner marks the next construction step. The Clover Point 2 Point Turner shapes enclosed details. Dritz Fray Check secures a small edge only when a stitched finish is impractical.
None is universally better than every alternative. The value comes from using the right tool for the right job, testing it on the actual material, and knowing when a specialist category needs a different buying guide.
Editorial and affiliate note
This draft contains Amazon affiliate links. If a reader buys through a qualifying link, the site may earn a commission at no additional cost to the buyer. Products were selected for distinct utility tasks, not ratings, review count, bundle size, novelty, or commission. Prices, sellers, pack sizes, colours, labels, and availability can change. Confirm the exact ASIN and product before publication and purchase.