

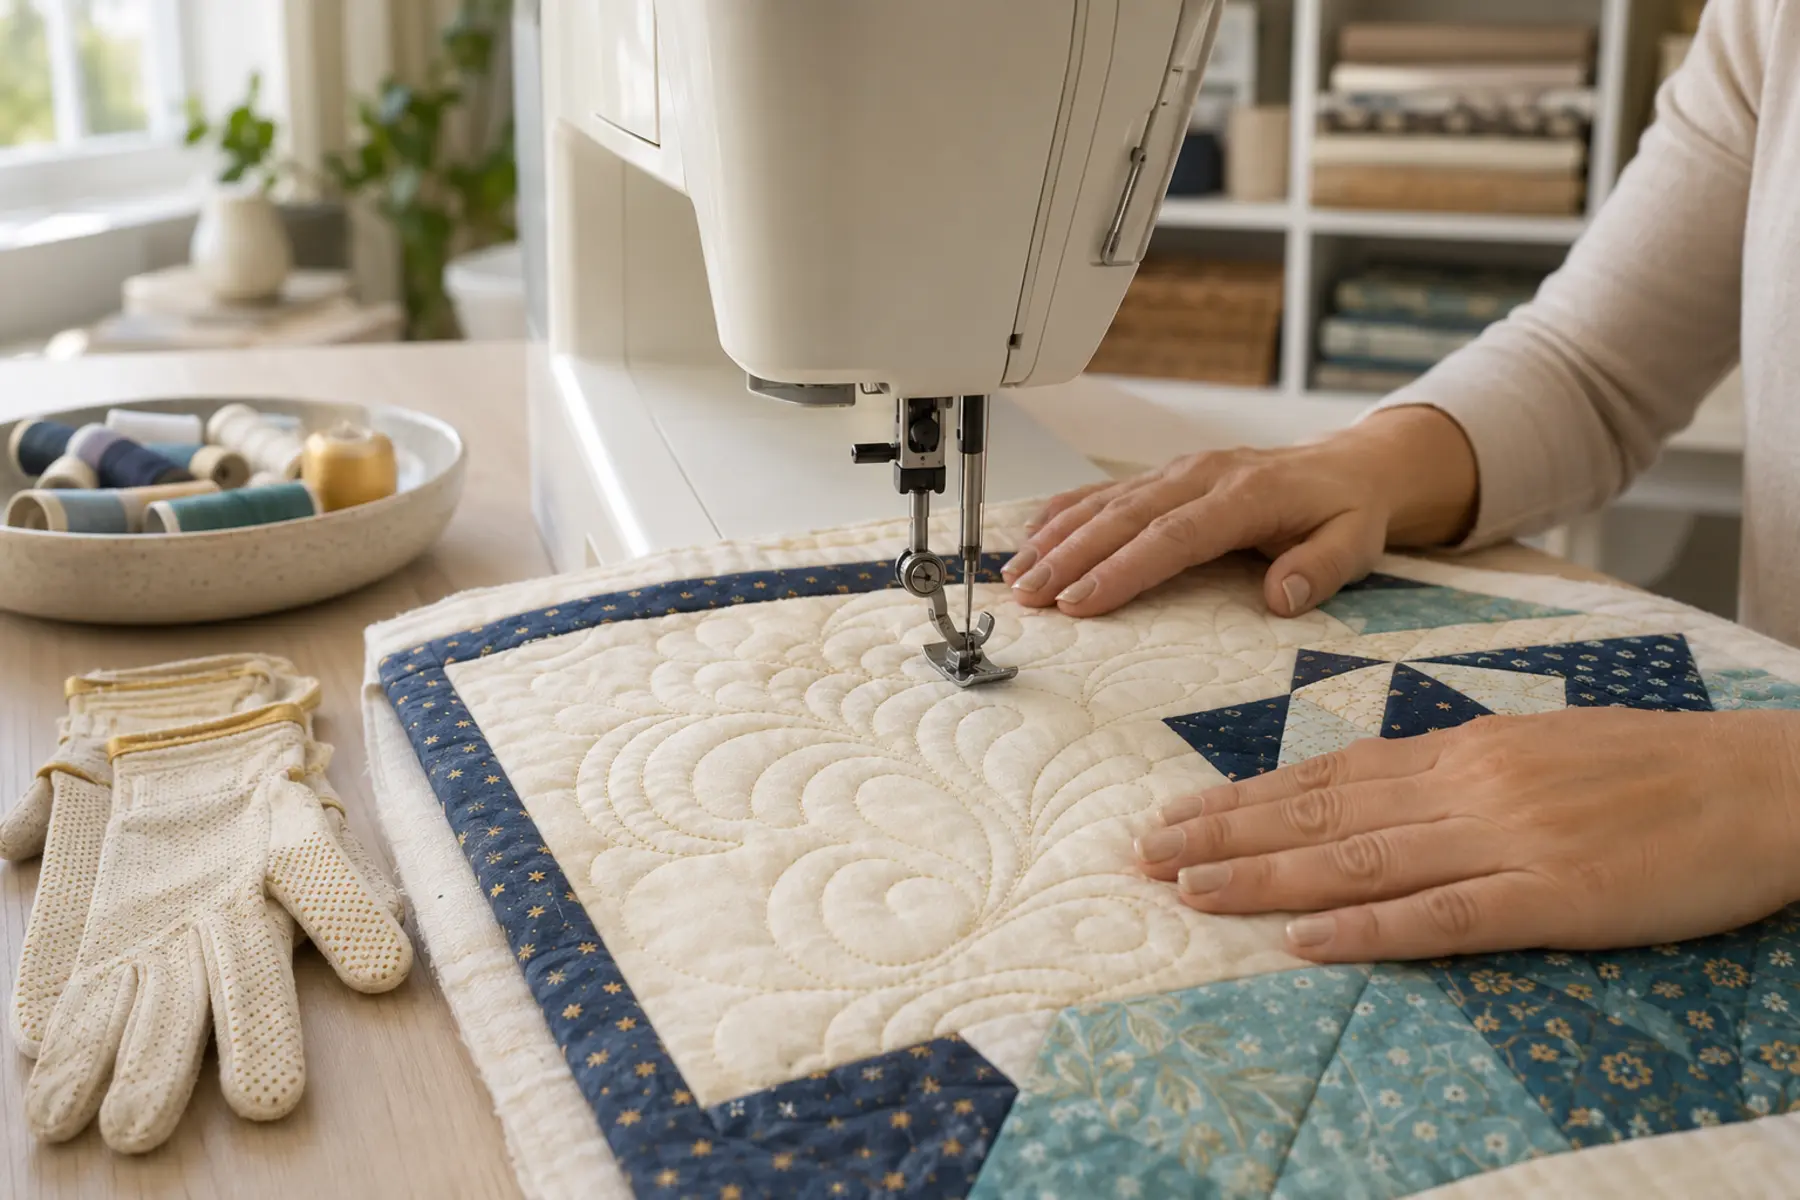
This is a technique guide, not a ranking of quilting machines. It assumes that you already have a functioning machine and want to learn how to move a quilt sandwich freely beneath the needle. If you are still deciding what type of machine you need, first understand what makes a sewing machine suitable for quilting.
In ordinary sewing, the feed dogs move fabric in a controlled direction. In free-motion quilting they are lowered, covered, or otherwise disengaged, so your hands control direction and distance while the motor controls how quickly the needle cycles. Consistent stitches come from coordinating those two movements.
1. Confirm that your machine can be set up safely
Read the model manual before lowering feed dogs or installing an accessory. Some machines use a lever to lower them, some use a cover plate, and some provide a dedicated free-motion mode. Install only a free-motion, darning, or quilting foot confirmed as compatible with your model. The opening must give the needle enough clearance at the selected position.
A generic foot that looks similar can have the wrong shank height or mounting geometry. If you need an accessory, compare free-motion quilting feet by exact machine compatibility on Amazon, then verify the model number with the machine manufacturer or manual before ordering.
2. Start with a small, realistic practice sandwich
Use two pieces of stable quilting cotton with batting between them. A square around 12 to 18 inches gives enough room for movement without the drag of a full quilt. Baste the layers so they behave as one unit. Loose layers can create folds that look like tension problems.
Use the same thread, batting, needle, and fabric combination planned for the project when possible. A practice sandwich is not merely scrap. It is where you establish a workable combination before committing to the quilt.
A fresh quilting, topstitch, or needle type recommended for your thread and fabric is more reliable than a needle left from another project. The sewing machine needle guide explains how needle type and size affect stitch formation.
3. Reduce drag before trying to improve your stitches
Support the whole practice piece on the table. Fabric hanging over an edge pulls against your hands and creates sudden changes in stitch length. If the machine bed sits much higher than the table, use an extension table or arrange a stable surrounding surface without blocking ventilation.
Clean, dry hands can guide cotton, but many beginners find that quilting gloves with grippy fingertips reduce how tightly they need to hold the sandwich. Gloves should improve contact, not encourage force.
Relax your shoulders and keep forearms supported. Free-motion quilting is harder when the hands are trying to overcome weight, friction, and an uncomfortable posture at the same time.
4. Establish a baseline before adjusting tension
Thread the machine with the presser foot raised, insert a correctly wound bobbin, bring the bobbin thread to the surface, and hold both tails for the first few stitches. Begin with the normal tension range recommended by the manufacturer.
Sew a short sample and inspect both sides. If loops appear underneath, rethread the upper path before tightening tension. If the upper thread lies loose on top, check the bobbin path. Change only one variable at a time and label each test area. The detailed sewing machine tension guide should be used only after threading, needle, and bobbin checks are complete.
5. Match hand movement to needle speed
Traditional free-motion stitch length is not selected in the same way as an ordinary seam. It emerges from the ratio between needle cycles and fabric movement. If your hands move quickly while the needle moves slowly, stitches become long. If the needle cycles quickly while the quilt barely moves, stitches become short.
Choose a moderate machine speed that sounds steady, then move the sandwich at a calm, continuous pace. Avoid repeatedly racing and stopping. A speed limiter can help keep the maximum speed manageable, but it cannot coordinate the fabric for you.
6. Practise shapes in a deliberate order
Lines and gentle curves
Sew forward, sideways, and diagonally without rotating the sandwich. This teaches you to move in every direction while keeping your hands away from the needle.
Loops and repeated S-shapes
These shapes develop continuous motion and help you recognise when you are moving faster in one direction than another.
Echo lines
Quilt around a previous line while maintaining approximate spacing. The goal is visual control, not ruler-level precision.
Travel and stop points
Practise slowing down, stopping with the needle down, repositioning your hands, and continuing without a visible jump.
7. Move from a comfortable hand position
Place both hands around the needle area with fingers spread and at a safe distance. Move only within the area you can control comfortably. When the useful space becomes small, stop with the needle down, relax the pedal, reposition both hands, and continue.
Do not stretch one hand far away while the other pushes near the foot. Uneven pressure twists the sandwich and can bend the needle. The movement should come from both hands guiding the layers together.
8. Diagnose common beginner problems in the right order
9. Move to a real quilt gradually
Begin with a placemat, cushion panel, table runner, or small wall hanging. A large bed quilt adds bulk management before your movement habits are stable. Quilt from the centre outward when the project construction requires it, support the quilt's weight, and work in manageable zones.
Before starting each zone, check that no section is folded underneath. Pause regularly to relax your hands and shoulders. Fatigue often appears first as rushed movement and tight gripping.
Technical references and model checks
A quilting foot and needle plate must be treated as a compatible set. A straight-stitch plate is not suitable for a zigzag path.
Brother free-motion foot, plate and stitch compatibility instructions.
Frequently Asked Questions
Free-motion quilting questions
Can a beginner do free-motion quilting on a regular sewing machine?
Yes, if the machine can disengage or cover the feed dogs and accepts a compatible free-motion or darning foot. A stable table, suitable needle, smooth thread path, and small practice sandwich matter more at the beginning than decorative features.
What should I practise first in free-motion quilting?
Begin with relaxed lines, loops, curves, and repeated S-shapes on a small practice sandwich. Concentrate on coordinating hand movement with machine speed rather than producing a perfect design.
Why are my free-motion quilting stitches different lengths?
With the feed dogs lowered, stitch length is created by the relationship between needle speed and how quickly you move the quilt. Slow the machine or move the quilt faster for longer stitches; increase machine speed or move more slowly for shorter stitches.
Do I set stitch length to zero for free-motion quilting?
Many machines ignore the normal stitch-length setting when the feed dogs are lowered, but procedures vary. Follow the machine manual and the instructions for the installed free-motion foot.
Why does the thread break during free-motion quilting?
Common causes include a damaged or unsuitable needle, poor-quality or old thread, incorrect threading, excessive tension, moving the quilt too sharply, or a needle striking the foot. Rethread and replace the needle before making major tension changes.
Consistency grows from controlled repetition
Successful free-motion quilting is not defined by producing a polished feather on the first attempt. A useful first milestone is being able to set up safely, move in several directions, stop and reposition, and recognise why stitch length changes. Practise one movement family at a time and keep the samples that show your progress.