

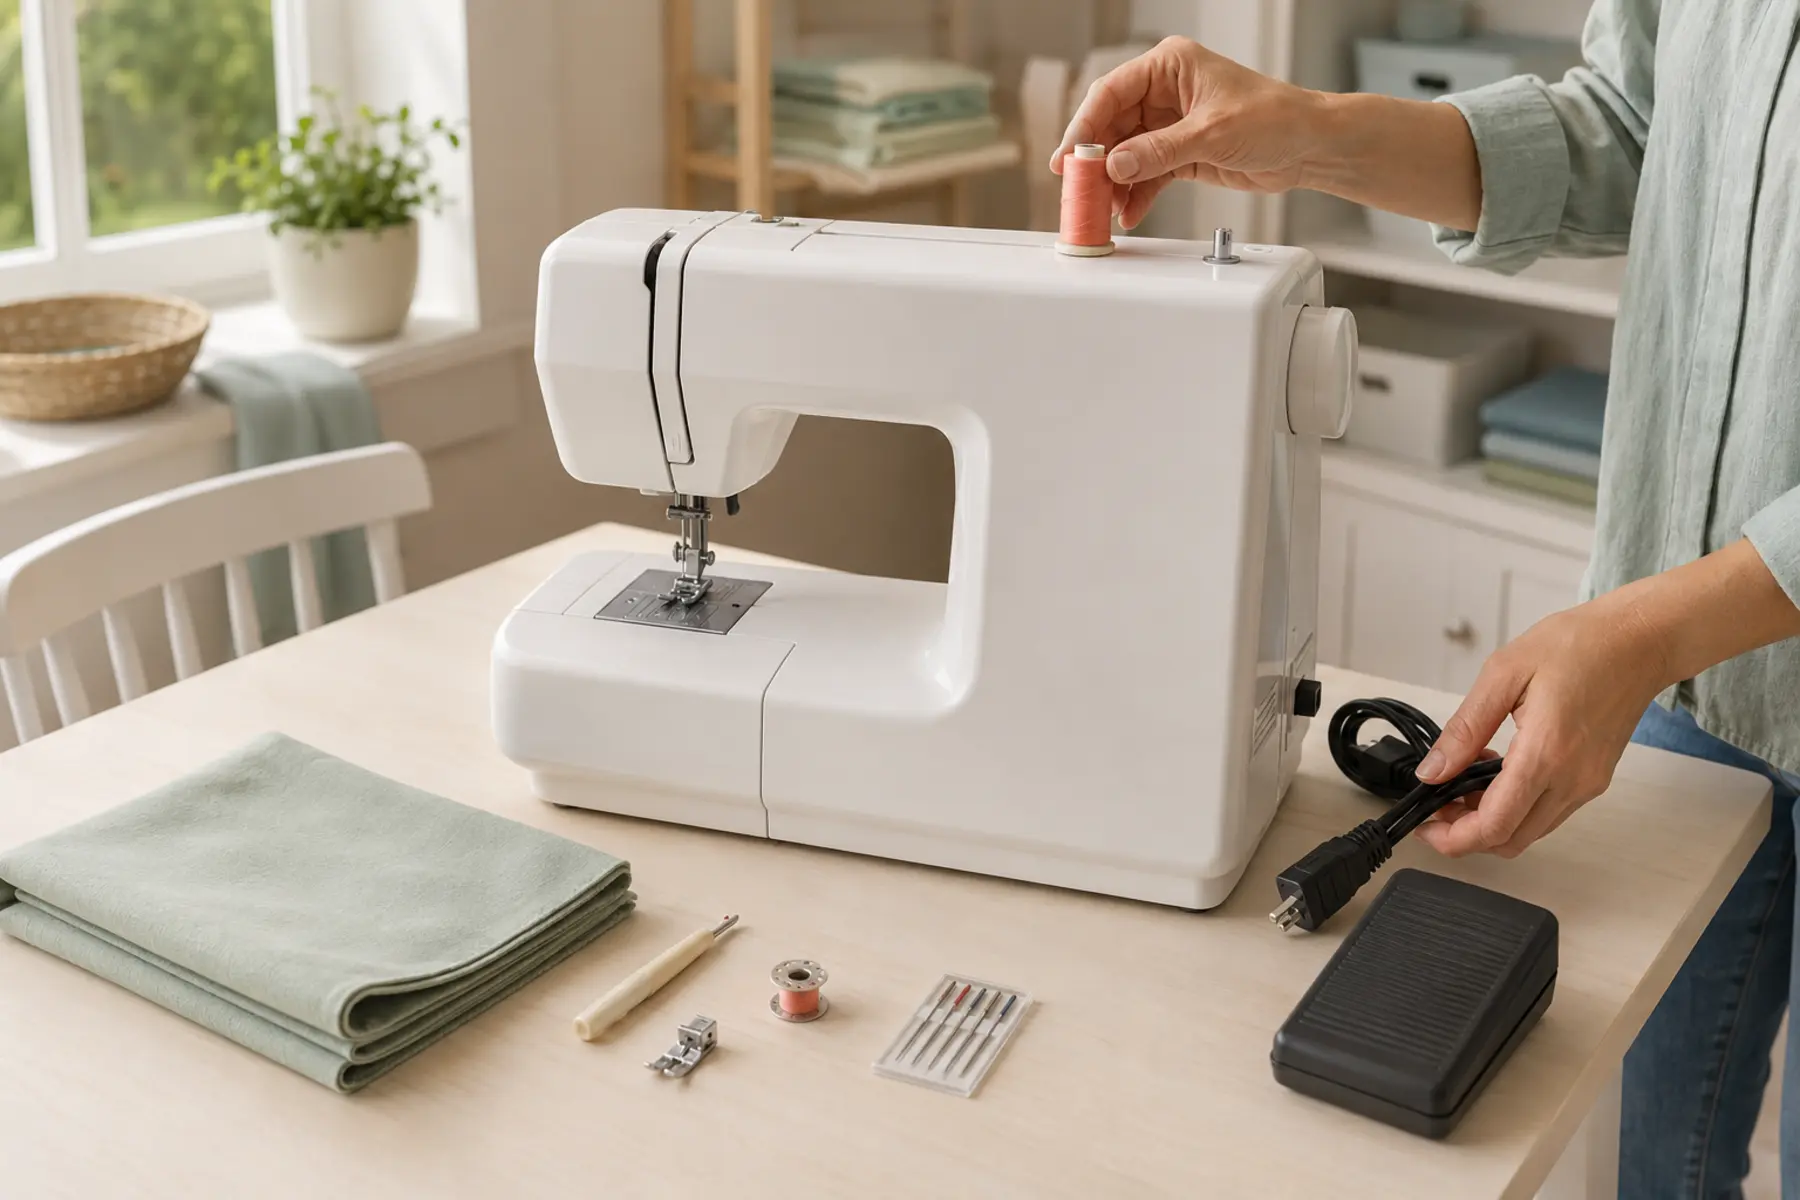
A sewing machine may look ready to use as soon as it is placed on a table, but reliable stitching depends on several small setup steps being correct at the same time. The machine must sit securely, the correct needle and bobbin must be installed, the upper thread must enter the tension system, and the first stitch settings must suit the fabric.
This guide follows the full setup sequence from an unplugged machine to a completed test seam. The exact shape of controls varies between front-loading, top-loading, mechanical, and computerised machines, so keep your model manual beside you and use its diagrams whenever the thread path or bobbin direction differs from the examples below.
1. Gather the basic supplies before switching on the machine
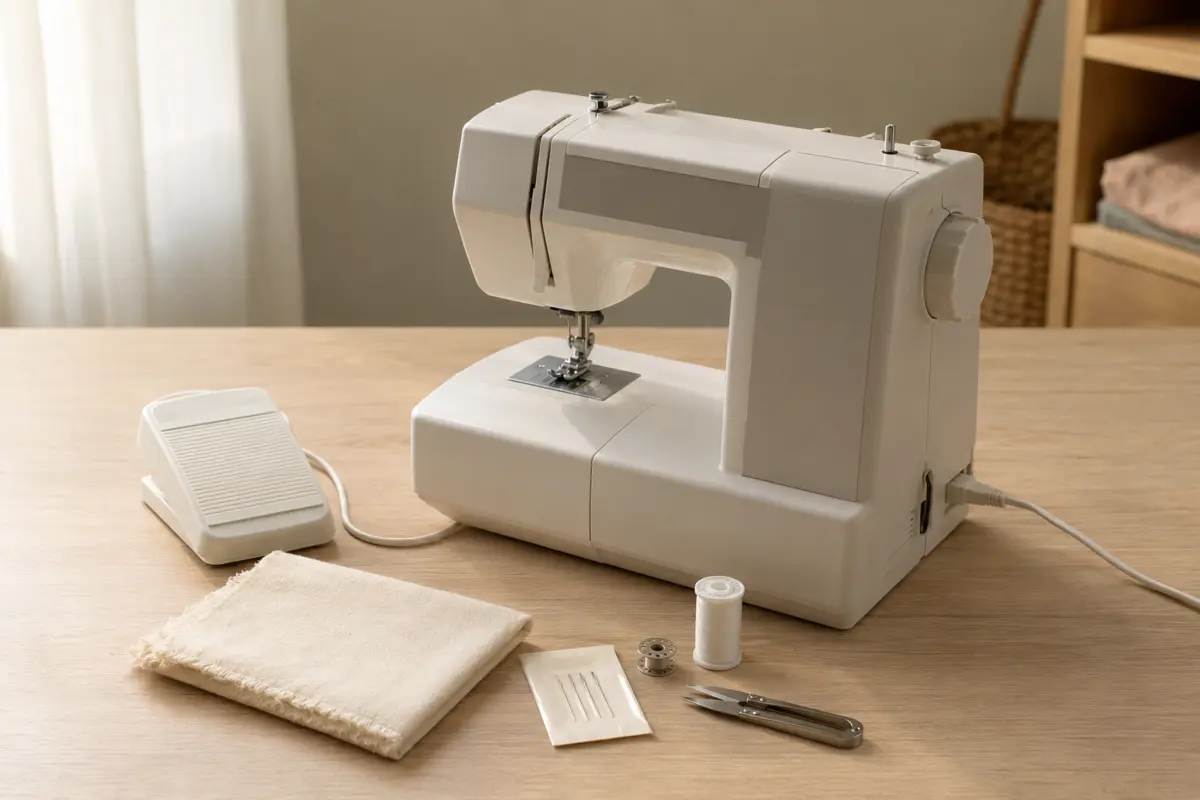
Prepare everything you need before threading. Stopping halfway through setup to search for a bobbin, needle, or scrap fabric makes it easier to forget a guide or lose track of the thread path.
The sewing machine and its correct power cord
The matching foot pedal, when the model uses one
The machine manual or official threading diagram
The correct bobbin type for the model
Good-quality all-purpose sewing thread
A new universal needle suitable for medium woven fabric
Two layers of stable woven cotton for testing
Small scissors or thread snips
Do not assume that a bobbin is compatible because it fits inside the bobbin area. Bobbins that differ slightly in height, curvature, or centre-hole size can create inconsistent tension, noise, thread jams, or poor stitch formation.
2. Choose a stable and comfortable sewing workspace
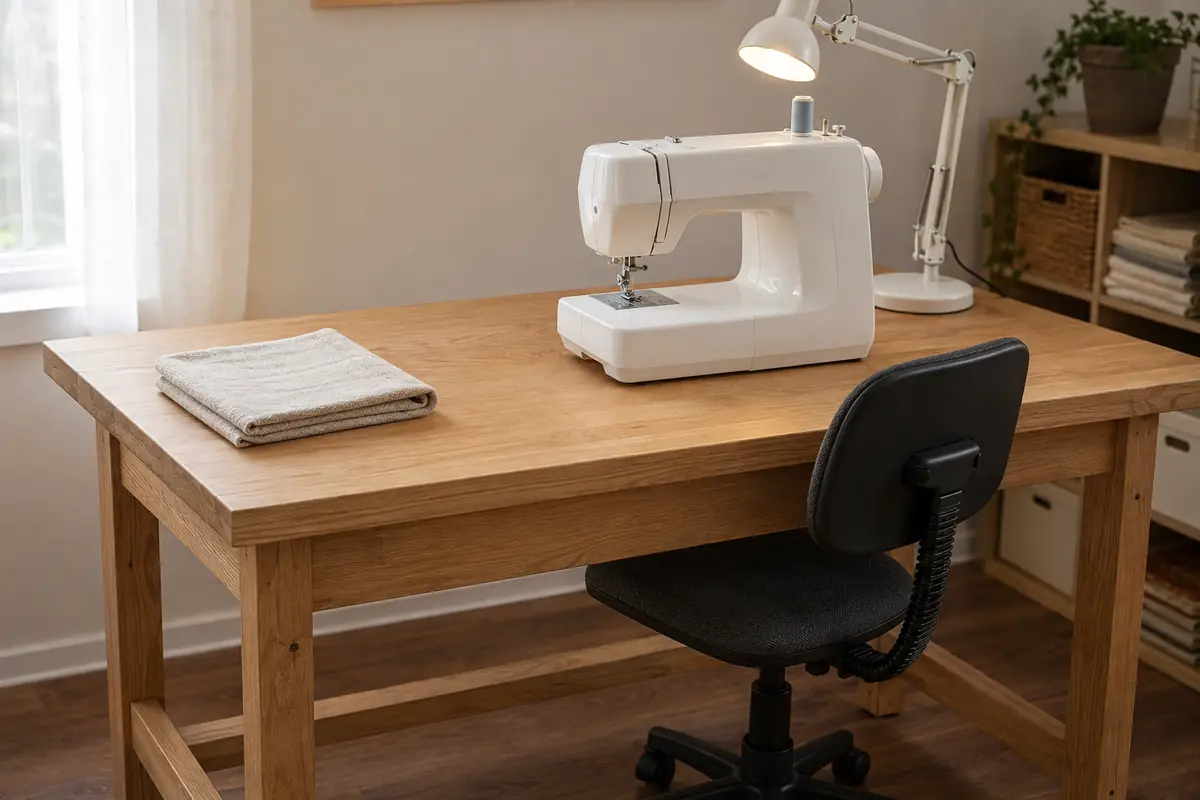
Place the machine on a solid, level table rather than a soft surface, folding tray, bed, or unstable stand. The machine should not rock when you press the pedal or guide fabric. Vibration makes speed control harder and can cause the seam to wander.
Sit directly in front of the needle area rather than in front of the centre of the machine body. Your shoulders should remain relaxed, your elbows should bend comfortably, and both forearms should have room to support the fabric. Position the foot pedal where your heel can rest on the floor and the widest part of your foot can press the pedal gradually.
Leave enough table space behind and to the left of the needle for the fabric to rest. Fabric hanging heavily over the edge can pull against the feed dogs and distort the seam. Use a bright task light when the built-in machine light is not sufficient.
3. Connect the power cord and foot pedal correctly
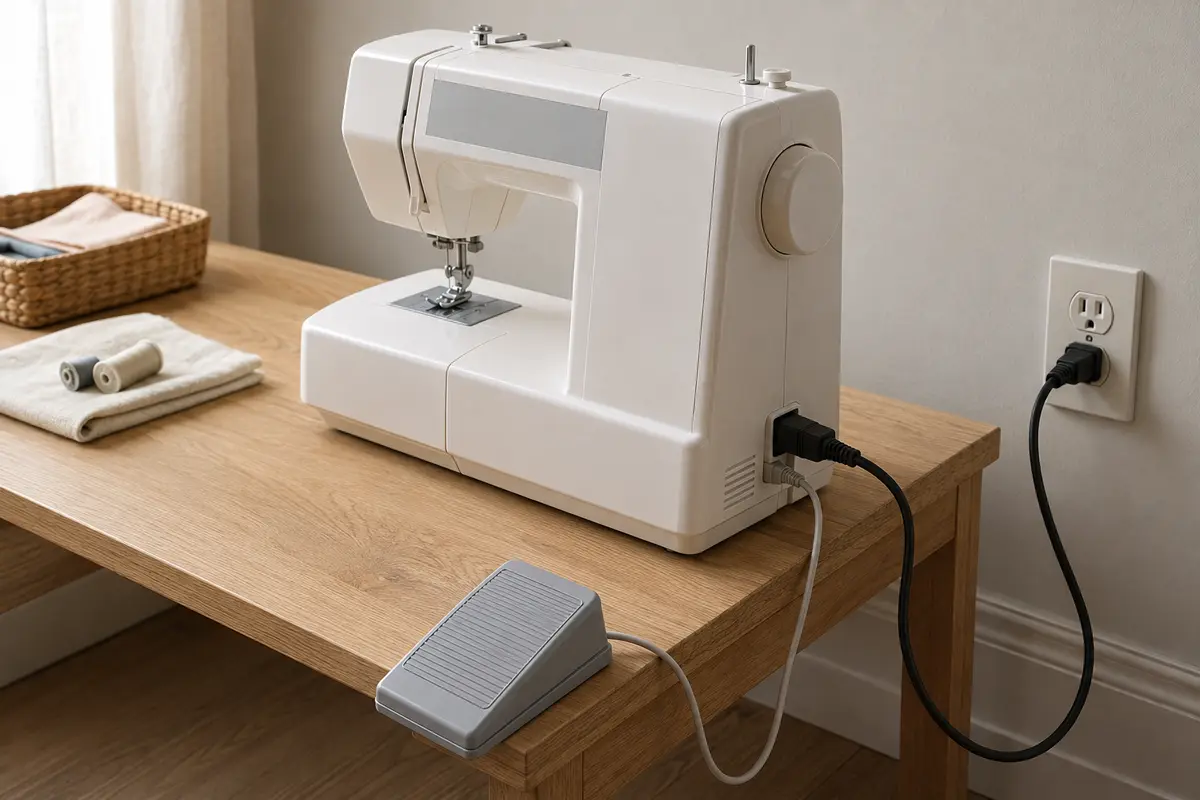
With the power switch off, insert the machine connector fully into the correct socket. Some machines use one combined plug for power and the foot pedal, while others use separate sockets. Do not force a connector that does not align easily.
Place the pedal on a non-slip surface with the cable facing away from your feet. Switch the machine on only after all connections are secure. The built-in light or display should activate without flickering, unusual heat, or a burning smell.
Before threading, press the pedal very gently for a moment with no fabric under the presser foot. Confirm that the needle bar moves smoothly and stops when you release the pedal. If the machine runs at full speed with very light pressure, reposition your foot and check whether the model has a speed-control slider that can be set lower.
4. Inspect the needle area before threading
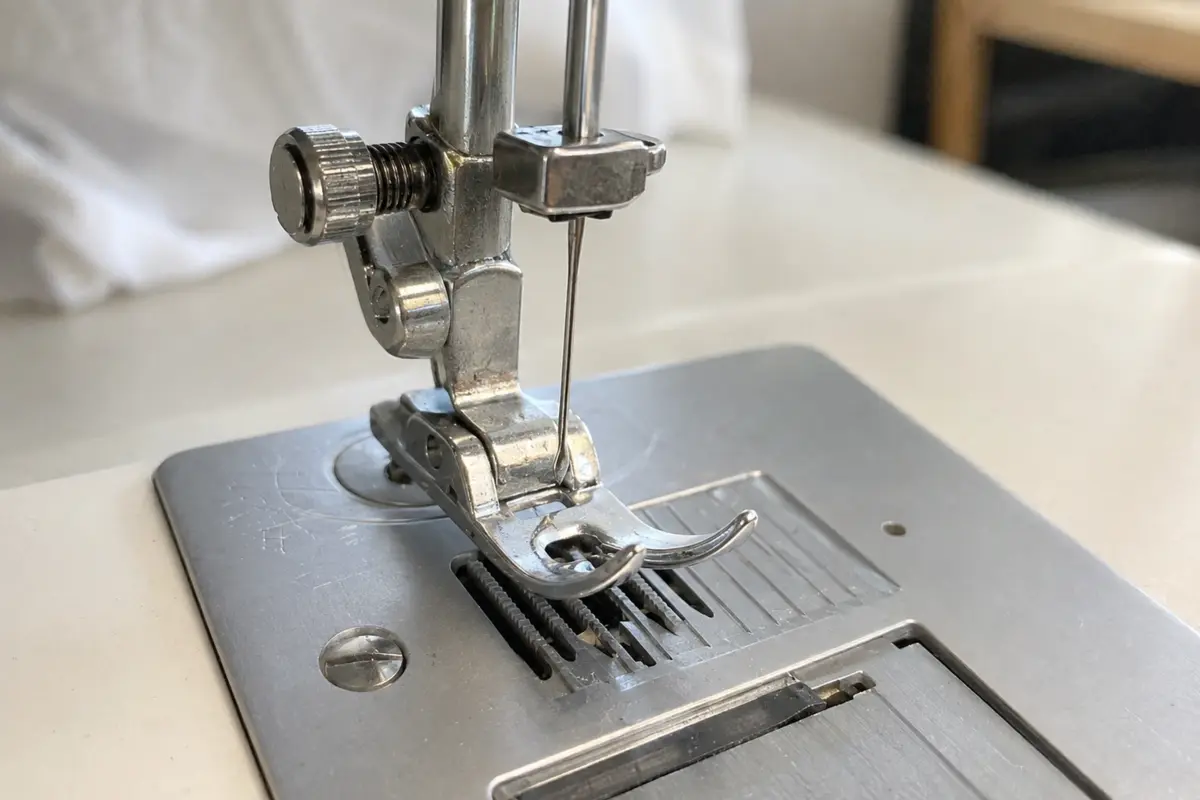
Turn the machine off again. Raise the needle to its highest position using the needle-up button or by turning the handwheel toward you. On most domestic machines, the handwheel should be turned only toward the operator unless the manual states otherwise.
Check that the needle is straight, fully inserted, and facing the correct direction. Many modern domestic machines use a needle with a flat side that faces the back, but some models use a different orientation. Tighten the needle-clamp screw securely without overtightening it.
Attach the standard presser foot used for straight and zigzag sewing. Confirm that it clicks or screws into place securely and that the needle can pass through its opening without touching the foot. Select the centre needle position before lowering the needle by hand.
5. Wind the bobbin evenly
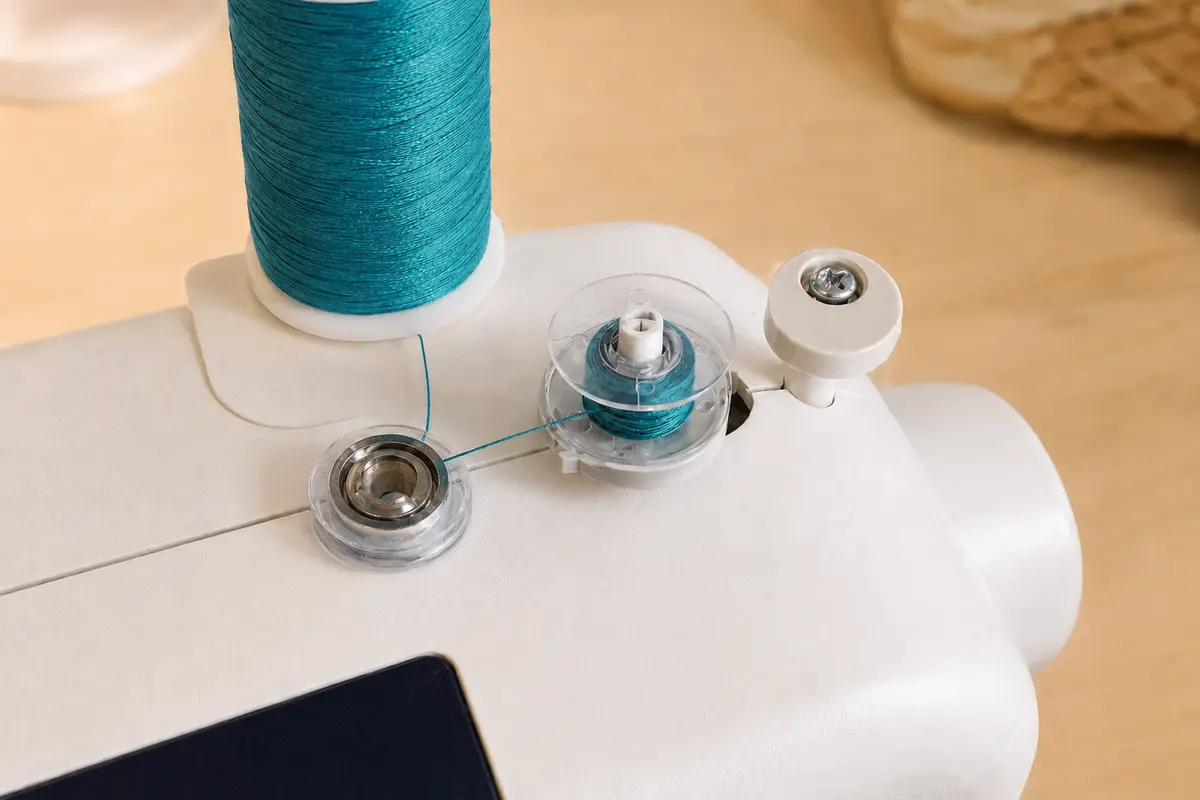
Place the thread spool on the spool pin with the correct spool cap when the machine uses one. The cap should hold the spool securely without squeezing it so tightly that the thread cannot unwind smoothly.
Follow the bobbin-winding path printed on the machine or shown in the manual. This path is usually shorter than the normal upper-threading path and passes around a bobbin-winding tension guide. Feed the thread through the bobbin hole from the inside outward when your model requires it, then place the bobbin on the winding spindle.
Push the spindle into bobbin-winding position. Hold the thread tail and run the machine slowly until several wraps form. Stop, trim the tail close to the bobbin, and continue winding at a moderate speed. The thread should build in smooth, even layers rather than forming a cone on one side.
Stop when the bobbin is full or when the automatic stop engages. Cut the thread, return the spindle to sewing position, and remove the bobbin. A loosely or unevenly wound bobbin should be rewound because it can cause inconsistent lower-thread delivery.
6. Insert the bobbin in the correct direction
Top-loading or drop-in bobbin
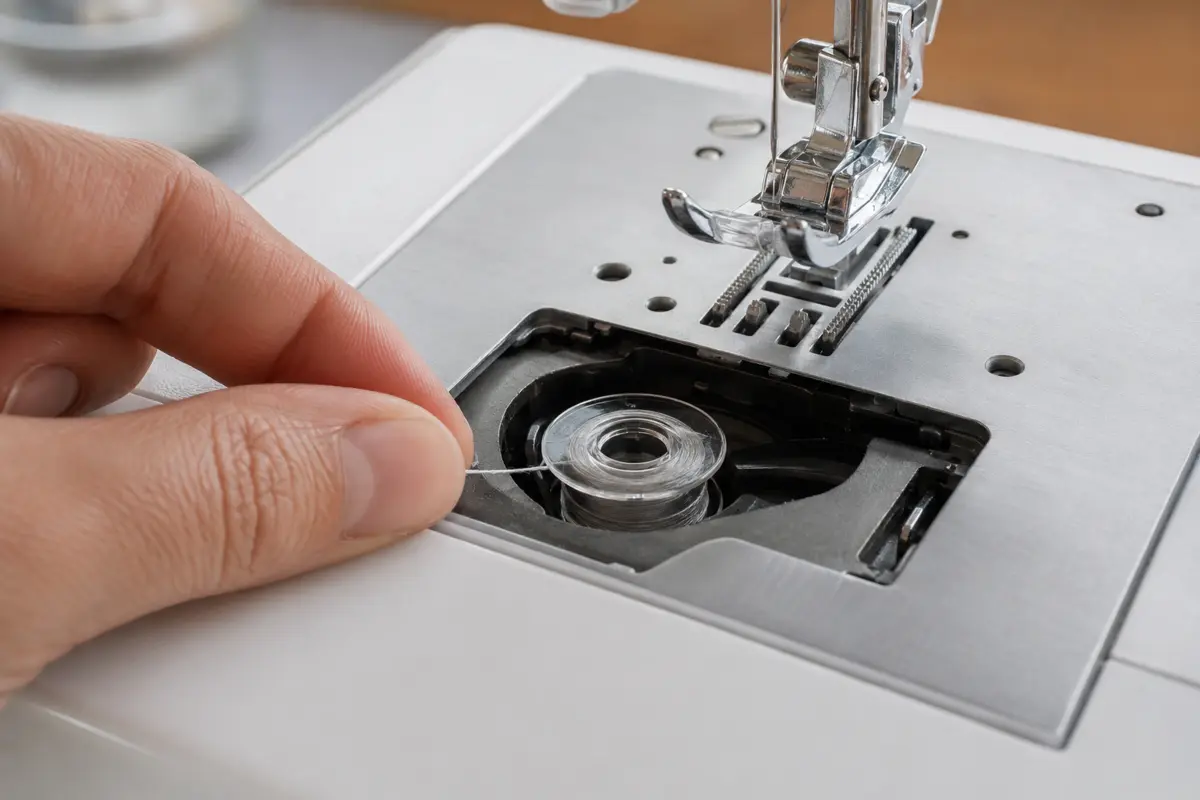
Raise the needle and presser foot, remove the bobbin cover, and place the bobbin into the horizontal holder. The thread must unwind in the direction shown by the arrows near the bobbin area. Pull the thread through the slot, under the tension guide, and toward the cutter when one is provided.
Front-loading bobbin
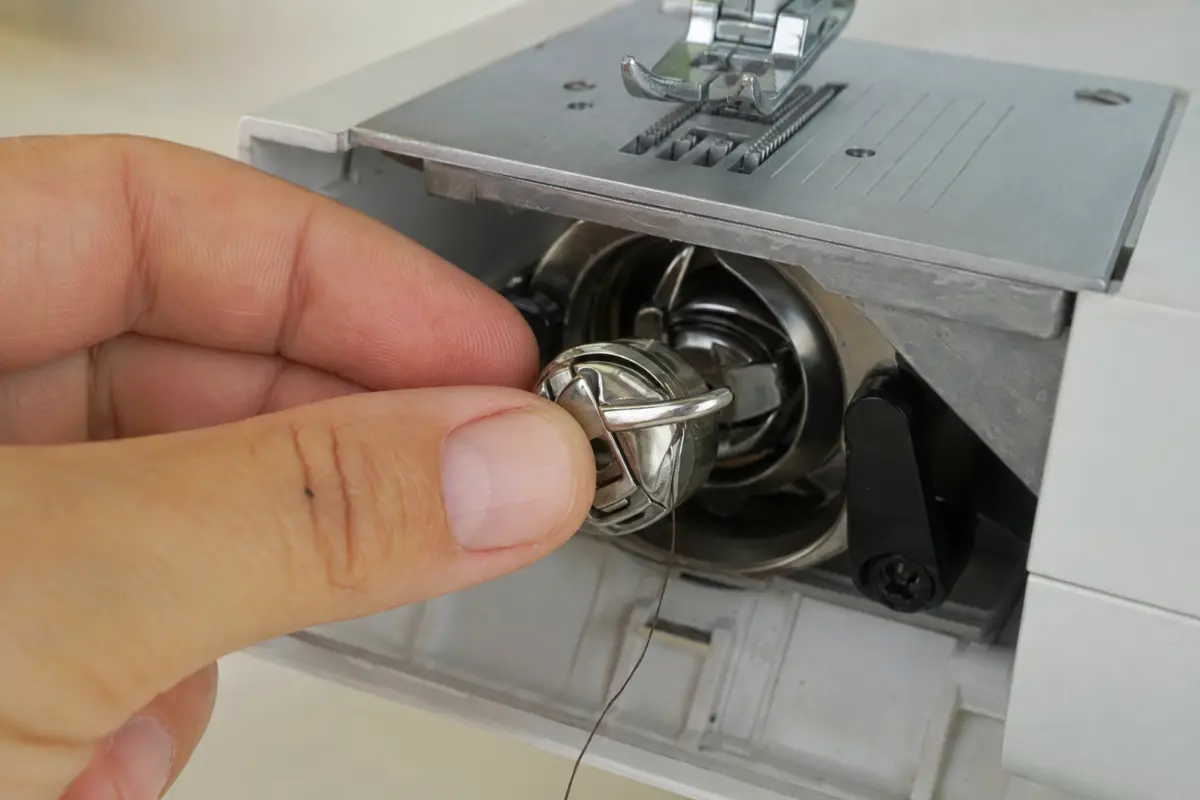
Place the bobbin into the removable bobbin case in the direction shown by the manual. Draw the thread into the case slot and beneath the tension spring. Hold the latch on the bobbin case, insert it into the hook assembly, and release it only after the case is seated securely.
Incorrect bobbin direction may still allow the machine to sew briefly, but it can cause loose stitches, irregular tension, thread pulling out of the case, or repeated jams. Never guess the direction when the diagram is available.
7. Raise the presser foot and thread the upper path
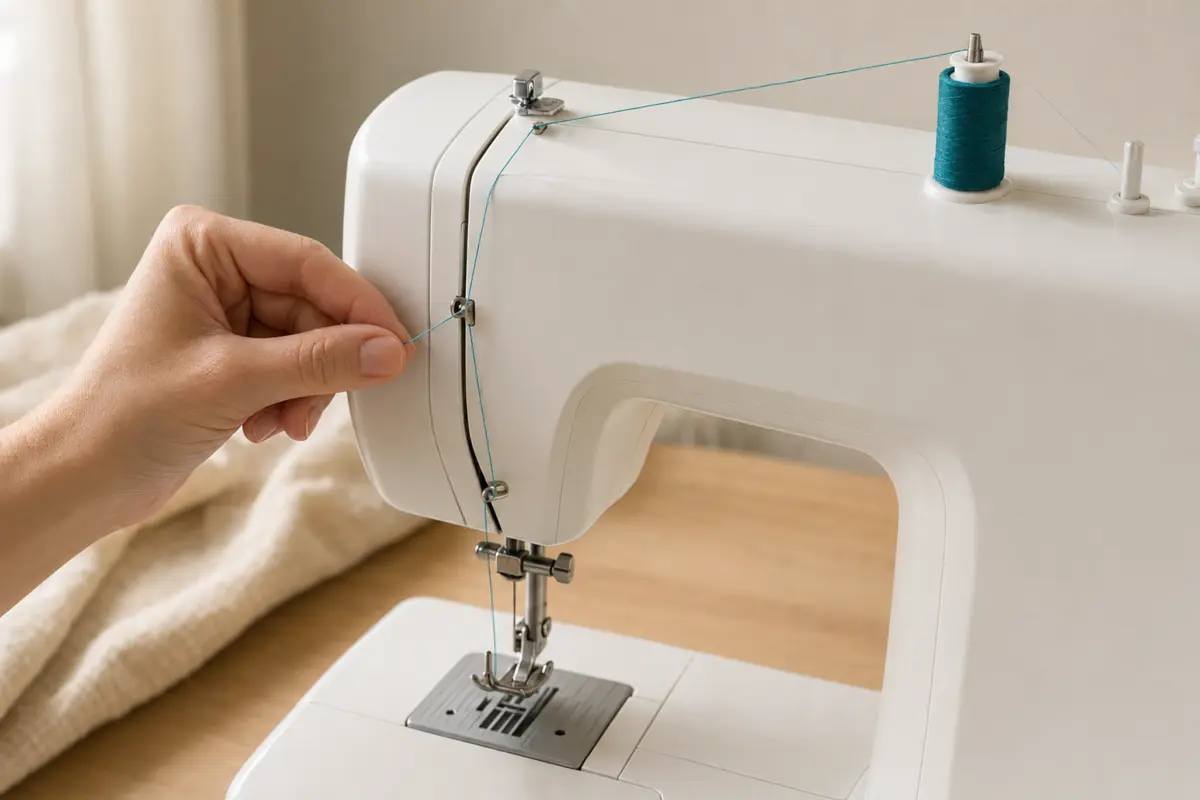
The presser foot must be raised before threading because this opens the upper tension discs. When the foot is down, the discs close and the thread may slide past them instead of settling between them. This is one of the most common causes of loops and thread nests underneath the fabric.
Raise the needle and take-up lever to their highest position. Place the spool on the spool pin, secure it with the appropriate spool cap, and follow the numbered guides on the machine. Bring the thread through the first guide, down the front channel, around the lower guide, and back upward through the take-up lever.
Make sure the thread passes through the eye or slot of the take-up lever rather than merely resting beside it. Bring the thread back down through the remaining guides near the needle bar, then thread the needle in the direction specified by the machine.
Pull several inches of thread under the presser foot and toward the back. Lower the presser foot and tug the upper thread gently. You should feel slightly more resistance than when the foot is raised, which indicates that the thread has entered the tension system.
8. Bring up the bobbin thread when the machine requires it
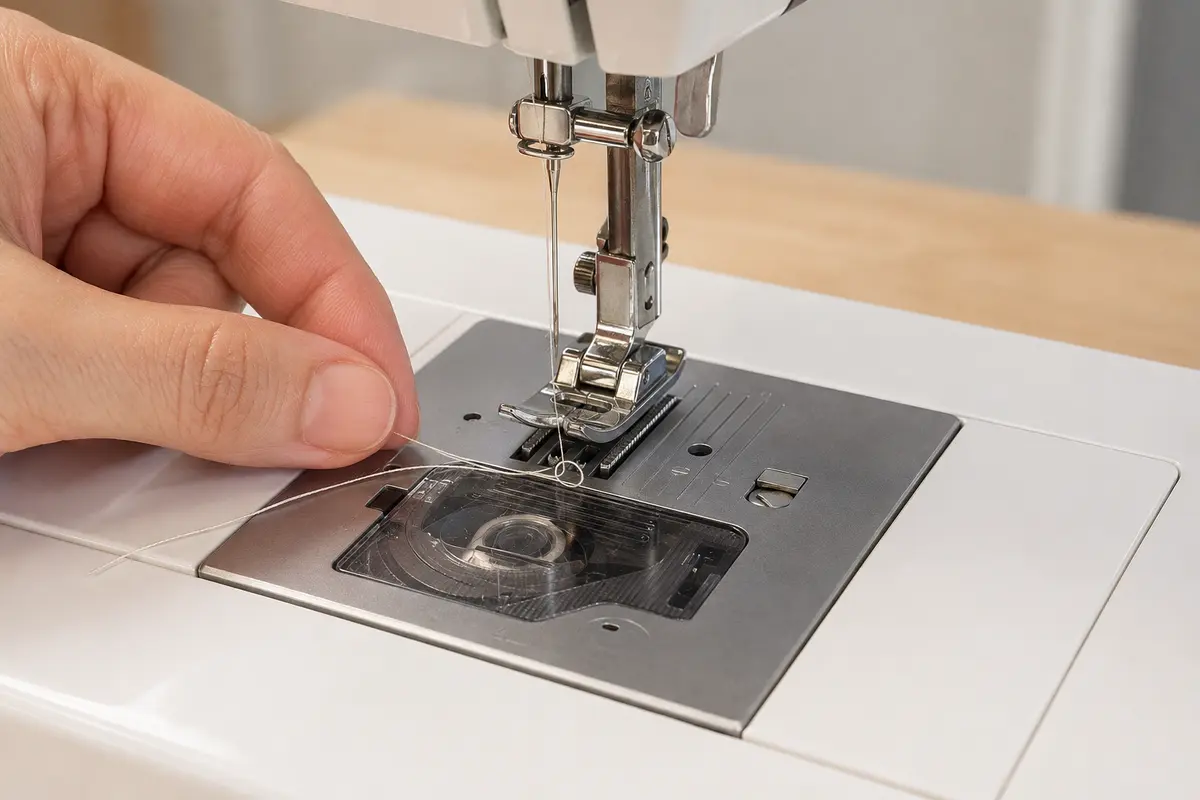
Some drop-in bobbin machines can begin sewing without manually raising the bobbin thread, while many machines work more reliably when both thread tails are brought to the top first.
Hold the upper thread lightly with your left hand. Turn the handwheel toward you for one complete stitch cycle so the needle goes down and returns to its highest position. Pull the upper thread gently. A loop of bobbin thread should rise through the needle plate.
Use scissors or the tip of a closed tool to pull the loop fully through. Place both thread tails under the presser foot and toward the back, leaving several inches free. Do not pull the fabric or thread sharply while the needle is lowered.
9. Select safe beginner settings for the first test
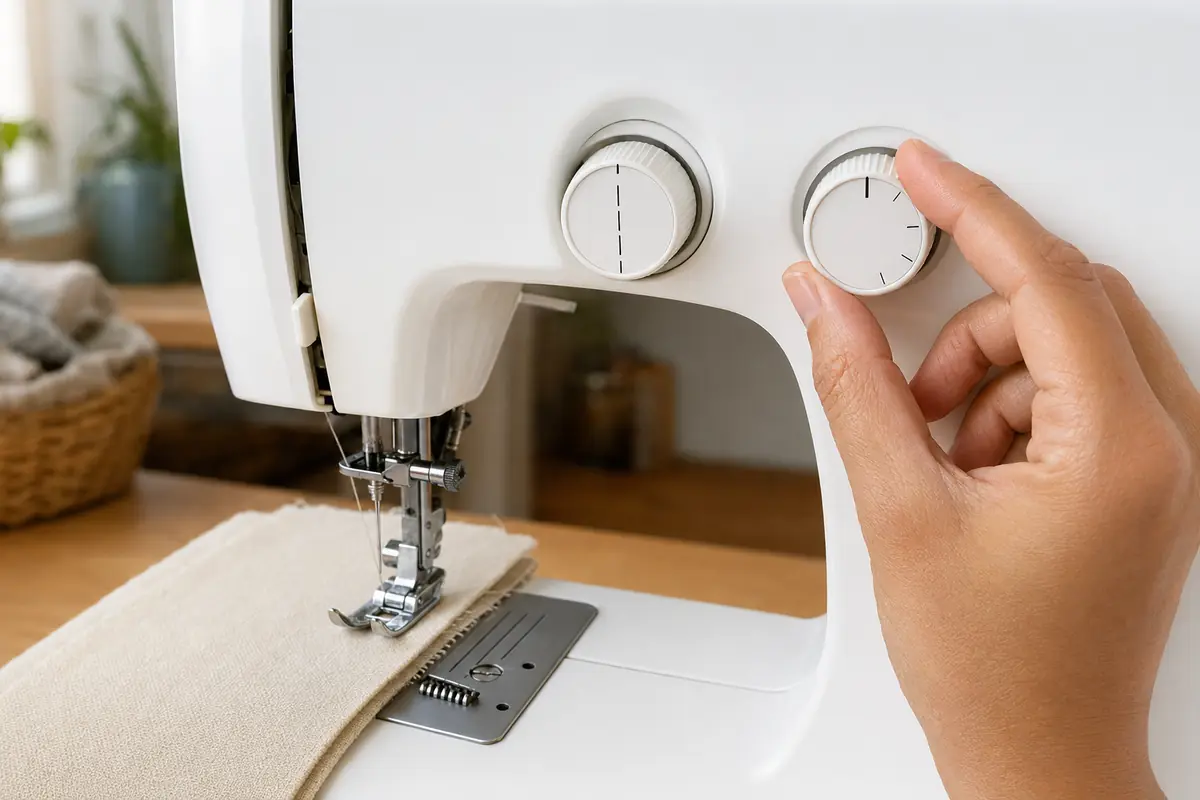
Return the machine to a basic straight stitch. Use the standard presser foot, centre needle position, and a medium stitch length of approximately 2.5 mm for ordinary woven cotton. Leave stitch width at zero for a true straight stitch.
Keep the upper tension near the normal middle setting recommended by the manufacturer. Do not adjust tension before testing unless the manual specifies a different starting point. Incorrect threading, a wrong bobbin, or a damaged needle is more likely to cause an immediate problem than the factory tension setting.
Set the speed-control slider low or medium when available. Confirm that the feed dogs are raised and that bobbin-winding mode has been disengaged. Lower the presser foot before pressing the pedal.
10. Sew a complete test seam before using project fabric
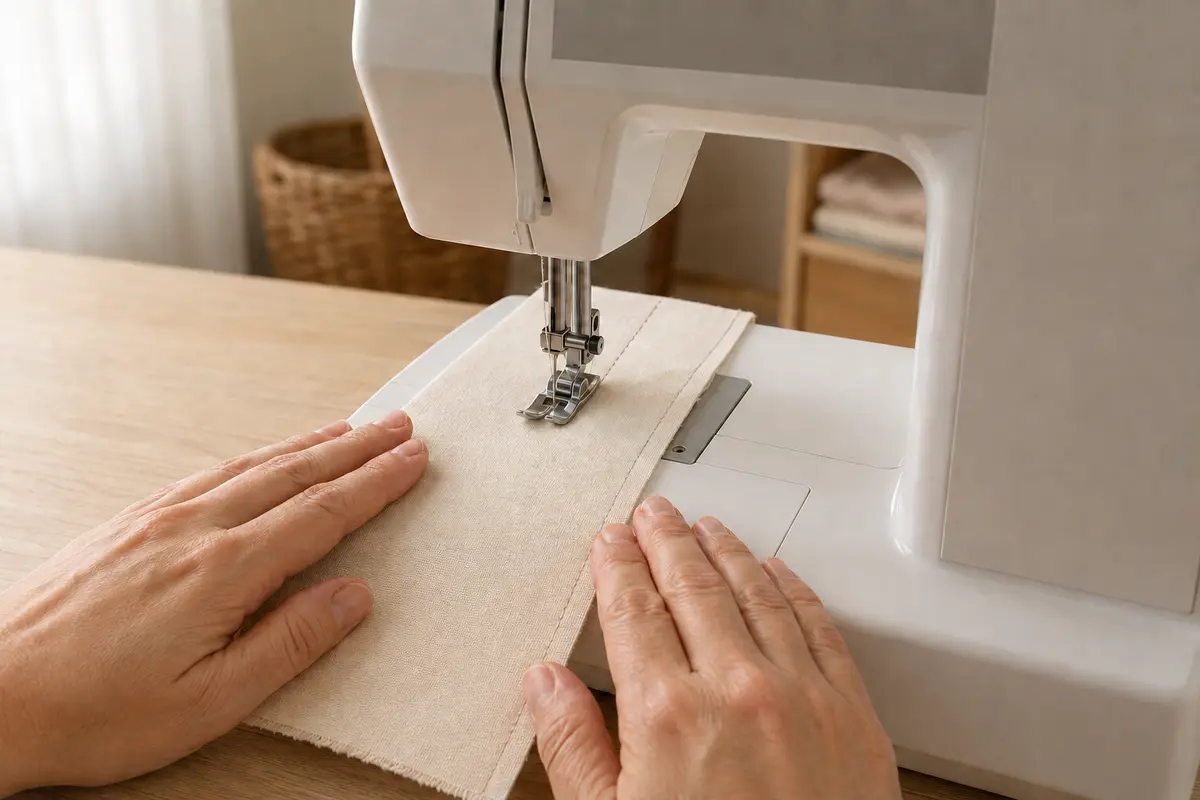
Fold a piece of stable woven cotton so you have two layers. Place it under the presser foot with the edge aligned to a seam-guide mark on the needle plate. Lower the presser foot and hold both thread tails behind the foot for the first few stitches so they cannot be pulled into the bobbin area.
Sew forward slowly for several stitches. Use a few reverse stitches to secure the start when appropriate, then continue forward. Guide the fabric by keeping its edge aligned with the seam guide. Do not pull it from behind or push it under the foot.
Stop with the needle raised, lift the presser foot, pull the fabric gently toward the back or side according to the machine design, and use the built-in cutter or scissors. Inspect both sides of the seam.
11. Fix common setup problems in the correct order
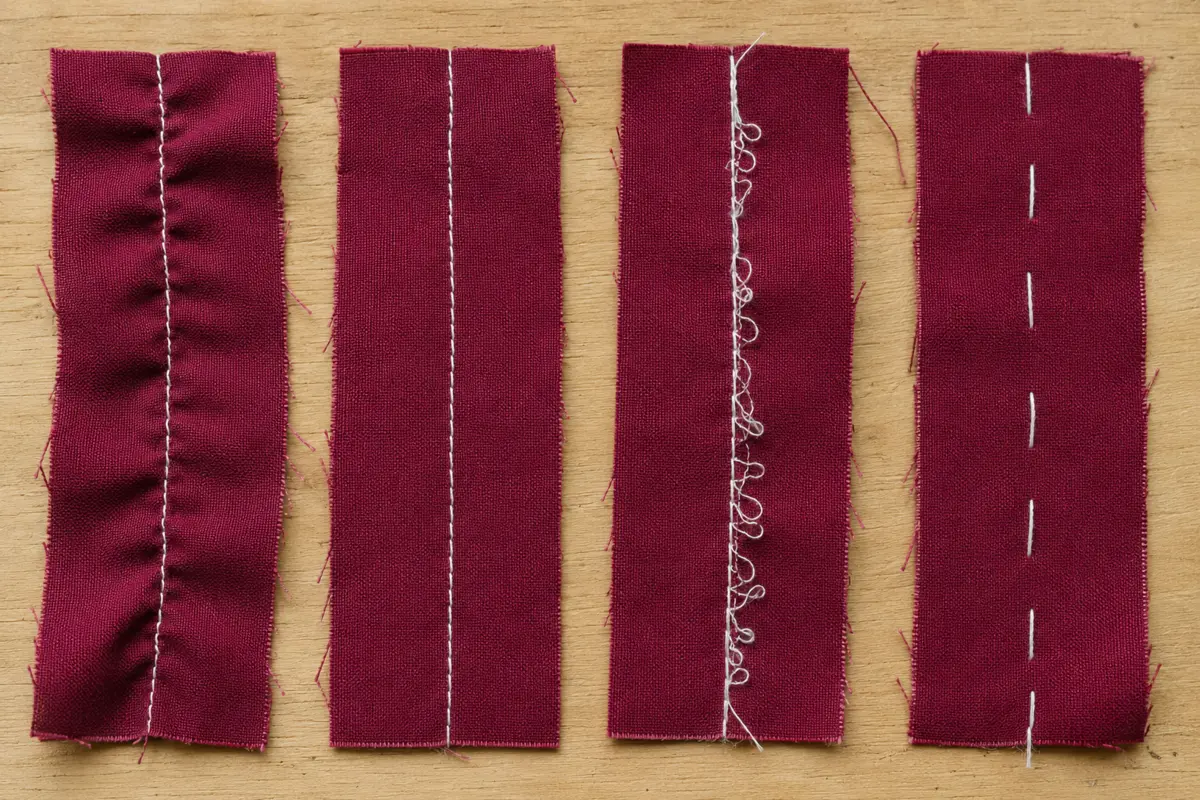
The machine will not sew
Confirm that the power switch is on, the pedal is connected, the presser foot is lowered, and the bobbin-winding spindle has returned to sewing position. Check whether the machine displays a presser-foot, bobbin-cover, or safety warning.
The needle moves but the fabric does not feed
Make sure the presser foot is down and the feed dogs are raised. Check that the stitch length is not set to zero. Remove any thread jam beneath the needle plate before testing again.
Thread bunches underneath the fabric
Stop immediately. Raise the presser foot and needle, remove the fabric carefully, clear the tangled thread, and rethread the entire upper path with the presser foot raised. Confirm that the take-up lever is threaded.
The upper thread keeps breaking
Check the thread path for a missed guide, replace a damaged needle, confirm that the needle is installed correctly, and make sure the spool can unwind without catching on a notch or oversized spool cap.
The bobbin thread will not come up
Reinsert the bobbin in the correct direction, leave a longer upper-thread tail, hold it lightly, and turn the handwheel toward you through a full stitch cycle. Confirm that the needle is fully inserted and not bent.
The needle hits the presser foot or needle plate
Stop using the pedal. Select the centre needle position and straight stitch, confirm that the correct presser foot is attached, and turn the handwheel slowly by hand. Replace the needle if it is bent.
Use the main sewing machine troubleshooting hub when the machine still jams, knocks, displays an error, or fails to form stitches after a complete reset.
Complete sewing machine setup checklist
The machine is stable, level, and switched off during setup
The power cord and foot pedal are fully connected
The needle is fresh, straight, and inserted correctly
The standard presser foot is attached securely
The bobbin is the correct type and wound evenly
The bobbin is inserted in the correct direction
The presser foot is raised while threading the upper path
The thread passes through the take-up lever and needle-bar guides
Both thread tails are placed behind the presser foot
The machine is set to straight stitch, centre position, and medium stitch length
Bobbin-winding mode is disengaged and the feed dogs are raised
A test seam has been checked on both sides
Frequently Asked Questions
Sewing machine setup questions
What should I do first when setting up a sewing machine?
Place the machine on a stable table, connect the power cord and foot pedal correctly, confirm that the needle and presser foot are secure, then follow the manual for winding and inserting the bobbin before threading the upper thread.
Should the presser foot be up or down when threading a sewing machine?
Raise the presser foot while threading the upper thread. This opens the tension discs so the thread can enter the tension system correctly. Lower the presser foot only when you are ready to sew.
How do I know whether the bobbin is inserted correctly?
The bobbin must be the correct type for the machine and unwind in the direction shown in the manual or on the bobbin-cover diagram. Pull the thread through the indicated slot and tension path before closing the cover.
Why does the thread bunch underneath the fabric after setup?
Thread nesting underneath the fabric usually means the upper thread was not seated in the tension discs, missed the take-up lever, or was threaded with the presser foot down. Remove the thread and rethread from the beginning with the presser foot raised.
What settings should a beginner use for the first test seam?
Use a straight stitch, centre needle position, standard presser foot, and a medium stitch length of about 2.5 mm unless the machine manual recommends otherwise. Test on two layers of stable woven cotton.
A correct setup should feel predictable
Once the machine is connected, threaded, and tested correctly, it should form an even straight stitch without unusual noise, thread nests, skipped stitches, or fabric damage. Keep the first setup simple and avoid changing several settings at the same time.
When something goes wrong, return to the sequence: raise the presser foot, remove and rethread the upper thread, check the bobbin direction, insert a fresh needle, restore the straight-stitch settings, and test again on scrap fabric. This method is faster and more reliable than turning the tension dial at random.