

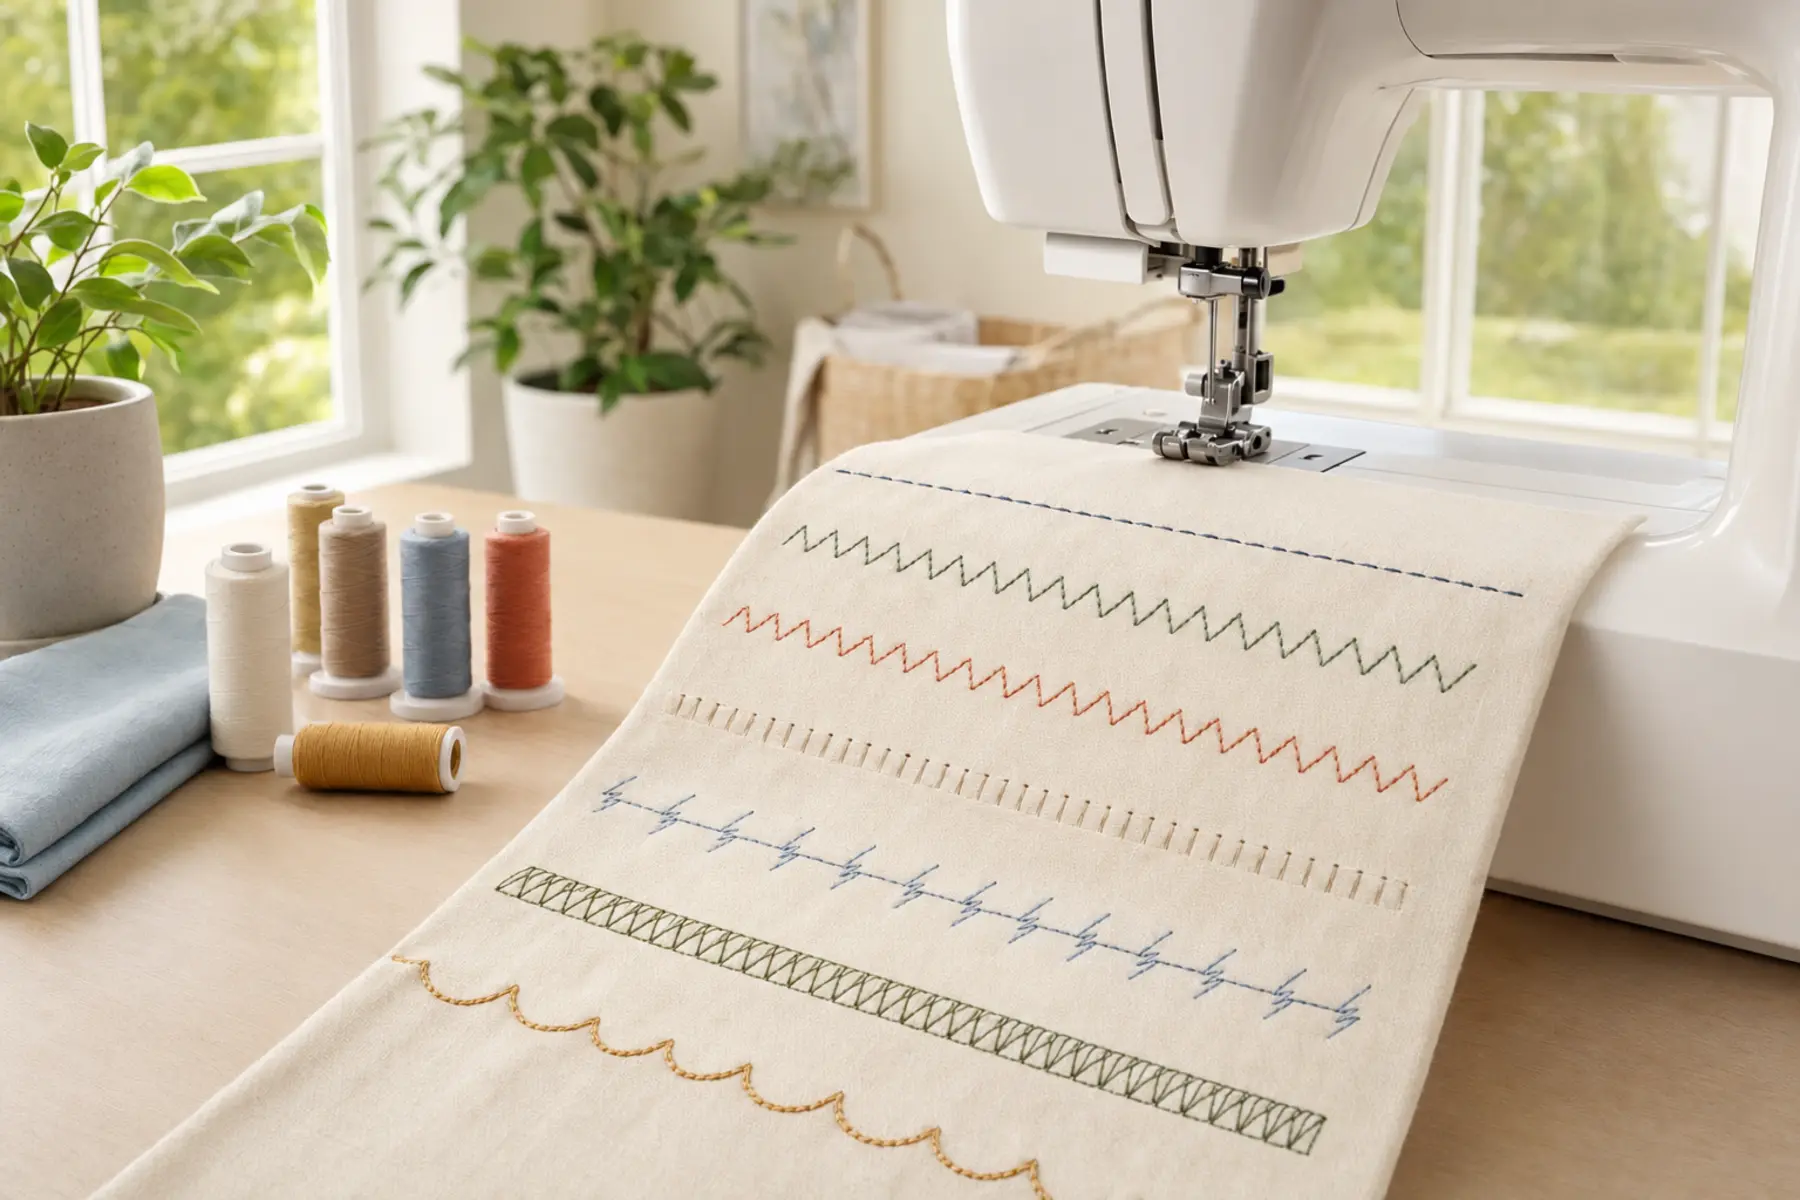
Stitch selection becomes easier when you stop treating the stitch panel as a catalogue of symbols and start asking what the seam must do. A construction seam joins layers. An edge finish controls fraying. A stretch seam must extend without breaking. A reinforcement stitch concentrates strength in a small area. A decorative stitch changes appearance but may also change fabric handling.
This guide explains those functions without repeating basic threading, tension, or fabric setup. Use the sewing machine tension guide when the stitch is formed incorrectly, and the fabric settings guide when material behavior is the main problem.
1. Choose a stitch by function, not by appearance
Before selecting a stitch, identify the seam's primary job:
Join stable woven layers
Join fabric that must stretch
Finish a raw edge
Create a hem
Attach elastic
Reinforce a stress point
Create a buttonhole
Baste temporarily
Add visible decorative stitching
A stitch that looks suitable on the display can still be wrong if it cannot stretch enough, perforates the fabric, pulls the edge inward, requires a different presser foot, or exceeds the safe needle opening.
2. Understand stitch length, width, and needle position
Stitch length controls how far the fabric advances between penetrations. Shorter stitches place more holes into the seam and can make delicate or non-woven materials easier to perforate. Longer stitches reduce density and are useful for basting, topstitching, bulky fabric, and some decorative effects.
Stitch width controls side-to-side needle movement on zigzag and other lateral stitches. A wider setting is not automatically stronger. Excessive width can distort soft fabric, reduce seam flexibility, or cause a needle strike if the foot or plate opening is too narrow.
Needle position moves a straight stitch left or right on compatible machines. Use it to refine seam allowance, edge stitching, zipper placement, or topstitching, but confirm that the selected presser foot and needle plate provide clearance.
3. Straight stitch
The straight stitch is the main construction stitch for stable woven fabrics. It is used for seams, darts, pleats, understitching, staystitching, edge stitching, topstitching, quilting lines, and many repairs.
A medium length is the normal starting point. Shorten slightly for precise small-scale work only when the fabric can tolerate the extra needle holes. Lengthen for topstitching, basting, thick materials, or multiple layers. A straight stitch has almost no sideways give, so it can snap on seams that must stretch.
For line-control technique rather than stitch selection, use the straight-line sewing guide.
4. Zigzag stitch
Zigzag moves the needle from side to side and can create stretch, cover an edge, attach appliqué, secure elastic, form a satin stitch, mend tears, or finish a seam allowance. Its usefulness depends on the relationship between width and length.
A narrow, moderately long zigzag can flex with knit fabric while remaining less visible than a wide zigzag. A wider, medium-length zigzag can finish raw edges. A very short, dense zigzag becomes a satin stitch and usually needs stabilizer and a foot that allows dense stitches to pass underneath.
5. Stretch, lightning, and triple stretch stitches
Stretch stitches are designed to extend more than an ordinary straight stitch. A lightning stitch forms a narrow angled line that can resemble a slightly irregular straight seam. It is useful for knits when a narrow zigzag is too visible or when the machine feeds that stitch more evenly.
A dedicated stretch stitch may move forward and backward as it forms. This can create a durable seam, but it may be slow to sew and difficult to unpick. Test it on the exact knit because some soft fabrics become wavy under dense reverse feeding.
A triple straight or reinforced stretch stitch sews forward, backward, and forward again over the same path. It creates a strong, prominent seam for high-stress areas and heavy topstitching, but it is dense and hard to remove. Do not use it as a default on delicate fabric.
6. Overcasting and overedge stitches
Overcasting stitches wrap thread around or close to the raw edge to reduce fraying. Some machines use a simple zigzag, while others include dedicated overedge patterns that combine a straight seam with edge coverage.
Use the recommended overcasting foot when the stitch is designed to form over a guide pin or edge bar. The guide helps the stitch wrap the edge without pulling it into a tunnel. Trim the seam allowance evenly before sewing when the pattern or method requires it.
These stitches imitate part of a serger's function but do not trim the fabric and may not produce the same seam structure or speed as an overlocker.
7. Blind hem stitch
A blind hem stitch makes several straight stitches along the folded hem allowance, then swings sideways to catch a small amount of the garment fabric. The goal is for only tiny thread points to show on the right side.
Accurate folding matters more than choosing an extreme width. Use a blind hem foot or adjustable guide, test how much fabric the sideways bite catches, and reduce width or reposition the guide if the stitches are too visible.
Woven and stretch blind hem stitches may be separate options. Confirm the correct symbol in the manual.
9. Bartacks and reinforcement stitches
Bartacks are dense, short stitches placed across a stress point. They reinforce pocket openings, belt loops, zipper ends, strap attachments, placket ends, and areas where seams receive concentrated pulling.
A short zigzag can act as a manual bartack when the machine has no dedicated program. Keep the width within the safe foot opening and avoid excessive density, which can create a stiff lump or perforate lightweight fabric.
Reverse stitching at the beginning and end of an ordinary seam is a different form of reinforcement. Use the reverse stitch guide for its specific purpose and limitations.
10. Basting stitches
Basting is temporary stitching used for fitting, positioning, gathering preparation, zipper alignment, quilting preparation, and checking difficult seams before permanent sewing. Use a long straight stitch and avoid excessive backstitching so the thread can be removed easily.
Machine basting is faster than hand basting, but hand basting gives more control on slippery, bulky, curved, or highly visible areas.
11. Stitches for attaching elastic
A zigzag, three-step zigzag, elastic stitch, or another model-specific stretch stitch can attach elastic while allowing it to extend. A three-step zigzag spreads the load across multiple small penetrations and is often useful for wide elastic, lingerie, repairs, and applications where the edge must remain flexible.
Mark the elastic and fabric into equal sections before stretching during sewing. The stitch cannot correct uneven distribution. Test whether the elastic recovers fully after stitching and whether the thread breaks at the required extension.
12. Satin and decorative stitches
Decorative stitches can add borders, motifs, mock embroidery, quilting detail, heirloom effects, and visible reinforcement. Their density and repeated side-to-side movement often require stabilizer, a smooth thread path, and the recommended decorative or satin-stitch foot.
Test the full pattern repeat before sewing the project. A stitch may look balanced over a few millimetres but drift, pucker, or compress the fabric over a longer section. Mark a centreline and use the foot's guide rather than watching the moving needle.
13. Twin-needle stitching
A twin needle creates two parallel rows on the right side while the bobbin thread zigzags underneath. It is commonly used for knit hems, decorative parallel lines, pintucks, and some topstitching effects.
Confirm the machine's maximum twin-needle width, threading path, spool arrangement, stitch restrictions, foot opening, and needle-plate clearance. Use a straight stitch or an explicitly approved pattern. A wide lateral stitch can break both needles immediately.
14. Stitch selection quick-reference chart
15. Recognize when the selected stitch is wrong
16. Account for mechanical and computerized machine differences
Mechanical machines may use a dial to choose a limited set of stitches, with separate controls for length and width. Computerized machines may assign default settings, recommend a presser foot, mirror stitches, elongate motifs, or limit width automatically.
Do not assume a stitch number from another brand means the same thing. Use the symbol chart, stitch panel, or manual for your exact model. Some machines also change the stitch options available when a straight-stitch plate, embroidery unit, dual-feed system, or specialty foot is attached.
17. Test a stitch before using it on the project
Use the exact fabric and number of layers
Add the same interfacing, elastic, batting, or stabilizer
Install the intended needle, thread, and presser foot
Start with the machine's recommended default settings
Check clearance by turning the handwheel
Sew enough length to reveal feeding or pattern-repeat problems
Inspect both sides of the sample
Stretch, press, fold, or handle the sample as the finished item will be used
Record the final length, width, needle position, foot, and tension
Frequently Asked Questions
Sewing machine stitch questions
What sewing machine stitch should a beginner use most often?
A centred straight stitch is the main construction stitch for stable woven fabrics. A medium stitch length, usually around 2.4 to 2.8 mm on many domestic machines, is a practical starting point, but the final setting should be tested on the actual fabric and layers.
Which stitch should I use for stretch fabric?
Use a stitch that can extend with the fabric, such as a narrow zigzag, lightning stitch, stretch stitch, or another knit-compatible stitch recommended by the machine manual. The best choice depends on how much the seam must stretch and how the fabric behaves during testing.
Can I use a straight stitch on knit fabric?
Sometimes, but only where the seam has little or no stretch and testing proves the thread will not break. Seams that must stretch usually need a stretch-capable stitch and a suitable knit or stretch needle.
Why does my zigzag stitch skip or look uneven?
Common causes include the wrong needle type, an unsuitable presser foot, fabric being stretched during feeding, excessive stitch width, incorrect threading, poor tension balance, or inadequate stabilization.
Do stitch symbols mean the same thing on every sewing machine?
No. Many symbols are similar, but stitch numbers, default widths, mirror options, recommended presser feet, and maximum safe widths vary by model. Always confirm the exact symbol and restrictions in the machine manual.
Select the stitch that matches the seam's job
Start with function, then consider fabric structure, required stretch, edge behavior, thread density, and machine clearance. Use the simplest stitch that performs the job reliably, test it on the real project stack, and record the settings that produce a durable seam without damaging or distorting the fabric.