

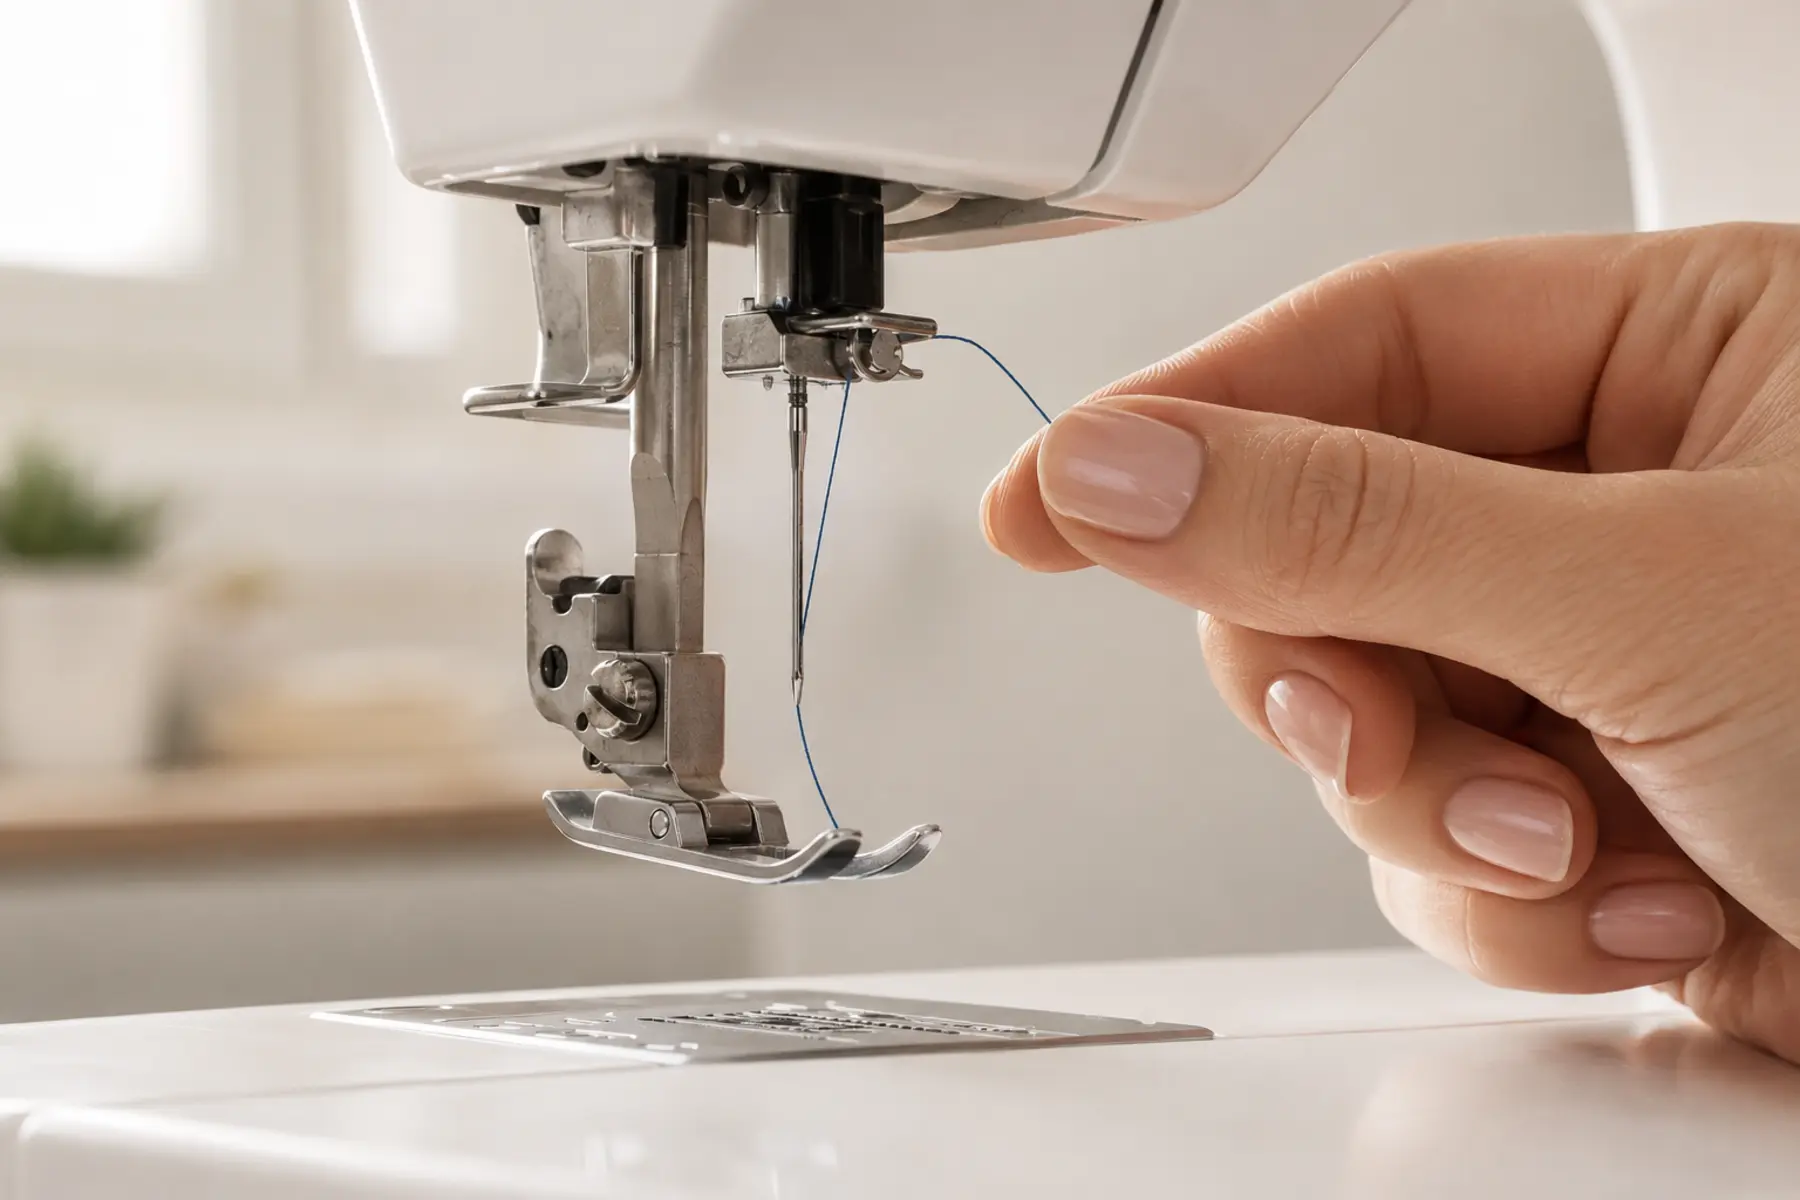
Threading a sewing machine is not simply a matter of pulling thread through a few hooks. The upper thread must enter the tension system, pass through the thread take-up lever, reach the needle in the correct direction, and work with a properly inserted bobbin. When any part of that sequence is missed, the machine may still move, but the stitch can become loose, tangled, unbalanced, or impossible to form.
The exact route varies by model, but most domestic lockstitch machines follow the same underlying logic. Understanding that logic makes it easier to thread a mechanical machine, a computerized machine, an older front-loading model, or a modern top-loading machine without depending entirely on a single diagram.
Before threading: prepare the machine correctly
Place the machine on a stable surface, switch it off when your fingers will be near the needle, and remove fabric from under the presser foot. Check that the correct needle is inserted fully and facing the direction specified in the manual. A bent or partly inserted needle can create skipped stitches even when the threading path is perfect.
Raise the presser foot before threading the upper path. This opens the tension discs so the thread can settle between them. On some computerized models, a shutter or electronic tension mechanism prevents correct threading while the presser foot is lowered.
Raise the needle and take-up lever to their highest position. On a mechanical machine, turn the handwheel toward you until the needle reaches the top. On many computerized machines, use the needle-position button. The take-up lever can be hidden inside the front cover when the needle is not fully raised.
Presser foot raised
Needle fully raised
Correct needle installed
Machine switched off for manual needle threading
Correct bobbin type available
Manual or threading diagram nearby
Set up the thread spool so it can unwind freely
Place the spool on the main spool pin in the direction shown by the manufacturer. Horizontal spool pins usually need a spool cap that is close to the spool diameter without squeezing it. A cap that is too small can allow the thread to catch on the spool rim or storage notch; a cap pressed too tightly can stop the spool from unwinding smoothly.
Vertical spool pins may use a felt pad under the spool. Cross-wound thread often feeds well from a horizontal pin, while stacked thread may behave better on a vertical pin, but the machine manual should take priority.
Before continuing, pull a short length of thread. It should unwind smoothly without jerking, snagging, or lifting the spool from the pin.
How to thread the upper path step by step
1. Pass through the first thread guide
Guide the thread through the top guide or guide cover exactly as marked. This first guide sets the angle at which the thread enters the tension path. Skipping it can make tension inconsistent even when the rest of the machine is threaded correctly.
2. Bring the thread down into the tension channel
Follow the numbered arrows or molded path on the machine. Hold the thread lightly near the spool while pulling it down so it remains controlled. Because the presser foot is raised, the thread should slide between the open tension discs rather than sitting beside them.
3. Bring the thread back up to the take-up lever
Guide the thread upward and through the take-up lever in the direction shown. Some levers are visible; others sit behind a narrow slot. If you cannot find it, raise the needle completely. Missing this lever is one of the most common causes of loose loops, nesting, and thread whipping around the needle area.
4. Follow the path back down
Bring the thread down through the remaining guides. Many machines have one guide near the front of the needle bar and another just above the needle clamp. These small guides are easy to miss, but they stabilize the thread before it reaches the needle.
5. Thread the needle in the correct direction
Domestic sewing machines may thread front to back, left to right, or occasionally right to left. Do not assume every machine is the same. The needle groove should face the direction from which the thread enters, and the scarf faces the hook side. Check the manual or the threading diagram on the machine.
Pull about 10 to 15 cm of thread through the eye and place it under the presser foot toward the back unless the manual instructs otherwise.
How to use an automatic needle threader without damaging it
An automatic needle threader uses a tiny hook to pull a loop through the needle eye. Raise the needle fully, lower the threader lever gently, guide the thread through its hooks, and release the lever slowly. Pull the loop completely through by hand.
The threader may not work with very fine needles, twin needles, wing needles, or some specialty threads. Do not force the lever. If the hook misses the eye, check needle height, needle insertion, and compatibility before trying again.
Wind the bobbin evenly before inserting it
Use the exact bobbin class specified for the machine. Bobbins that look similar may differ in height, curvature, or diameter. Place the empty bobbin on the winder spindle, route the thread through the bobbin-winding guides and tension disc, and wind a few turns in the direction shown.
Engage bobbin-winding mode and fill the bobbin at a moderate speed. The thread should build evenly from side to side. Stop before the thread rises above the bobbin rim. An overfilled, spongy, or uneven bobbin can rub, jam, or feed with inconsistent tension.
Return the winder spindle to sewing position after winding. A machine that powers on but does not sew may simply still be in bobbin-winding mode.
How to insert a top-loading or drop-in bobbin
Raise the needle fully and open the clear bobbin cover. Place the bobbin in the horizontal holder with the thread unwinding in the direction shown by the arrows, often counterclockwise but not universally.
Hold the bobbin gently with one finger while pulling the thread into the first slit, under the tension spring, and through the final guide or cutter. Replace the cover. The thread must sit inside the tension path, not simply lie across the top of the bobbin.
Some modern drop-in systems allow sewing without manually bringing up the bobbin thread. Others still require it. Follow the model instructions rather than assuming the clear cover makes every system identical.
How to insert a front-loading bobbin
Remove the accessory tray or open the front cover to reach the shuttle area. Place the bobbin inside the removable bobbin case in the direction shown by the manual. Pull the thread through the slot and under the bobbin-case tension spring, leaving a tail.
Hold the bobbin case by its latch and insert it into the hook race until it seats securely. The case should not wobble or fall out. Never force it. If it will not seat, recheck its orientation and the position of the hook.
The small tension screw on the bobbin case is not a first-line beginner adjustment. Rethread, replace the needle, and confirm bobbin type before changing lower tension.
How to bring up the bobbin thread
Hold the upper-thread tail with your left hand. Turn the handwheel toward you through one complete needle cycle. The needle carries the upper thread around the bobbin, forming a loop. Pull the upper thread gently until the bobbin-thread loop appears through the needle plate.
Use a small tool or your fingers to pull the loop fully out. Place both thread tails under the presser foot and toward the back. Do not turn the handwheel away from you unless the manual specifically allows it, because reverse handwheel movement can disturb the hook and thread path on many machines.
Test the threading before starting the project
Use two layers of stable woven scrap fabric. Select a basic straight stitch, center needle position, and a medium stitch length. Hold both thread tails behind the presser foot for the first few stitches so they are not pulled into the bobbin area.
Sew a short line and inspect both sides. Balanced stitches should look even, with no large loops underneath, no bobbin thread lying loosely on top, and no puckering. Slightly visible interlocking points inside the fabric are normal.
Do not adjust tension immediately. First confirm the upper thread is seated, the take-up lever is threaded, the bobbin is inserted correctly, the needle is suitable, and the spool can unwind freely.
Common threading mistakes and what they cause
Troubleshoot by symptom instead of changing random settings
Thread bunches underneath the fabric
Stop immediately. Raise the needle and presser foot, remove the fabric and tangled thread carefully, then rethread the upper path from the spool. The visible mess is underneath, but the cause is usually above the fabric.
Bobbin thread shows on top
Confirm the bobbin is inserted through its tension path and that the case is seated correctly. Also check that the upper tension is not excessively high. Do not turn the bobbin-case screw until basic setup has been verified.
Upper thread breaks repeatedly
Inspect the spool notch, spool cap, thread guides, needle eye, and needle plate for snags. Replace the needle, confirm it is inserted fully, and test with good-quality thread.
Machine does not form stitches
Check needle orientation, needle height, bobbin insertion, take-up lever, and threading direction through the needle. Continue with the main troubleshooting guide if the machine still fails after a complete reset.
Fabric puckers
Use an appropriate needle, lengthen the stitch if needed, support the fabric without pulling, and test again. Excessive tension can cause puckering, but incorrect threading should be ruled out first.
Important model differences to check
Mechanical and computerized machines share the same basic stitch-forming system, but controls differ. Mechanical machines usually use the handwheel, physical tension dial, and manual stitch selectors. Computerized machines may raise the needle electronically, recommend settings, display warnings, or use automatic tension.
Other variations include horizontal versus vertical spool pins, exposed versus hidden take-up levers, front-to-back versus side-to-side needle threading, removable versus fixed bobbin cases, and whether the bobbin thread must be pulled up manually.
Use the exact model number to find the manual. The broader parts of a sewing machine guide can help you identify each component before threading, while the machine setup guide covers the full first-use process.
Complete rethreading checklist
Remove the upper thread completely
Raise presser foot
Raise needle and take-up lever
Check spool direction and cap
Follow every numbered guide
Confirm take-up lever is threaded
Use final needle-bar guide
Thread needle in correct direction
Insert correct bobbin in correct direction
Bring up bobbin thread if required
Hold thread tails for first stitches
Test on two layers of scrap fabric
Frequently Asked Questions
Sewing machine threading questions
Should the presser foot be up or down when threading a sewing machine?
Raise the presser foot while threading the upper path so the tension discs open and the thread can seat correctly. Lower it only after the machine is fully threaded and ready to sew.
Why does thread bunch underneath the fabric?
Thread nesting underneath usually points to an upper-threading problem. Rethread with the presser foot raised, confirm the thread enters the take-up lever and needle-bar guide, and hold both thread tails for the first few stitches.
Do all sewing machines thread the same way?
Most domestic lockstitch machines use the same basic sequence, but spool direction, thread-guide layout, take-up-lever access, needle-threading direction, and bobbin insertion vary by model. Always confirm the exact manual.
Do I need to pull up the bobbin thread before sewing?
Many machines require the bobbin thread to be brought up manually, while some modern drop-in systems are designed to begin sewing without that step. Follow the manual for your model.
Why does the upper thread keep breaking after threading?
Common causes include a missed guide, a damaged or incorrectly inserted needle, a spool cap that traps the thread, rough thread, excessive tension, or the thread catching on the spool notch.
Correct threading should be repeatable, not mysterious
A properly threaded machine follows a logical sequence: the spool releases thread, the guides control its path, the tension discs regulate resistance, the take-up lever manages slack, the needle carries the upper thread through the fabric, and the hook joins it with the bobbin thread.
When a stitch fails, return to that sequence instead of turning several controls at once. Rethreading carefully is not a beginner weakness. It is the fastest professional habit for separating a setup problem from an actual mechanical fault.