

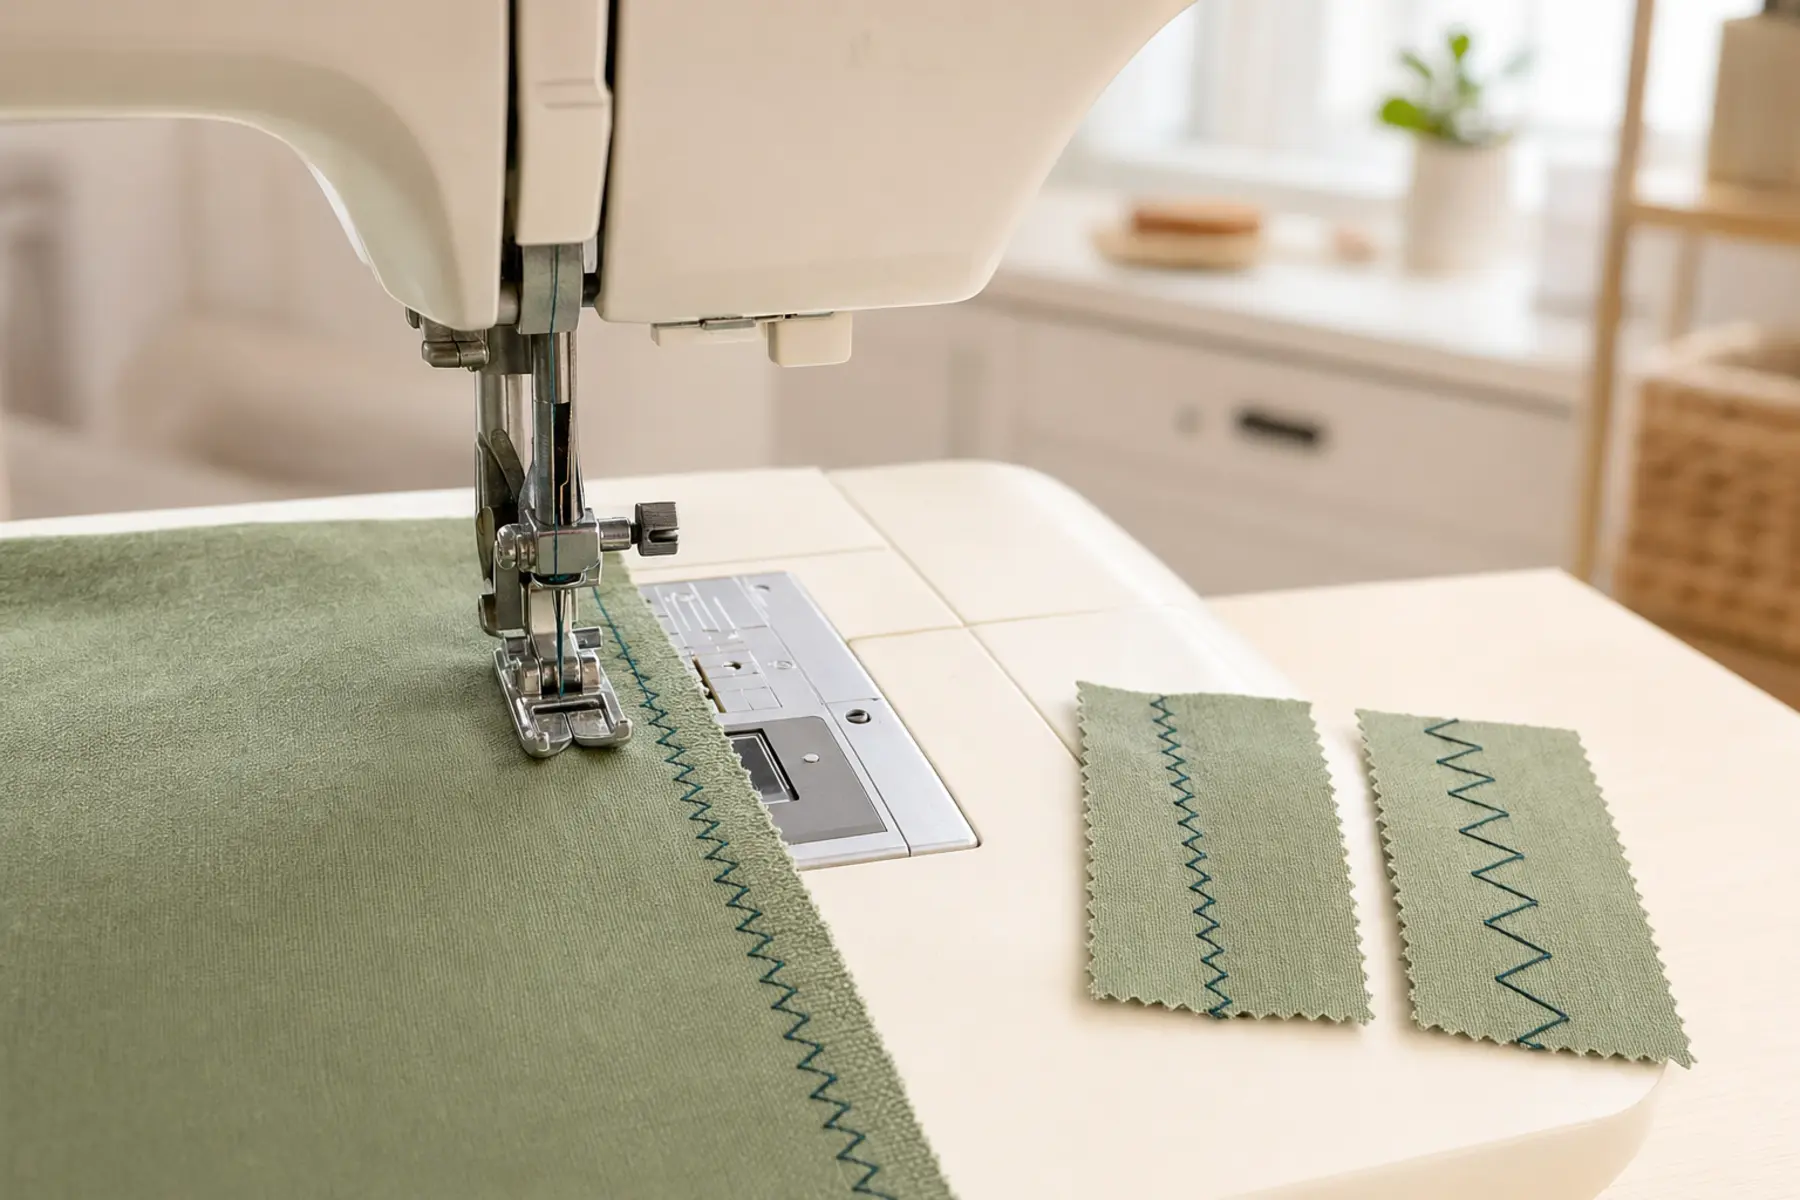
A zigzag stitch moves from side to side while the fabric advances. Width controls how far the needle swings. Length controls how far the fabric moves between needle penetrations. Those two settings together determine whether the stitch is open, narrow, dense, flexible, bulky, or decorative.
This guide assumes the machine is already threaded and operating normally. For general stitch selection, use the sewing machine stitches guide.
1. Confirm the machine can safely make the selected zigzag
Install a presser foot with an opening wide enough for the selected stitch. Confirm that the needle plate also has side-to-side clearance. A straight-stitch foot or straight-stitch plate is not suitable for ordinary zigzag movement.
Return the needle position to the machine's normal zigzag position unless the manual specifies otherwise.
2. Understand what zigzag width and length change
Do not judge width and length separately. A wide, short zigzag behaves very differently from a narrow, long zigzag even when one number is the same.
3. Build a reliable zigzag test before sewing the project
Use the exact fabric and number of layers
Use the intended needle and thread
Start with medium width and medium length
Sew at least 8 to 10 cm
Inspect both sides of the fabric
Check whether the fabric stays flat
Stretch the seam if flexibility matters
Change only one setting at a time
If the stitch is unbalanced, confirm threading and setup before changing tension. Use the sewing machine tension guide only after the basic setup has been verified.
4. Finish raw fabric edges with zigzag stitch
Place the raw edge so the needle lands inside the fabric on one swing and just beyond the edge on the other. This allows the thread to wrap the edge rather than forming a line entirely inside the fabric.
Use a medium width and a length that is dense enough to control fraying without making the edge stiff. Very loose woven fabric may need a wider or denser stitch; lightweight fabric may curl if the stitch is too wide or tight.
If the edge rolls or tunnels, move the stitch slightly farther inside, reduce width or density, or stabilize the fabric.
5. Use a narrow zigzag for stretch seams
A narrow zigzag can flex more than a standard straight stitch, making it useful for many knit seams. Start with a small width and a moderate length so the seam does not look visibly zigzagged or become bulky.
Stretch the finished test seam to the amount expected in wear. If the thread snaps, increase flexibility by adjusting width or length, or use a more suitable stretch stitch where available. If the seam waves, stop stretching the fabric while sewing and support its weight.
Needle choice remains critical. Use the needle sizes and types guide when skipped stitches or fabric damage appear.
6. Attach elastic with a zigzag stitch
Zigzag allows the thread to move with the elastic. Mark the elastic and fabric into matching sections before sewing so the stretch is distributed evenly.
For ordinary attachment, use a medium or three-step zigzag if the machine provides one. Sew through the elastic without stretching the fabric unintentionally. Stretch only the elastic to match the marked fabric section when the construction method requires it.
For elastic casing or channels, the stitch may need to avoid piercing the elastic. Follow the project method rather than assuming every elastic application is sewn directly through.
7. Use zigzag stitch for appliqué
For a visible appliqué edge, position the swing so one side lands in the appliqué and the other lands just outside it on the background fabric. A slightly narrower and more open zigzag produces a lighter edge; a short, dense zigzag creates a satin-style border.
Stabilize the area before using a dense stitch. Pivot with the needle down on the side of the stitch that keeps the corner aligned. Test curves separately because wide zigzag stitches can look uneven when the fabric is turned too sharply.
8. Create a dense satin-style zigzag without puckering
A satin zigzag uses short stitch length so the thread rows sit close together. Reduce the length gradually until the desired coverage appears. Do not set the stitch to zero movement unless the machine specifically supports that technique.
Use stabilizer, a suitable embroidery or satin-stitch foot, and a needle that carries the thread without abrasion. Dense stitches increase thread build-up and fabric distortion, so test the full design rather than a single short line.
9. Mend tears and reinforce weak areas
Bring torn edges together without overlapping them excessively. Place a support patch or stabilizer behind the weak area, then zigzag across the tear so the stitch catches sound fabric on both sides.
For worn fabric, cover a wider area with multiple parallel rows rather than concentrating dense thread into one fragile line. Reduce stitch density if the repaired area becomes stiff.
10. Use task-based starting settings
These are starting directions, not universal numbers. Machine scales vary, and computerized models may display millimetres while mechanical models may use numbered dials.
11. Diagnose common zigzag stitch problems
12. Adjust the zigzag for different fabrics
Lightweight fabric often needs a narrower stitch, less density, fine thread, and stabilizer. Stable woven cotton usually tolerates a medium zigzag. Knits need a suitable needle and enough flexibility without stretching during feeding. Dense denim may need a stronger needle and slower speed. Slippery or pile fabrics may require extra control so the edge stays under the stitch path.
Use the different fabric sewing guide for full fabric-specific setup decisions.
13. Sew corners and curves without distorting the zigzag
On gentle curves, make small steering adjustments while sewing slowly. On sharp corners, stop with the needle down on the side that keeps the next stitch aligned, raise the presser foot, pivot, lower the foot, and continue.
Because the needle alternates sides, the best pivot point depends on whether the corner follows the inner or outer edge of the stitching. Test the corner on scrap first.
14. Check the finished zigzag before continuing
The stitch lies flat without tunnelling
Both sides of the zigzag are consistent
The fabric edge is fully controlled
The seam stretches enough for the task
The needle has not damaged the fabric
The bobbin thread is not dominating the top
The stitch density suits the final use
Frequently Asked Questions
Zigzag stitch questions
What settings should I use for a basic zigzag stitch?
A medium width and medium stitch length are the safest starting point for testing. The final settings depend on the fabric, thread, task, and machine, so test on the actual project layers before sewing the final seam.
Why is my zigzag stitch pulling the fabric into a tunnel?
Tunnelling usually means the fabric is too light or unstable for the selected width, density, tension, or support. Reduce width or density, test stabilizer, and check that the thread and needle suit the fabric.
Can I use zigzag stitch for stretch fabric?
Yes. A narrow zigzag can flex more than a standard straight stitch and can work for many knit seams. The exact width and length must be tested so the seam stretches without becoming bulky or wavy.
Can zigzag stitch finish raw edges?
Yes. Position the stitch so one side enters the fabric and the other swings just beyond the raw edge. The goal is to wrap the edge without causing it to curl or tunnel.
Why is my needle hitting the presser foot?
The zigzag width, needle position, presser foot opening, or needle plate may be incompatible. Stop immediately and verify clearance by turning the handwheel slowly before sewing.
Choose the zigzag by function, then refine it on scrap
Set the width for coverage, set the length for density and flexibility, place the stitch correctly on the fabric, and verify clearance before sewing. A short test on the actual project layers is more reliable than copying a single number from another machine.