

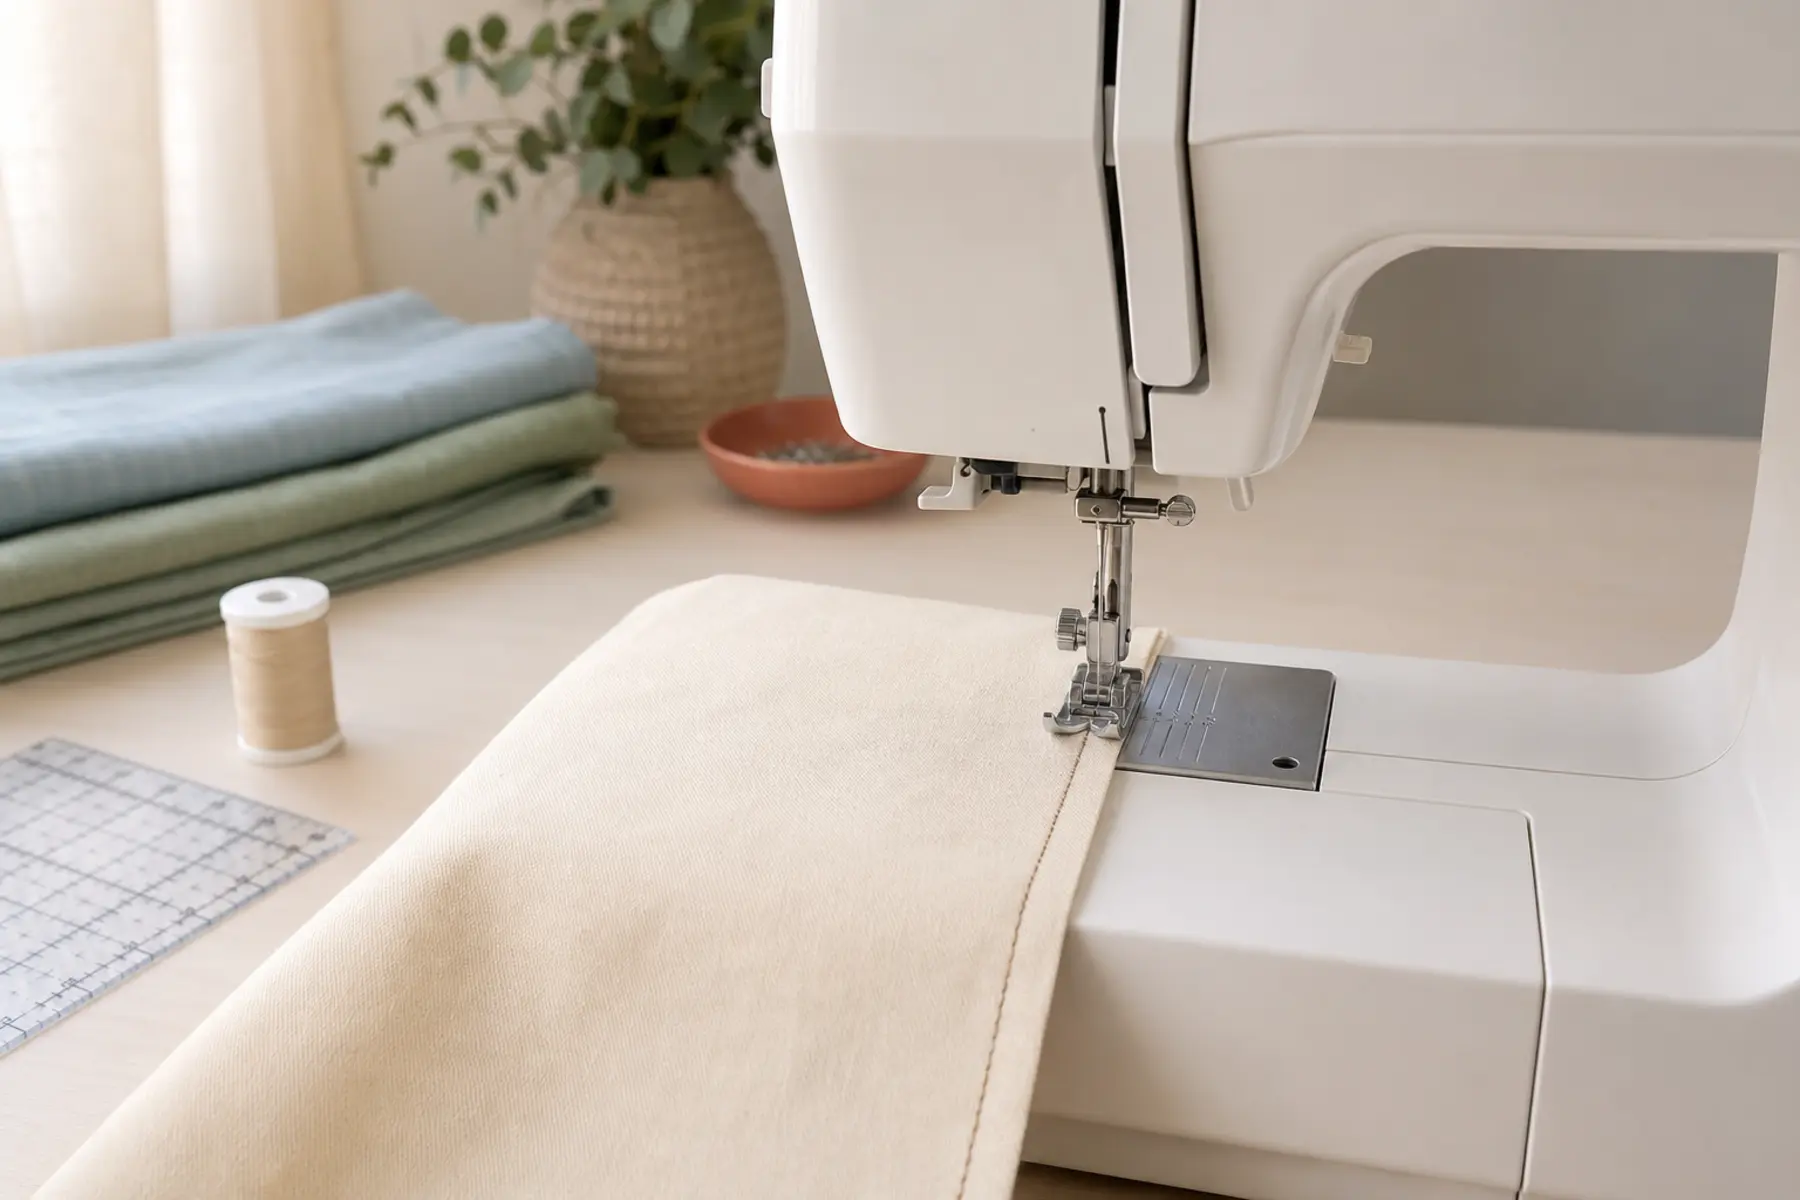
This guide is specifically about seam accuracy. It does not repeat the full setup, threading, or first-use process already covered in How to Use a Sewing Machine for the First Time.
The goal is to help you keep a consistent line and seam allowance across short seams, long seams, corners, and changing fabric thicknesses.
What “sewing straight” actually means
A straight seam is not defined only by the path of the needle. It also depends on maintaining a consistent distance between the stitch line and the fabric edge. A visually straight line can still create an inaccurate seam if the allowance narrows or widens.
For most construction seams, accuracy comes from keeping the fabric edge aligned with a fixed reference such as a needle-plate marking, presser-foot edge, quilting guide, or temporary tape line.
1. Use settings that support a stable straight seam
Select a centred straight stitch and a standard all-purpose presser foot. Use a medium stitch length for ordinary woven fabric unless the project requires otherwise.
Confirm that stitch width is zero and the needle position matches the seam guide you plan to follow. Moving the needle left or right changes the effective seam allowance even when the fabric edge remains on the same plate marking.
2. Choose one reference guide and stay with it
Use one visual reference throughout the seam. Switching between the needle, presser-foot edge, and plate markings causes small corrections that accumulate into a wavy line.
Needle-plate markings
These markings show the distance from a stated needle position to the guide line. They are useful when the fabric edge is wide enough to reach them and the markings are easy to see.
Presser-foot edge
The edge of the foot can be a convenient guide for narrow allowances, but its exact width varies by foot and needle position. Measure a test seam rather than assuming every foot gives a quarter-inch or standard garment allowance.
Adjustable seam guide
A screw-in or clip-on guide provides a longer contact point and is useful for repeated parallel seams. It must be installed firmly and positioned where it will not interfere with the fabric layers.
Tape guide
Low-tack painter’s tape or removable sewing tape can extend a short needle-plate marking toward the front of the machine. A longer line gives you more time to notice drift before the fabric reaches the needle.
3. Look ahead of the needle
Do not stare at the needle. By the time the edge reaches the needle, the fabric direction has already been determined. Watch the point where the fabric edge approaches your selected guide several centimetres in front of the presser foot.
This wider focus lets you correct gradually. Large last-second movements create zigzags, while small early adjustments keep the seam smooth.
4. Use your hands to guide, not feed
Place one hand lightly to the left of the needle area and the other near the fabric edge or guide. Keep fingers safely away from the needle path.
The feed dogs move the fabric. Your hands prevent sideways drift and support the fabric’s weight. Avoid pushing from the front or pulling from behind.
5. Use a speed you can correct at
Sew slowly enough that you can notice the fabric edge moving away from the guide and correct before the error becomes large. A consistent medium-slow speed is usually easier to control than repeated bursts and stops.
On computerized machines, lower the maximum-speed slider during practice. On mechanical machines, practise steady foot-controller pressure on scrap fabric before working on the project seam.
6. Correct drift gradually
When the fabric edge begins moving away from the guide, do not jerk it back. Reduce speed and make a small directional adjustment over several stitches.
If the line has already moved significantly, stop with the needle down, raise the presser foot, realign the fabric, lower the foot, and continue. This creates a cleaner correction than twisting the fabric while the needle is moving.
7. Keep long seams straight
Support the entire fabric piece on the table. Fabric hanging over the edge creates sideways and backward drag that changes the seam path.
Align the full seam before sewing. Smooth the layers without stretching them. For a very long seam, stop occasionally with the needle down to reposition the fabric weight while preserving the stitch location.
Use a longer tape guide or extension-table reference when the standard needle-plate line is too short to follow comfortably.
8. Sew narrow seam allowances without losing support
Very narrow allowances provide less fabric for the feed dogs and presser foot to grip. Use an accurate presser-foot reference, edge-stitching foot, or adjustable guide when appropriate.
Avoid starting with the fabric edge directly over a wide needle-plate opening, where lightweight fabric may be pushed downward. Begin slightly in from the edge, use a leader scrap, or use a straight-stitch plate only when compatible with the selected stitch and needle position.
9. Cross thick seam intersections without veering
When the presser foot climbs onto a bulky seam, it can tilt backward and reduce feeding contact. Slow down before the thickness change.
Use a hump jumper, folded scrap, or levelling tool behind the presser foot to keep it level. Turn the handwheel manually for the first difficult stitch when necessary. Never force the fabric or continue if the needle is deflecting.
A longer stitch may be suitable for some thick materials, but the correct setting depends on fabric, thread, needle, and seam purpose.
10. Turn precise corners
Mark the pivot point or calculate it from the seam allowance. Stop with the needle down exactly at that point. Raise the presser foot, rotate the fabric, realign the next edge with the same guide, lower the foot, and continue.
If you pass the pivot point, use the handwheel to position accurately rather than sewing an extra cluster of stitches. A programmable needle-down function is helpful but not required.
11. Secure the seam without creating a crooked start or finish
Begin and end with only the amount of reinforcement the project requires. Two or three reverse stitches are often sufficient for ordinary seams.
Keep the fabric edge aligned while reversing. Beginners often focus on the button and stop guiding the fabric, which makes the secured section angle away from the main seam.
12. Practise the skill in a useful sequence
Sew over drawn straight lines on paper without thread to practise steering
Sew parallel lines on stable woven scrap using one plate guide
Repeat at two different seam allowances
Sew a long seam while supporting all fabric weight
Sew a square and pivot at marked corners
Cross a folded fabric intersection using a levelling tool
Measure the finished seam allowance at the start, middle, and end
Accuracy improves when you measure the result. A seam that looks straight may still vary in allowance, so check with a ruler or seam gauge.
13. Common mistakes that make seams look crooked
Watching the needle instead of the guide
Changing reference points during the seam
Pulling the fabric from behind
Letting heavy fabric hang off the table
Sewing faster than you can correct
Making sharp last-second steering movements
Ignoring needle-position changes
Using a presser-foot edge without measuring it
Forgetting to guide the fabric while reversing
14. When the problem may not be your guiding
If the machine consistently pulls fabric to one side even when you guide lightly, test with a fresh needle, stable woven fabric, standard foot, and default straight-stitch settings.
Check that the presser foot is attached evenly, feed dogs are fully raised, the needle plate is seated correctly, and lint is not obstructing the feed system. Repeated uneven feeding, needle deflection, unusual noise, or one-sided pressure may need further diagnosis through the sewing machine troubleshooting guide.
Frequently Asked Questions
Straight-line sewing questions
Why does my sewing line keep drifting?
Drifting usually happens because the fabric edge is not being aligned with a consistent guide, the operator is watching the needle instead of the guide, the fabric is being pulled, or the fabric weight is dragging from the table.
Should I watch the needle while sewing a straight line?
Watch the seam guide, presser-foot edge, or marked line rather than staring directly at the needle. The needle is too close to the fabric entry point to give enough time for smooth corrections.
What stitch length is best for straight seams?
A medium stitch length, often around 2.5 mm on many domestic machines, works well for general woven fabrics. The correct setting depends on fabric weight, thread, seam purpose, and the scale used by the machine.
Can I use masking tape as a seam guide?
Yes. Low-tack painter’s tape or removable sewing tape can create a longer visual guide. Keep it away from feed dogs, sensors, covers, and moving parts, and remove it without leaving residue.
Why should I not pull the fabric from behind?
Pulling changes the feed rate, can create uneven stitch length, distort the seam, bend the needle, shift fabric layers, and place unnecessary strain on the machine.
Use one guide, look ahead, and correct early
Consistently straight seams come from three habits: following one fixed reference, watching ahead of the needle, and making small early corrections.
Once those habits become automatic, speed can increase naturally without sacrificing seam allowance or stitch quality.