
← Sewing glossary

Seam control

Reverse Stitch

A control that moves fabric backward so stitches overlap and secure a seam beginning or end.

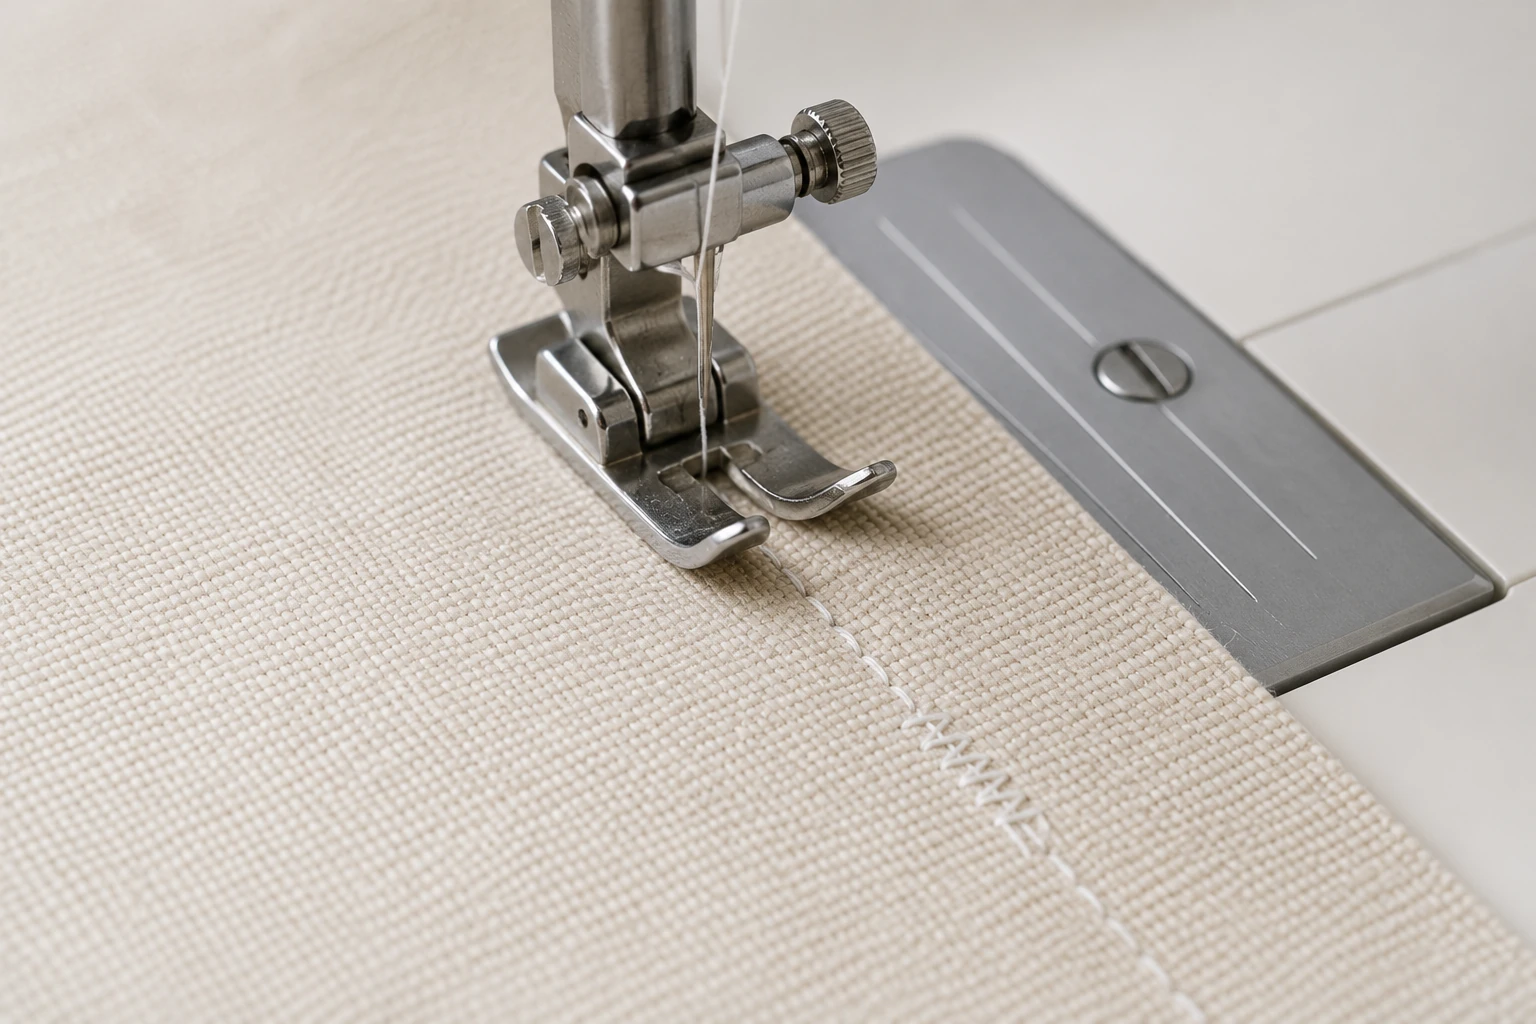
Close-up of reinforced reverse stitches overlapping at the end of a straight seam on cream woven fabric
Reverse stitches reinforcing the end of a seam. The short overlapping stitches secure the seam before the fabric leaves the presser foot. A few controlled reverse stitches are usually enough to prevent unraveling without creating a bulky thread knot.
01

How much is enough

Sew forward a few stitches, reverse over them, then continue. Three to five securing stitches are usually sufficient.

02

When not to use it

Darts, gathering rows, delicate points, quilting piecing, and temporary basting often use tied tails or shortened stitches instead.

03

Programmed alternatives

Some machines perform a tie-off in place rather than feeding backward, especially with decorative stitches.

Useful distinction

More is not stronger

Repeated back-and-forth stitching adds a hard lump of thread and can distort the exact place you are trying to secure.

Practical guide

Choose reinforcement that suits the seam

Reverse stitching is useful for ordinary construction, but it is not the cleanest securing method for every point, temporary row, or decorative pattern.

Ordinary construction seams

Begin a short distance from the raw edge, sew forward three or four stitches, reverse over them, and continue. At the end, reverse the same small distance. Keep the fabric edge on its guide because reverse feeding can track slightly beside the forward line.

Darts and delicate points

Backstitching creates a visible lump where a dart should taper smoothly. Shorten the final stitch length gradually, sew off the point, and tie the thread tails without pulling the fabric. The same approach suits other fine points where bulk would show.

Gathering, basting, and temporary rows

Do not reverse when the threads need to slide or the stitching must be removed. Leave long tails instead. For gathering, pull the bobbin threads and distribute fullness before securing them around a pin or tying them.

Decorative and stretch patterns

Reverse feeding may not reproduce a multi-step stitch correctly. Use the machine’s programmed tie-off when the manual recommends it, or secure tails by hand. Test first because some lock functions make several tiny stitches that can stiffen delicate fabric.

Avoidable mistakes

Reinforcement that adds bulk instead of security

  • Repeated forward-and-back passes build a hard knot of thread.
  • Reversing on long gathering stitches prevents the threads from sliding.
  • Pulling the fabric during reverse causes the two lines to separate.
  • Using reverse at a dart point makes the tip thick and difficult to press.

Common questions

Reverse Stitch FAQs

Why is reverse stitching slightly offset?

Fabric movement and feed geometry can place it beside the forward line. Guide gently without pulling.

How is lock stitch different from reverse?

Reverse feeds backward; a lock function often makes tiny stitches nearly in place.

Should a dart point be backstitched?

Usually no. Shorten the final stitches and tie the tails for a smoother point.

Why must I hold the reverse button?

Some machines use momentary reverse, while others toggle or automate it.