

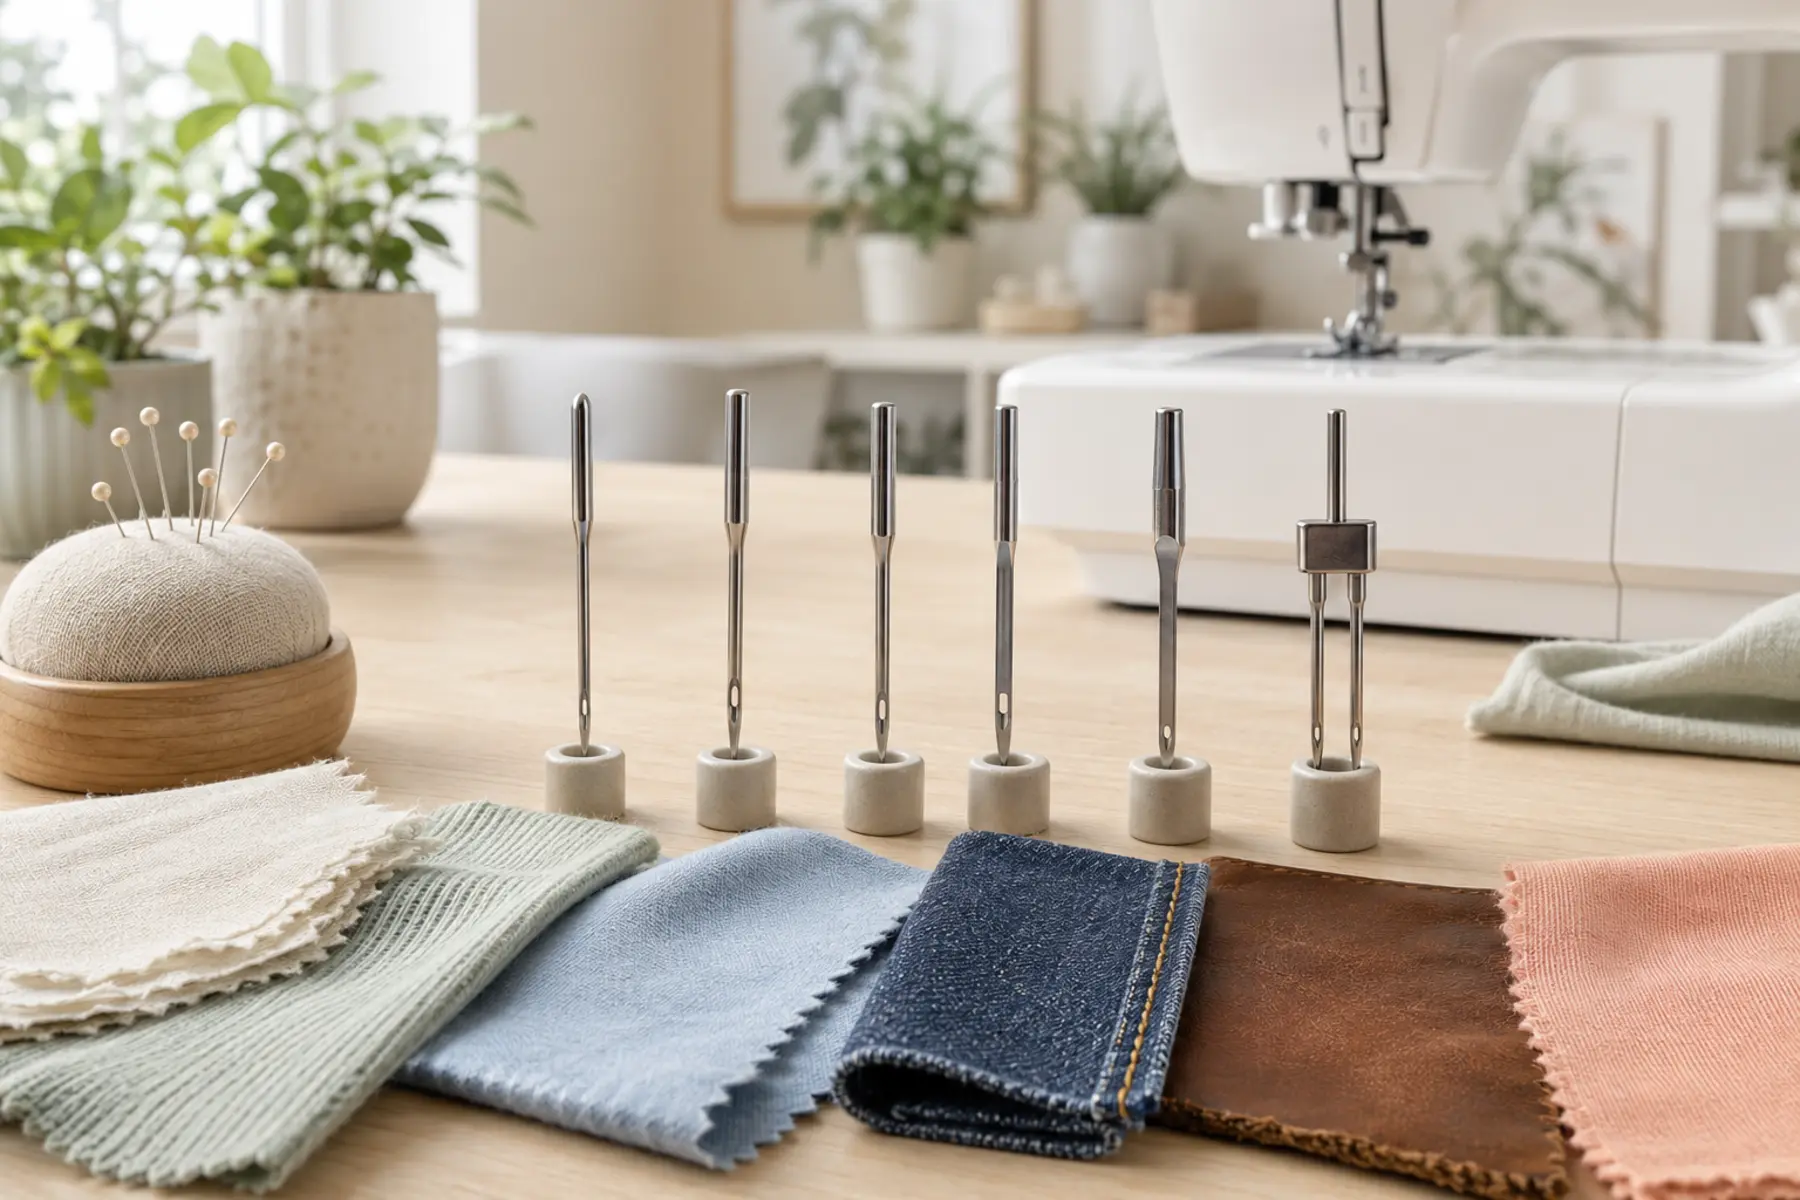
A sewing machine needle is not a generic metal pin. Its point, scarf, eye, blade diameter, and coating affect how it penetrates fabric, carries thread, and allows the hook to form a stitch. Many problems blamed on tension or timing begin with the wrong needle.
This page focuses on selection and diagnosis. For installation and machine controls, use the sewing machine parts guide.
1. Understand the parts of a sewing machine needle
The shank is the thick top section held by the needle clamp. Domestic needles usually have a flat side that must face the direction stated in the manual. The blade is the long shaft. The groove protects the upper thread as the needle enters the fabric. The scarf is the hollowed area that gives the hook room to catch the thread loop. The eye carries the thread, and the point determines how the needle enters or separates the fibres.
2. Read needle sizes correctly
Domestic needles commonly show two numbers, such as 70/10, 80/12, 90/14, 100/16, or 110/18. The first is the European metric size; the second is the American size. Both describe the same needle diameter.
Choose the smallest needle that can carry the thread and penetrate the fabric without deflecting. Oversizing can damage delicate fibres; undersizing can bend, heat up, shred thread, or skip stitches.
3. Universal needles
Universal needles have a slightly rounded point and are intended for many woven fabrics and some stable knits. They are a practical default for cotton, poly-cotton, broadcloth, and general household sewing, but they are not the best choice for every material.
4. Ballpoint, jersey, and stretch needles
A ballpoint or jersey needle has a rounded point that separates knit loops instead of cutting through them. It suits many interlocks, jersey knits, and sweater-type fabrics.
A stretch needle is designed for highly elastic fabrics and often has a modified scarf and eye to improve loop formation. Use it for swimwear, activewear, elastic fabrics, and knits that still skip with a jersey needle.
6. Denim and jeans needles
Denim needles have a strong blade and point designed for dense woven fabric. Match the size to the actual number of layers, not just the fabric name. A 90/14 may suit lightweight denim; bulky seams may require 100/16 or another manufacturer-approved option.
Slow down at thick intersections and use a levelling tool rather than forcing the fabric. Pulling can deflect the needle and cause a strike.
7. Leather needles
Leather needles have a cutting point that slices a hole in non-woven leather and similar materials. Do not use them on woven or knit fabric because they can cut fibres and weaken the seam. For faux leather or coated textiles, test first because a microtex needle may perform better depending on the backing.
8. Quilting needles
Quilting needles are designed to pass through layered fabric and batting with reduced deflection. Use a size that matches the batting density, thread weight, and number of seam intersections.
9. Embroidery, metallic, and topstitch needles
Embroidery needles usually have an enlarged, polished eye and geometry suited to repeated decorative stitching. Metallic needles have an eye and groove designed to reduce abrasion on fragile metallic thread. Topstitch needles have a large eye and strong blade for heavier decorative thread and visible straight stitching.
The needle eye must be large enough for the thread to move freely. If the thread rubs, shreds, or snaps near the needle, the needle may be too small or the wrong type.
10. Twin and specialty needles
A twin needle places two needles on one shank and produces two parallel rows on top with a zigzag-like bobbin thread underneath. Confirm the maximum twin-needle width, presser-foot opening, needle-plate opening, threading path, and stitch restrictions in the manual before sewing.
11. Use this needle-selection process
Identify whether the fabric is woven, knit, non-woven, coated, or heavily layered
Choose the point type for that fabric structure
Choose a size that matches fabric weight and thread thickness
Confirm the needle system required by the machine
Insert a new needle fully and in the correct direction
Test on the exact fabric, stabilizer, and number of layers
Inspect both stitch quality and fabric damage
A small range of types and sizes is useful for testing. You can compare sewing machine needle assortments on Amazon, but confirm the needle system and included sizes against your machine manual.
12. Diagnose needle-related symptoms
If a correct new needle does not solve the problem, check threading, bobbin setup, and the main troubleshooting guide.
13. Know when to replace the needle
Replace the needle when it is bent, dull, burred, damaged by a pin strike, producing skipped stitches, making popping sounds, or leaving fabric damage. Also replace it before an important project and after sustained sewing on dense or abrasive material.
Do not test straightness by eye alone. A slightly bent needle may still look normal while deflecting toward the hook or needle plate.
Frequently Asked Questions
Needle selection questions
What sewing machine needle size should a beginner use?
For medium-weight woven cotton, a universal 80/12 needle is a reliable starting point. Change the type and size when the fabric, thread, or technique requires it.
What do 80/12 and 90/14 mean?
They are two sizing systems printed together. The first number is the European metric size and the second is the American size. A larger number means a thicker needle.
How often should I change a sewing machine needle?
Replace it at the start of an important project, after several hours of sewing, or immediately if you hear popping, see skipped stitches, notice fabric damage, or suspect the needle is bent or dull.
Can I use a universal needle for every fabric?
No. Universal needles work for many stable wovens and some simple projects, but knits, stretch fabrics, dense denim, leather, microfibres, embroidery, and topstitching often perform better with a purpose-specific needle.
Why does my machine skip stitches with a new needle?
The needle may be the wrong type, too small for the thread, inserted incorrectly, not fully seated, damaged during installation, or incompatible with the fabric and stitch.
Choose by fabric structure, then size by weight
The correct process is type first, size second, test third. Match the point to the fabric structure, match the blade and eye to the fabric and thread, then test on the real project layers before sewing the final seam.