

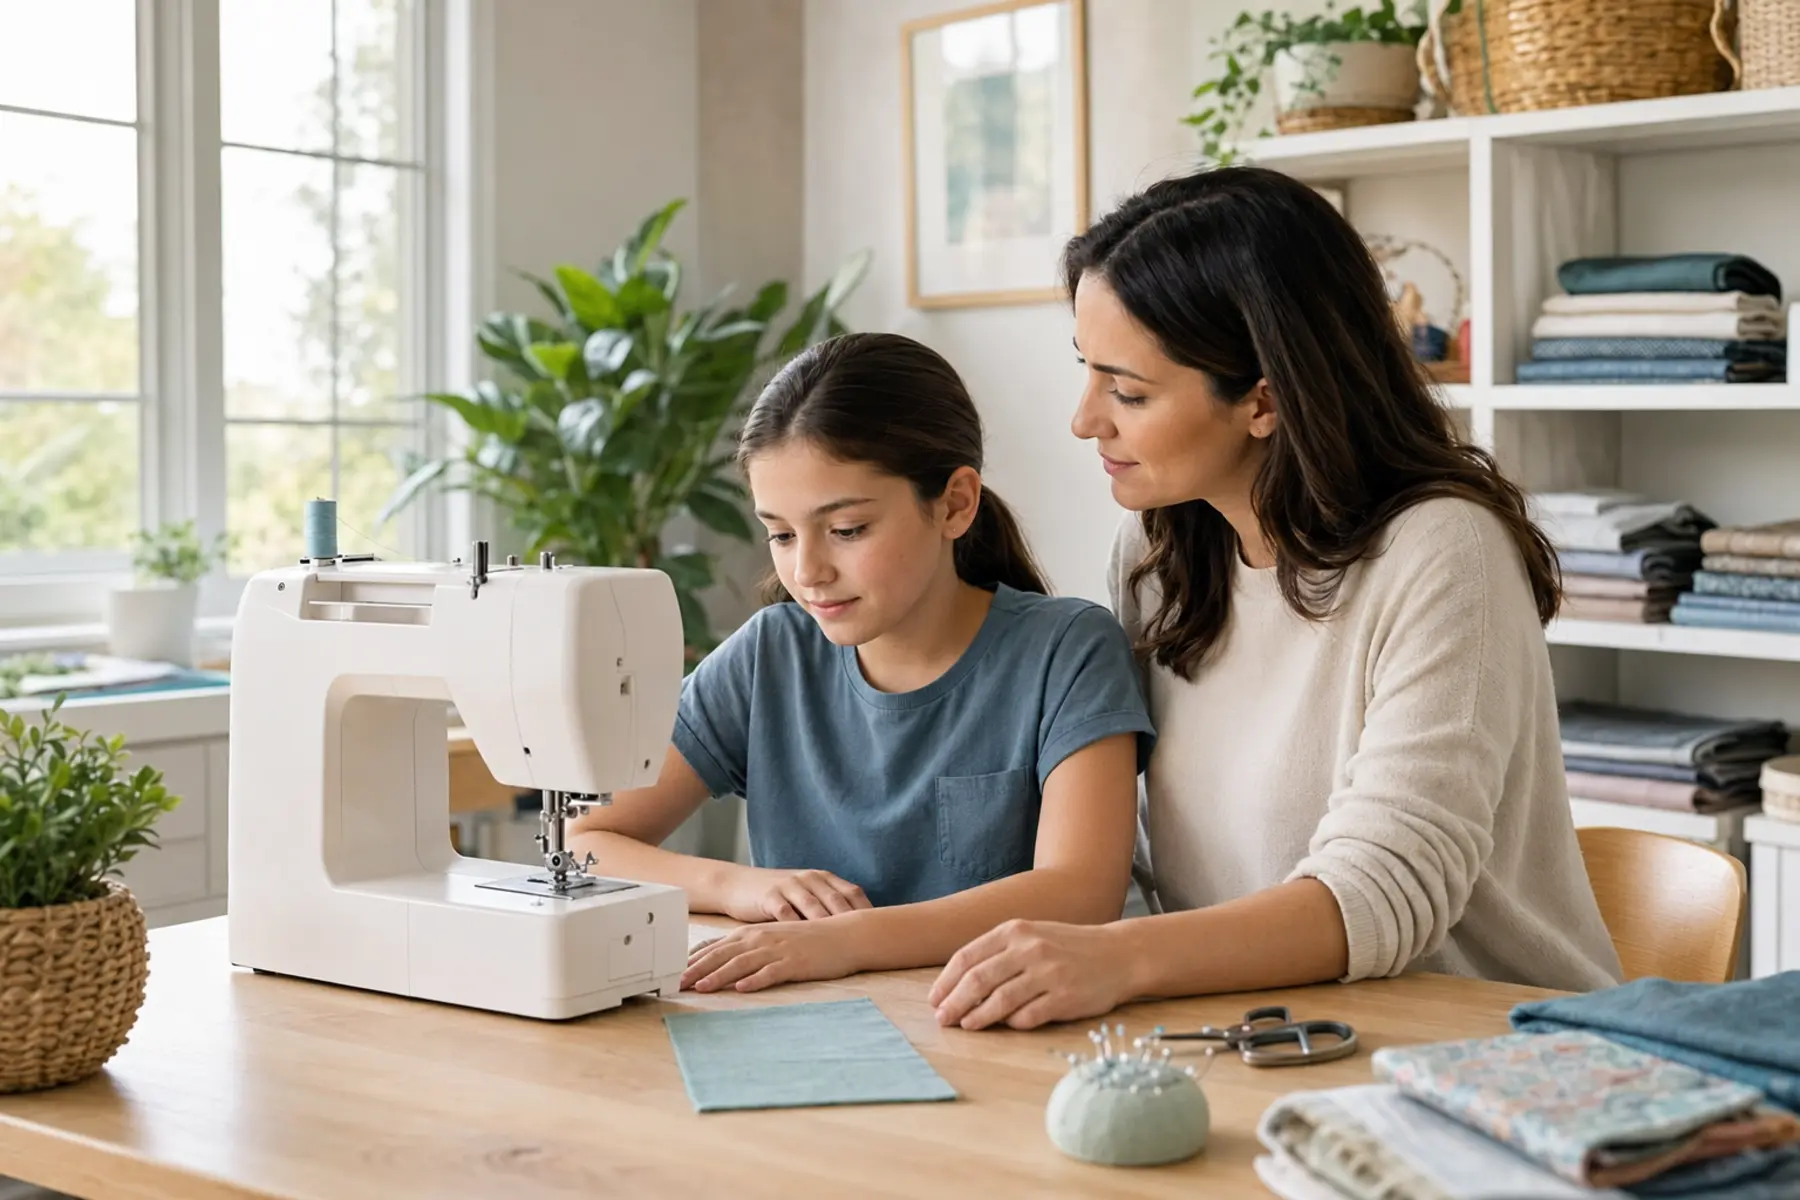
There is no universal minimum age for using a sewing machine. Two children of the same age can have very different attention spans, coordination, and reactions to correction. Readiness should therefore be assessed through observable skills rather than a birthday alone.
A first lesson should be short, closely supervised, and designed around control rather than completing an impressive project. The adult should remain close enough to stop the machine immediately and should take responsibility for threading, needle changes, jam removal, and other adjustments until the child is ready.
Sewing machine age guide
These ranges are a practical guide, not permission by age. A younger child who remains calm and follows directions may be more prepared than an older child who rushes, reaches near a moving needle, or ignores instructions.
How to tell if your child is ready
Before switching on a machine, look for consistent behaviour across several activities. A child may be ready for a supervised first lesson when they can:
Follow two or three instructions in the correct order.
Stay focused on one careful activity for about 15 to 20 minutes.
Keep fingers behind a clearly defined safety line.
Coordinate hand movement with a foot pedal or start-and-stop control.
Stop immediately when the supervising adult says stop.
Accept correction without becoming impulsive or frustrated.
Understand that the needle, presser foot, and moving parts are tools rather than toys.
If the child repeatedly reaches toward the needle, presses the pedal suddenly, looks away while sewing, or becomes overwhelmed by a small mistake, pause machine lessons and return to simpler preparation activities.
Essential sewing machine safety rules for children
Supervise from beside the machine
Supervision should be active. Sit close enough to see the needle area, the child’s hands, and the speed control. Avoid supervising from across the room or while doing another task.
Create a finger safety zone
Mark a visible boundary around the needle plate with removable tape if necessary. Teach the child to guide the fabric from the sides and front, never by placing fingertips close to the presser foot.
Switch off before adjustments
Turn the machine off before threading the needle, changing the needle or presser foot, removing tangled thread, opening the bobbin area, or inspecting a jam. Unplug it when a task requires hands near moving components.
Control speed before sewing fabric
Let the child practise starting and stopping with no fabric or needle movement where the machine permits it. If a foot pedal is used, make sure the child can sit correctly and reach it without stretching or losing balance.
Tie back hair and remove distractions
Secure long hair, loose sleeves, jewellery, hoodie cords, and other items that could reach moving parts. Keep drinks, pets, and unnecessary tools away from the sewing area.
What type of sewing machine is suitable for a child?
A colourful or miniature machine is not automatically a child-friendly machine. Prioritise controllability, stability, and clear operation over appearance.
Two machine examples to compare
The Janome Derby Line sewing machines on Amazon are compact models associated with simple operation and a finger guard. Availability can vary by colour and listing, so confirm the included guard and full specifications before ordering.
For an older or more coordinated beginner, the Brother CS7000X on Amazon provides adjustable sewing-speed control in a stable full-size format. Its additional stitches and controls may be more than a very young learner needs, but the ability to limit speed can be useful during supervised practice.
These examples illustrate two different approaches rather than a universal recommendation. The best choice depends on the child’s readiness, posture, supervision, and the projects they will make.
How to teach the first sewing machine lesson
- Name only the essential parts. Show the power switch, needle, presser foot, handwheel, reverse control, speed control, and pedal or start-and-stop button.
- Agree on one stop command. The child should remove their foot from the pedal or press stop immediately when the adult gives the command.
- Practise hand position. Use an unthreaded machine, paper, or scrap fabric to establish where hands should remain.
- Sew straight lines slowly. Draw several lines on firm cotton and focus on stopping at a mark rather than sewing quickly.
- Practise raising the presser foot. Switch the machine off while learning how to position and remove fabric.
- Finish after a small success. Ten calm minutes can teach more than a long lesson that ends in fatigue or frustration.
Once the child can start, guide, stop, and remove fabric safely, continue with straight-line sewing practice before introducing curves, corners, or decorative stitches.
Good first sewing projects for children
The first project should use stable woven cotton or felt, a small number of pieces, and mostly straight seams. Avoid slippery fabric, stretch knit, thick fleece, zippers, buttons, and bulky layer changes until the child has better control.
When can a child sew independently?
Independent use should be based on demonstrated habits, not a fixed age. Before sewing without an adult beside them, a child should consistently set up the workspace, operate the machine at a controlled speed, keep hands in the safe zone, stop when something sounds or feels wrong, and switch off before making adjustments.
Increase independence in stages. The adult can first sit beside the child, then observe from the same room, and only later allow independent work under agreed household rules. Needle changes, faults, unfamiliar fabric, and new techniques should continue to bring the adult back to the machine.
Frequently Asked Questions
Children and sewing machine questions
What is the best age for a child to start using a sewing machine?
There is no single best age. Many children can begin learning around ages 8 to 10 with close adult supervision, but coordination, attention, instruction-following, and respect for safety rules matter more than a birthday.
Can a 6-year-old use a sewing machine?
A 6-year-old may be able to explore basic sewing activities, but powered-machine use requires direct hands-on adult control and may not be appropriate for every child. Hand sewing, lacing cards, or guiding fabric while an adult controls the machine can be safer starting points.
Should a child use a toy sewing machine?
A toy-like machine is not automatically safer or easier. Some are unstable, difficult to thread, or frustrating to control. Choose a well-built machine with predictable low-speed operation, simple controls, good lighting, and safety features appropriate for the child.
Does a child need a sewing machine with a finger guard?
A finger guard adds a useful physical barrier near the needle, especially for a young beginner, but it does not replace supervision, correct hand placement, slow speed, or switching the machine off before adjustments.
What should a child sew first?
Start with straight lines on paper or scrap cotton, then move to a simple project such as a fabric bookmark, drawstring bag, small pillow, or felt pouch. The first project should have few layers, no difficult curves, and no zipper or bulky seam.
Can a child use an adult sewing machine?
Yes, when the machine can run slowly, fits the child ergonomically, has straightforward controls, and is used under close supervision. A stable full-size machine may be easier to control than a very lightweight mini machine.
Readiness matters more than the number
Around ages 8 to 10 is a reasonable supervised starting range for many children, but it is not a rule. Attention, coordination, safe hand placement, and the ability to stop immediately are better measures of readiness.
Choose a controllable and stable machine, keep the first lessons short, and increase responsibility only after the child demonstrates safe habits consistently. The goal is not to finish a project quickly. It is to build the control and confidence that make sewing enjoyable for years.