

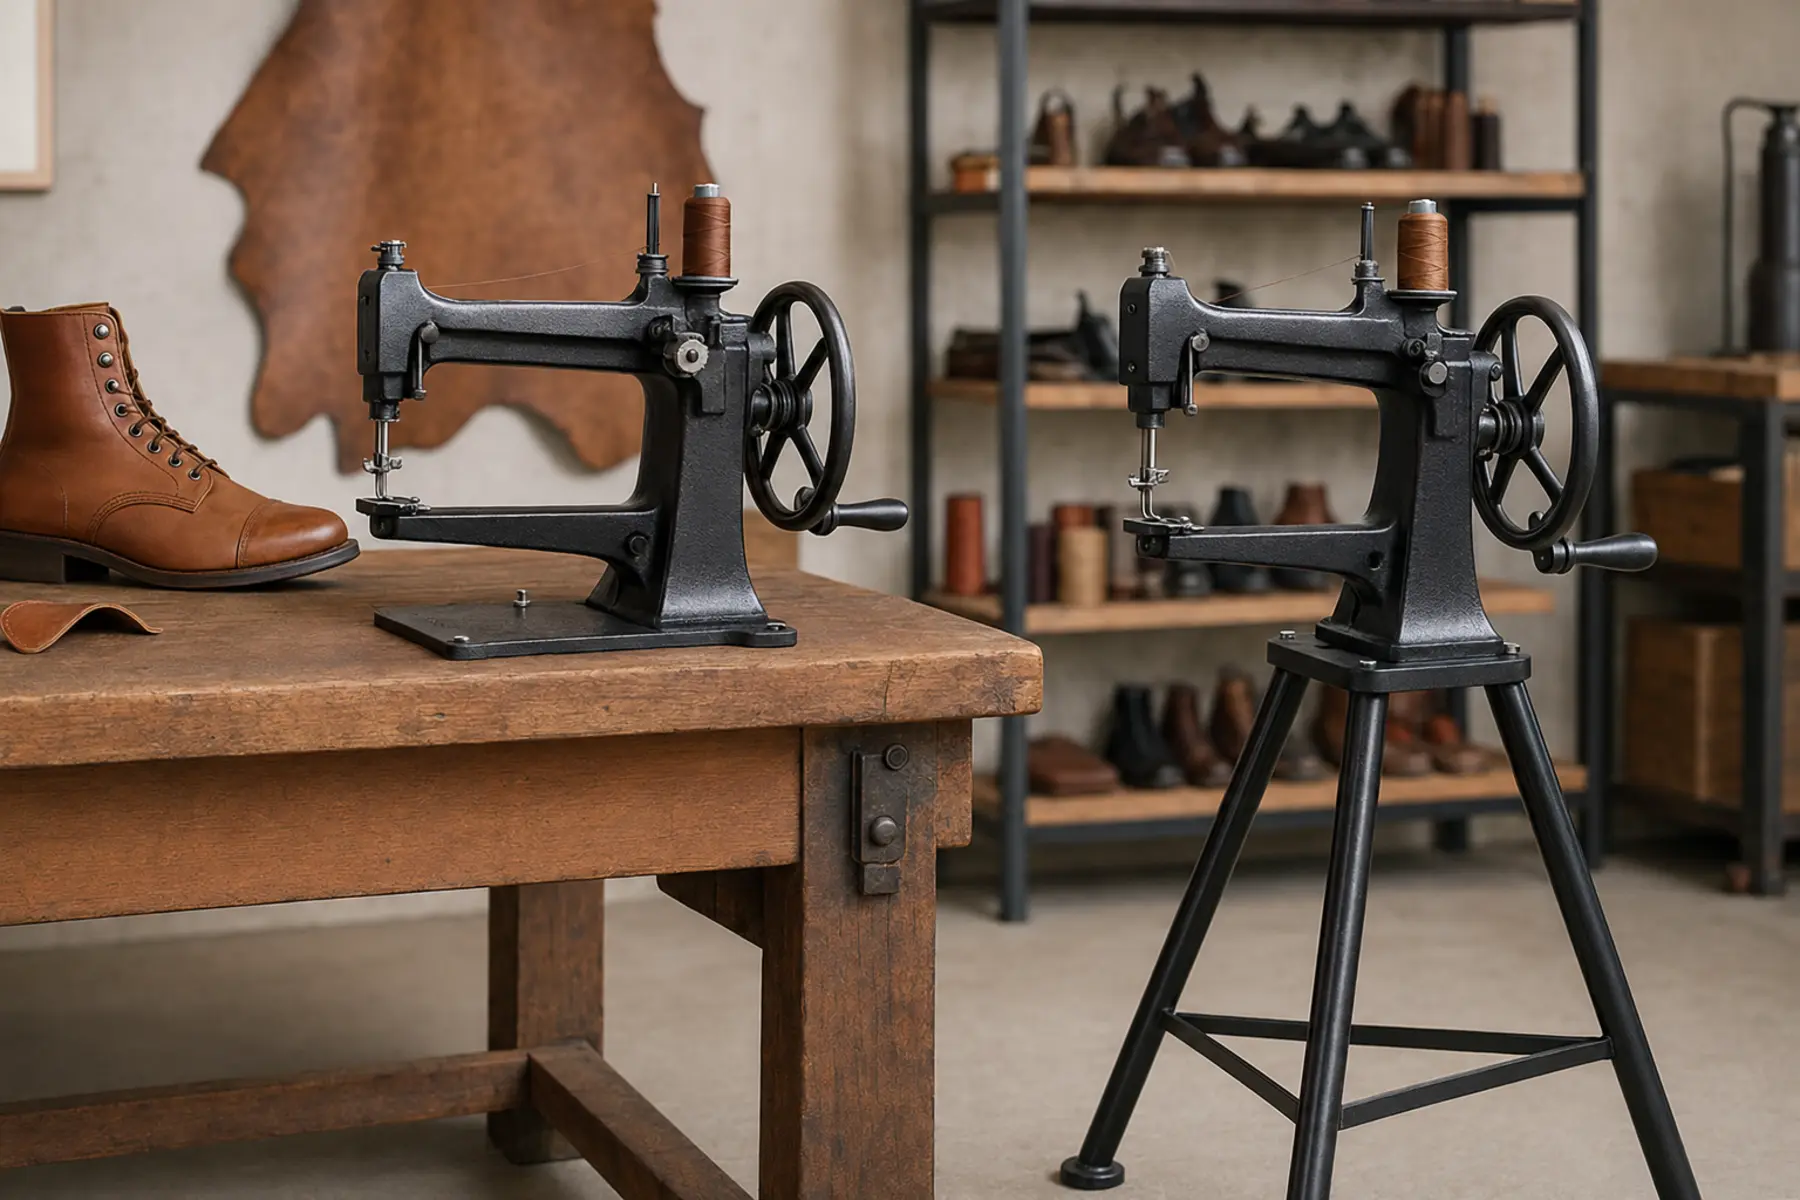
Affiliate disclosure: This page contains Amazon affiliate links. If you buy through them, we may earn a commission at no extra cost to you. Products were shortlisted for footwear-repair access and realistic ownership fit, not rating count or seller claims.
Quick answer
Choose the IRONWALLS manual cobbler machine if you can build or adapt a rigid bench mount and want the more stable setup for occasional shoe, boot, bag, and canvas repairs. Choose the BEAMNOVA tripod version when you cannot bolt a patcher to a permanent bench or need to move the machine between work areas.
Neither is our recommendation for production-volume shoe repair. Both are inexpensive hand-cranked patchers that may need cleaning, filing, lubrication, mounting, threading work, feed adjustment, and timing checks before they become dependable.
How we chose these cobbler machines
This guide focuses on footwear geometry and repair access. We considered the arm shape, ability to work inside closed items, feed direction, hand control, mounting, stability, likely material range, small-bobbin workflow, parts availability, setup burden, documentation, and suitability for occasional versus commercial work.
Generic leather machines, upholstery machines, domestic heavy-duty models, and industrial rankings are outside this page’s scope. Product identities and current listings were checked on July 22, 2026. Seller specifications should be treated as starting points, not proof that every delivered machine will sew the claimed material cleanly without preparation.
Manual cobbler sewing machines compared
| Machine | Best fit | Mounting | View |
|---|---|---|---|
| IRONWALLS Manual Leather Cobbler Shoe Repair Machine | Best for occasional repairs on a permanently mounted bench | Requires a stable bench-mounted base | View on Amazon |
| BEAMNOVA Manual Leather Cobbler Machine with Tripod Stand | Best when permanent bench mounting is not practical | Freestanding tripod included | View on Amazon |
IRONWALLS Manual Leather Cobbler Shoe Repair Machine
Best for occasional repairs on a permanently mounted bench
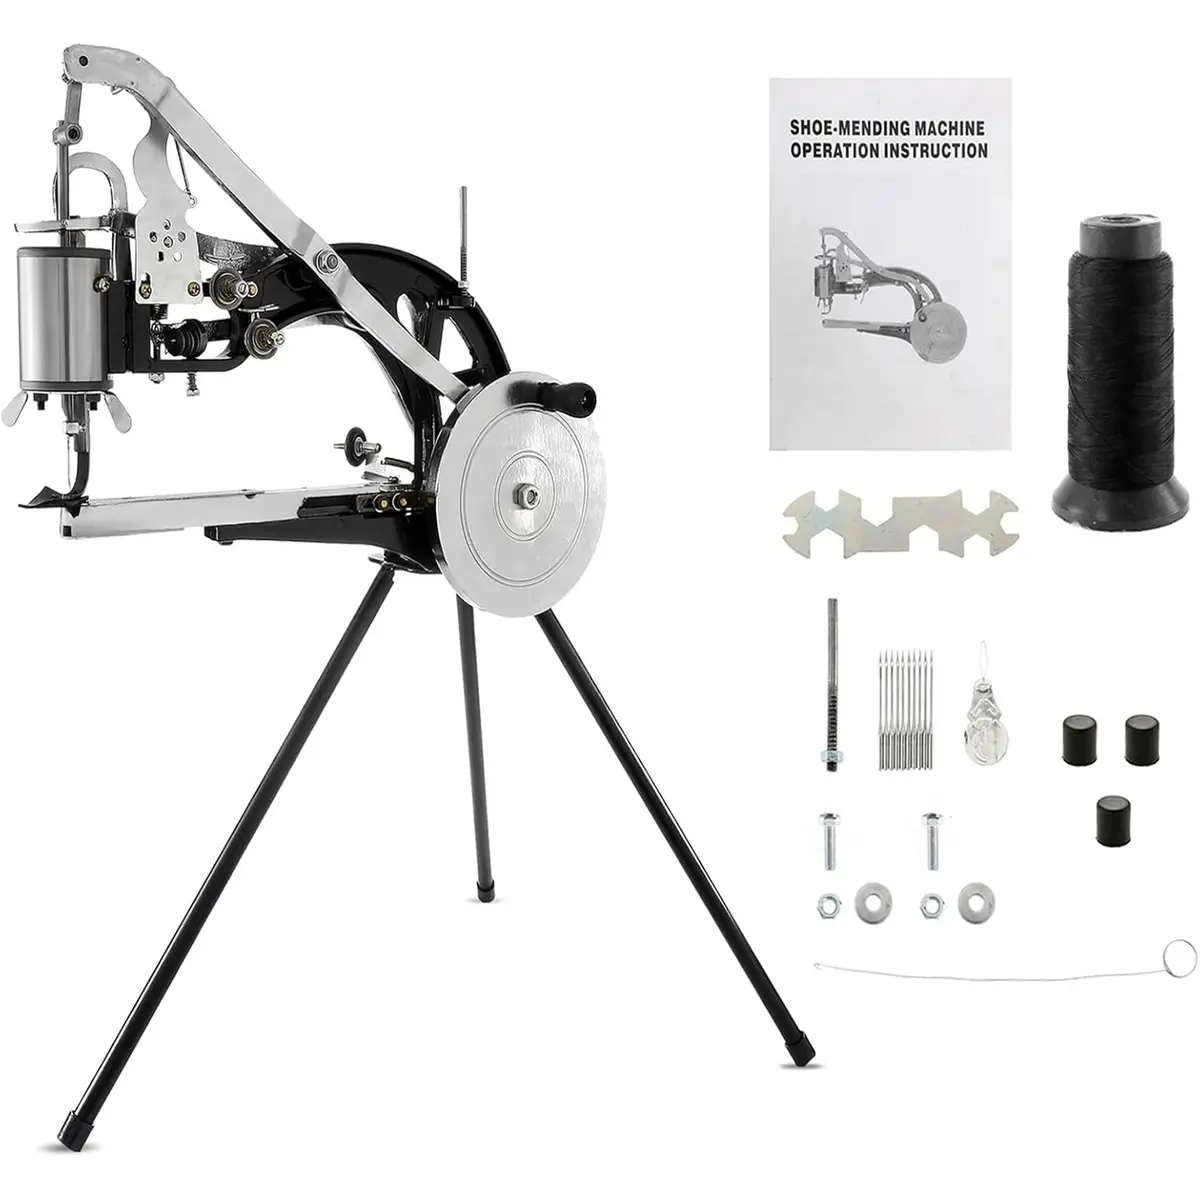
Why it makes the shortlist
Its long, narrow patcher geometry reaches inside footwear and other closed or awkward items that cannot lie flat under a normal domestic machine. Hand operation gives the user direct control over each stitch, while the rotating feed allows the repair seam to change direction without repeatedly repositioning the entire shoe.
Main limitation: This is not a plug-and-play professional patcher. Expect to clean shipping residue, inspect rough surfaces, oil the mechanism, build or adapt a rigid base, check threading and needle orientation, and possibly adjust feed or timing before it sews consistently. Instructions and quality control can vary.
Skip it if: You need dependable daily production, polished stitch consistency out of the box, local technician support, or a machine for constructing complete heavy-leather products.
BEAMNOVA Manual Leather Cobbler Machine with Tripod Stand
Best when permanent bench mounting is not practical
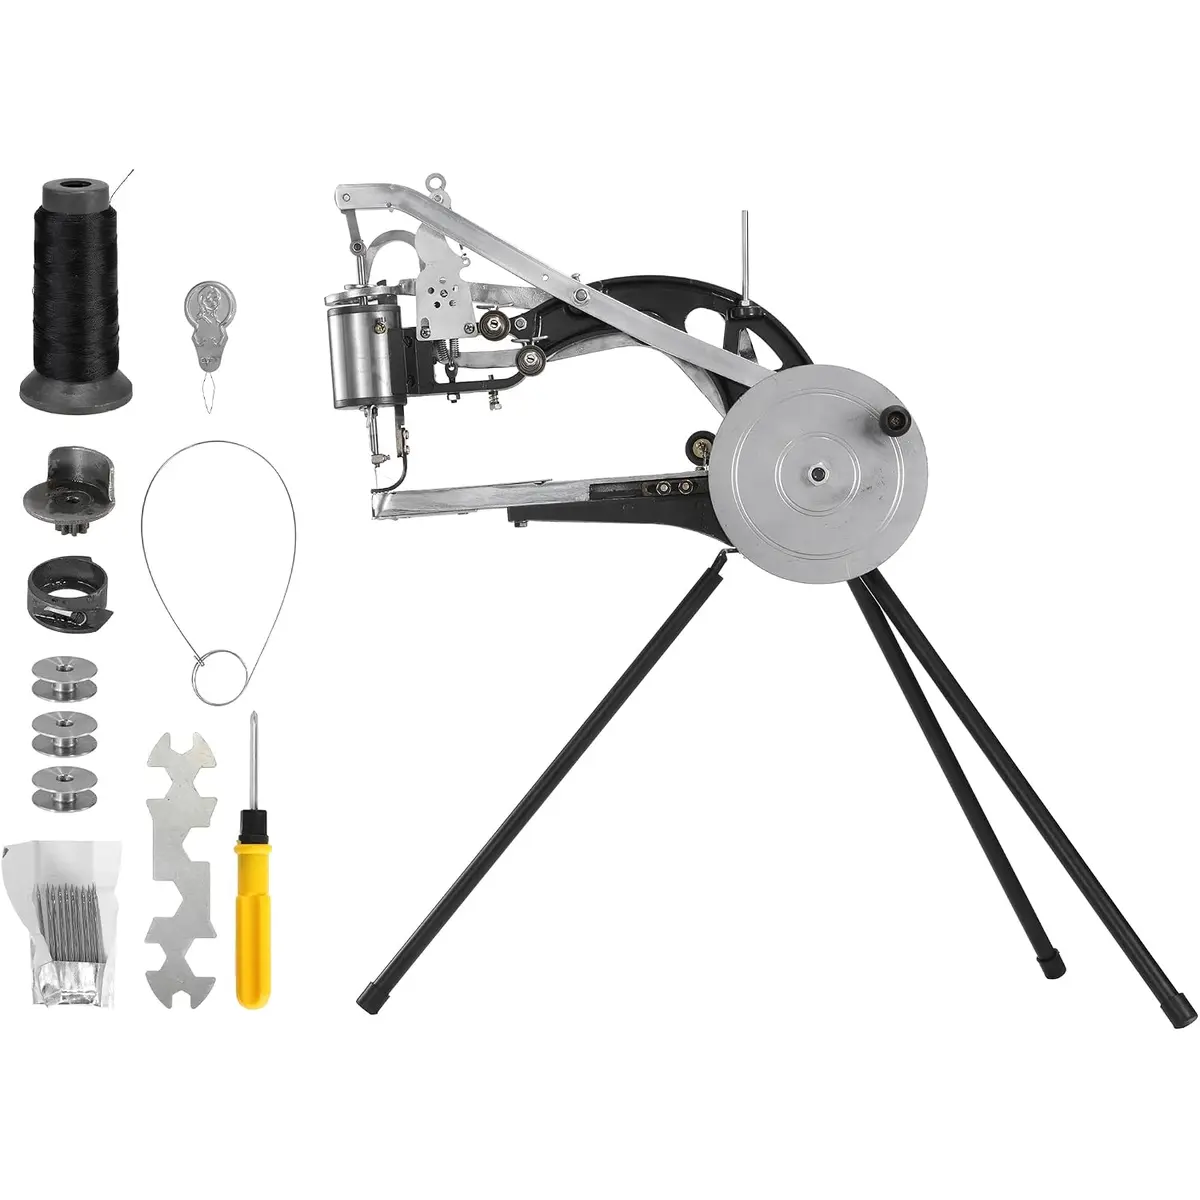
Why it makes the shortlist
The included tripod gives the patcher head a usable home without requiring holes in a workbench. The free arm and rotating feed direction remain useful for shoe uppers, boot edges, bags, and curved repair areas, while the machine can be moved or stored more easily than a permanent bench installation.
Main limitation: A tripod is generally less rigid than a well-built bench base, so the operator must control movement while cranking. The clone mechanism still needs inspection, lubrication, threading, and possible adjustment. It is not an industrial production system merely because the listing uses heavy-duty language.
Skip it if: You have room for a rigid bench installation, require repeatable commercial output, or expect the included stand to eliminate setup and stability work.
What setup actually involves
The low purchase price is partly exchanged for owner preparation. Do not judge the machine from the first uneven stitches made straight out of the box. Begin by documenting the machine’s delivered condition, then remove shipping residue according to the seller’s guidance and inspect the thread path, needle plate, presser foot, feed surfaces, shuttle, and bobbin area for roughness or obstructions.
Oil the specified moving points, confirm that the needle system and orientation are correct, wind and install the bobbin consistently, and thread the upper path without bypassing guides or tension discs. Turn the hand crank slowly with no material to observe whether the needle, hook, feed, and take-up movement complete a cycle without collision.
A rigid base matters. Hand cranking places uneven force into the machine, and a head that rocks or twists makes stitch control harder. A bench-mounted machine should be fixed to a stable base that gives the crank and arm enough clearance. A tripod model should stand on a level surface and be checked for movement before a shoe is placed under the foot.
Test on layered scraps that resemble the repair material. Start with conservative thread and needle combinations rather than the heaviest option the listing appears to promise. Establish a basic straight seam, then test changes in feed direction, stitch length, tension, reverse orientation, and curves. If the hook misses loops, thread nests underneath, or the feed behaves inconsistently, stop and diagnose instead of forcing the mechanism.
How to choose a cobbler sewing machine
Choose by the repair location
A patcher is valuable when the seam is inside a boot, near a shoe opening, around a bag corner, or on another closed item that cannot be flattened. If most projects begin as flat leather panels, a suitable flatbed or cylinder-arm leather machine may produce more consistent construction seams.
Decide whether the machine can stay mounted
A rigid bench mount usually offers better control, but it requires dedicated space and a suitable base. A tripod avoids drilling into furniture and can be moved, although it does not provide the mass or rigidity of a purpose-built bench. The mounting decision is the clearest difference between these two shortlisted machines.
Match expectations to the small bobbin
Manual patchers often use a small bobbin, which limits how much thread is available for long seams. That is manageable for patches and short repairs but frustrating for continuous production. Check bobbin and shuttle availability before buying because spare parts are part of the ownership plan.
Consider your willingness to tune machinery
These machines suit a patient owner willing to learn the thread path, tension, hook timing, feed adjustment, lubrication, and mounting. If you want predictable commercial output without rebuilding or tuning a new purchase, save for a better-supported patcher and inspect it through a dealer or technician.
Do not use thickness claims alone
A machine may pierce a material stack without forming an attractive, durable, repeatable seam. Feed grip, needle deflection, thread capacity, presser-foot clearance, hook timing, stitch length, and the shape of the repair all matter. Test the actual leather, lining, reinforcement, rubber, or canvas combination you intend to sew.
What an inexpensive cobbler patcher cannot replace
A manual patcher is primarily an access and repair tool. It does not replace every machine involved in shoe construction. Outsole stitching, sole attaching, edge finishing, skiving, post-bed upper work, heavy harness sewing, and repeat factory seams may require specialist equipment.
It also does not automatically replace a properly set up industrial cylinder-arm machine for bags, belts, and structured leather goods. A cylinder arm may feed layers more consistently during construction, while a patcher is chosen because it can reach a difficult existing seam and turn its feed direction around the repair.
For professional repair shops, downtime and stitch inconsistency cost more than the purchase price saved. A serviced vintage Singer or Adler patcher, or a supported modern industrial patcher, may be the better long-term investment when the machine will earn income every day.
Our practical verdict
The IRONWALLS is the stronger choice when you can give the machine a solid permanent base. The BEAMNOVA earns its place for renters, mobile users, and shared spaces because the tripod makes placement easier without permanent installation.
The honest recommendation is conditional. Buy either only if you want an inexpensive manual patcher, accept that setup is part of the purchase, and need access to awkward footwear or repair seams. For dependable production, budget for a supported professional patcher instead of buying several near-identical clones.
Frequently asked questions
Can a manual cobbler machine sew through shoe soles?
It depends on the sole construction, thickness, material, needle, thread, clearance, and the exact seam. These inexpensive patchers are most realistic for uppers, patches, edges, linings, bags, and accessible repair seams. They should not be assumed to replace specialist outsole stitching or sole-attaching machinery.
Why do cheap cobbler machines need setup before use?
Many are supplied as basic cast-metal patcher clones with inconsistent finishing and limited instructions. Owners commonly inspect for rough edges, remove protective residue, oil moving parts, build a stable mount, check needle orientation, establish tension, and verify hook timing and feeding before expecting reliable stitches.
Is a cobbler patcher the same as an industrial leather sewing machine?
No. A patcher is designed mainly for access to difficult repair areas and can feed in different directions. A cylinder-arm or flatbed industrial machine is usually better for consistent production seams, while specialist shoe machinery may be required for soles and other construction stages.
Can I motorise a manual cobbler sewing machine?
Some owners modify manual patchers, but adding a motor changes speed, torque, safety, mounting, and control requirements. It can also expose weaknesses in a machine that was manageable one stitch at a time. Motorisation should not be treated as a simple plug-in upgrade.
Which thread and needle should I use?
Use the machine documentation and test scraps to match needle system, point, size, and thread to the material. Leather and fabric may need different needle points. Avoid forcing thread that is too heavy for the needle, tension system, hook, or small bobbin.