

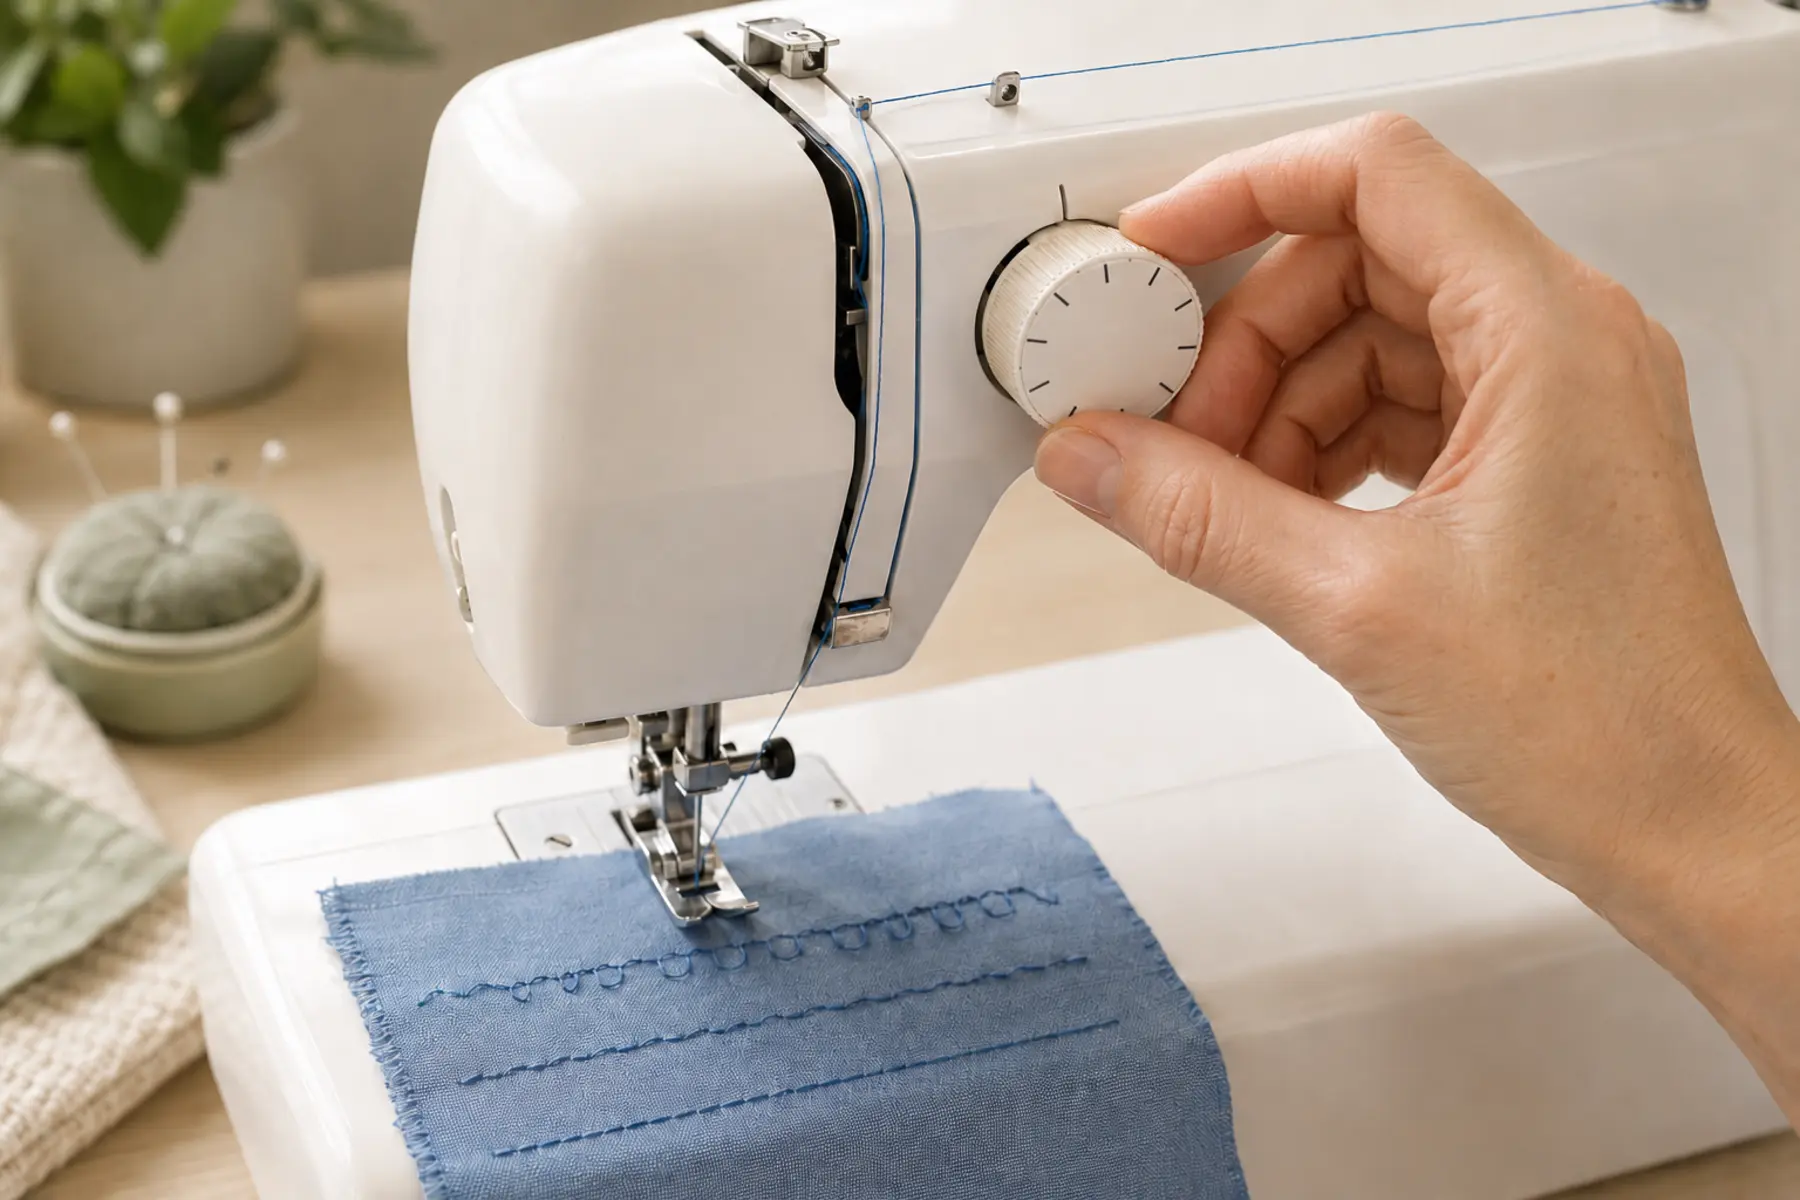
Most tension problems are not caused by the tension dial. They are caused by incorrect threading, a missed take-up lever, a wrongly inserted bobbin, a damaged needle, lint, unsuitable thread, or a mismatch between the materials and settings.
This guide uses a diagnostic order so you can separate setup faults from true tension imbalance before changing anything.
1. Understand what sewing machine tension actually controls
The upper tension assembly adds resistance to the needle thread. The bobbin-case spring adds resistance to the lower thread. During stitch formation, both threads should pull their interlock into the fabric rather than leaving it visible on either surface.
Balanced tension does not mean both controls use the same number. Most domestic machines provide an adjustable upper control and a factory-set lower system.
2. Identify a balanced stitch before diagnosing a problem
Test on two layers of the actual project fabric using the intended needle, thread, presser foot, and stitch. A centred straight stitch makes the result easiest to read.
Use contrasting thread colours only for testing. They make it easier to see which thread is being pulled to the wrong side.
3. Complete these checks before touching the tension dial
Rethread the upper path with the presser foot raised
Confirm the take-up lever is threaded
Insert the correct bobbin in the correct direction
Seat the bobbin thread under its tension spring
Install a fresh, suitable needle correctly
Use compatible needle and bobbin thread
Remove lint and tangled thread from the bobbin area
Return stitch length, width, and needle position to normal test settings
Use the full threading guide and bobbin guide when either path is uncertain.
4. Read the stitch symptoms correctly
5. Adjust upper tension in controlled steps
Start at the machine's normal setting. Sew a labelled test line. Change the upper tension by one small increment, then sew another line beside it. Keep the fabric, needle, thread, stitch, and speed unchanged.
If bobbin thread is being pulled to the top, reduce upper tension gradually. If upper thread is being pulled too far underneath after correct threading has been confirmed, increase upper tension gradually.
6. Account for fabric, thread, needle, and stitch type
Fine fabrics can pucker when the needle is too large, the thread is heavy, or the stitch is too short, even when tension is reasonable. Heavy thread may need a larger needle eye and a different tension range. Stretch fabric may need a stretch-compatible stitch and needle rather than a tighter dial.
Decorative stitches, satin stitches, twin-needle work, topstitching, and embroidery may intentionally use a different balance than a construction seam. Always judge the setting against the intended stitch result.
7. Know when bobbin tension may genuinely need attention
Bobbin tension is not the first adjustment for ordinary sewing. Consider it only after the correct bobbin, winding quality, insertion, upper threading, needle, materials, and cleaning have been confirmed.
Reasons a lower system may need service or model-specific adjustment include a damaged spring, lint trapped under the spring, a replacement bobbin case with a different setting, specialty bobbin work, or persistent imbalance across several verified setups.
Mark the original screw position before any permitted adjustment, move it only slightly, and use a separate bobbin case for specialty settings when practical.
8. Separate tension puckering from other causes
Puckering can come from excessive tension, but also from a blunt needle, dense stitch length, unstable fabric, feeding imbalance, poor-quality thread, or differential shrinkage between layers.
Loosen upper tension only after checking whether the seam relaxes when cut from the machine. If the fabric remains distorted, the cause may be structural rather than tension alone.
9. Use a repeatable tension test method
Use two layers of project fabric
Install the intended needle and thread
Start at the normal tension setting
Sew a labelled test line
Change only one variable
Compare both fabric sides
Record the best setting for the project
Retest after changing thread, needle, fabric, or stitch
10. Recognise when adjustment is not the solution
Seek service when tension remains unstable after verified threading, the dial has no effect, thread catches inside the machine, the bobbin case is damaged, the hook has burrs, or stitches alternate between tight and loose without any setup change.
Continue with the main sewing machine troubleshooting guide when the problem includes noise, needle strikes, repeated jams, timing symptoms, or feeding faults.
Frequently Asked Questions
Sewing machine tension questions
What should balanced sewing machine tension look like?
On a balanced straight stitch, the upper and bobbin threads interlock inside the fabric layers. The upper thread should dominate the right side and the bobbin thread the wrong side, without obvious loops or dots pulling fully through.
Why are there loops underneath the fabric?
Large loops underneath usually point to an upper-threading problem, especially thread that missed the tension discs or take-up lever. Rethread with the presser foot raised before changing the tension dial.
Why is bobbin thread showing on top?
Bobbin thread showing on the right side can mean the upper tension is too high, the bobbin thread is not feeding correctly, or the combination of needle, thread, and fabric is unsuitable.
Should beginners adjust bobbin tension?
Usually no. First confirm correct upper threading, bobbin insertion, needle, thread, fabric, cleaning, and a normal upper-tension setting. Bobbin-case adjustments should be small, documented, and model-specific.
Does every fabric use the same tension number?
No. The normal setting is only a starting point. Fabric thickness, thread size, stitch type, stabilizer, needle, and machine design can all affect the final setting.
Adjust tension only after proving it is a tension problem
The fastest reliable method is to verify threading and materials first, read which thread is being pulled to the wrong side, and then make one small upper-tension change at a time on a labelled test sample.