

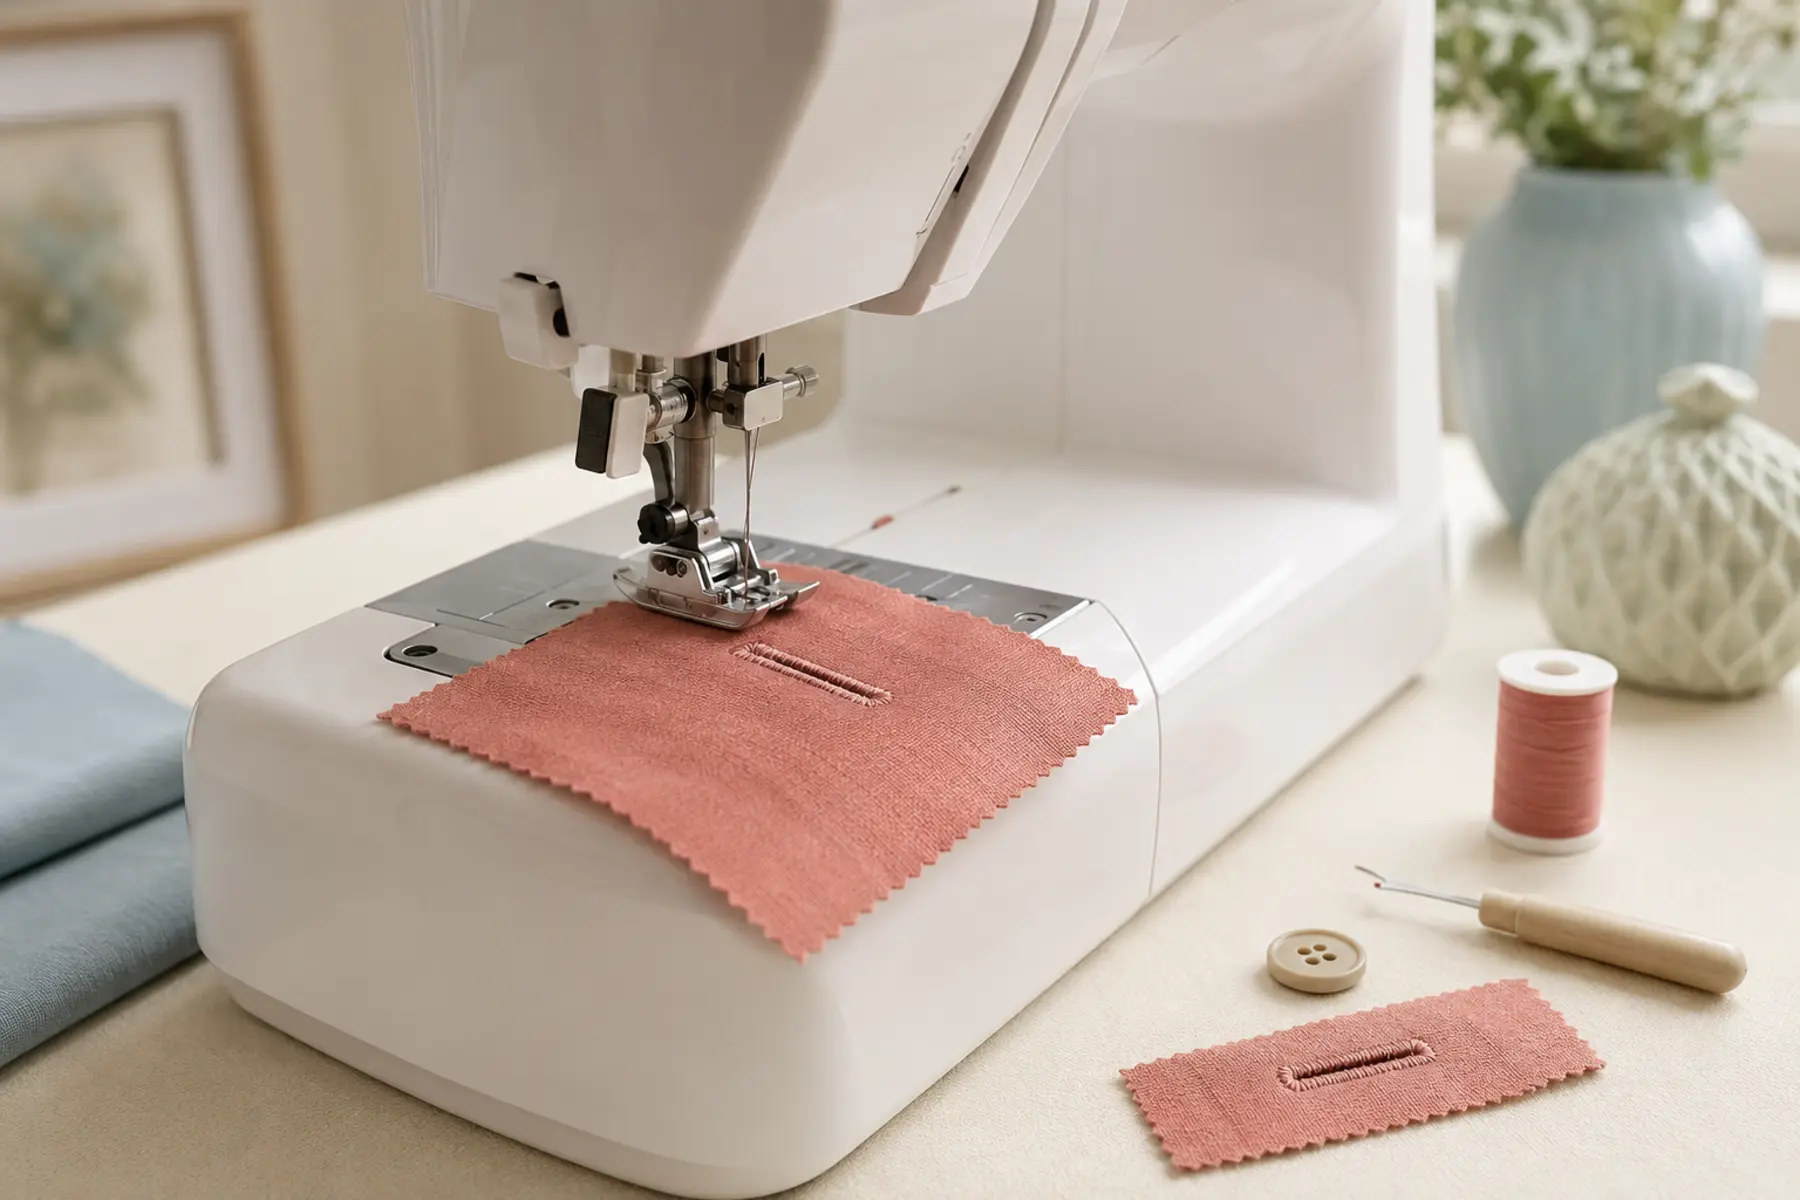
Before You Start
Buttonholes vary considerably between sewing machine models. Some machines use a long one-step foot with a button holder, some use a four-step dial sequence, and others offer several automatic buttonhole styles. Check the exact threading path, lever position, foot type, and balance control in your machine manual before testing.
Do not sew the first buttonhole directly on the finished garment. Make a test sample using the same fabric layers, interfacing, thread, needle, and seam construction as the final piece.
1. Measure the Buttonhole Correctly
The finished opening must be long enough for the widest part of the button to pass through, but not so loose that the button slips out during wear. For a flat button, measure the button diameter and add its thickness. For a shank button, also consider the depth of the shank and the bulk of the fabric.
Cut a narrow slit in a scrap of matching fabric, test the button through it, and use that practical result to confirm the opening length. Add only a small amount of ease.
2. Mark the Position and Direction
Mark the buttonhole centre line and both finished ends. Horizontal buttonholes usually resist pulling better on shirt fronts and waistbands because the button settles against the outer end. Vertical buttonholes are often used where space is narrow or the garment design requires a straight visual line.
Keep all buttonholes aligned to the same reference edge. For a row of buttonholes, mark the full placement before sewing the first one. Check that collars, plackets, waistbands, and facings are lying flat and that no seam allowance is folded underneath the stitching path.
3. Stabilise the Fabric
Dense buttonhole stitches repeatedly penetrate a small area. Without support, lightweight fabric may pucker, knits may stretch, loose weaves may distort, and layered edges may feed unevenly.
Use the garment interfacing specified for the pattern.
Add removable stabiliser beneath delicate, slippery, stretchy, or loosely woven fabric.
Keep seam allowances flat and graded so the foot is not climbing over a sudden ridge.
Test tear-away, wash-away, or cut-away stabiliser on the fabric before committing.
For velvet, fleece, heavily textured fabric, or thick coating, test whether a wash-away film on top helps the foot travel without catching.
If the project needs extra support, you can compare sewing stabilisers on Amazon. Choose tear-away, wash-away, or cut-away according to the fabric and test the removal method on a scrap first.
4. Choose the Needle and Thread
Use a fresh needle suited to the fabric. A universal needle is appropriate for many woven fabrics, while stretch fabrics may need a stretch or ballpoint needle. Dense stitching magnifies the effect of a bent, dull, or unsuitable needle.
Standard polyester thread works for most garment buttonholes. Use decorative or heavier thread only if the machine, needle eye, and buttonhole program can handle it. For more detail, use the sewing machine needle size and type guide.
5. Make a Complete Test Buttonhole
Build the test sample exactly like the final area. Include the same number of fabric layers, interfacing, edge folds, and seam allowances. Sew the full buttonhole, cut it open, and push the real button through it several times.
Evaluate five things: finished length, stitch density, symmetry, bartack strength, and whether the button passes through without forcing.
6. Sew a One-Step Buttonhole
A one-step buttonhole foot usually has a rear holder for the button. The machine uses the button as a size reference and automatically sews both sides and bartacks in one cycle.
Insert the button into the holder and close it firmly.
Attach the correct one-step buttonhole foot.
Pull down the buttonhole lever fully, if your machine uses one.
Select the required buttonhole style.
Place the marked starting point under the foot in the direction shown by the manual.
Lower the presser foot and start sewing without pulling the fabric.
Allow the machine to complete the whole cycle before stopping.
7. Sew a Four-Step Buttonhole
A four-step buttonhole divides the process into separate stages, usually one side, one bartack, the second side, and the final bartack. The exact sequence and sewing direction vary by machine.
Mark both ends clearly. Sew the first stage and stop exactly where the manual instructs. Change to the next step only after the needle has stopped. Continue through all four stages without shifting the fabric.
Four-step buttonholes require more operator control than one-step buttonholes, but they are useful on simpler mechanical machines and can be easier to position near bulky edges.
8. Sew a Manual Zigzag Buttonhole When Needed
A manual buttonhole can be formed with a zigzag stitch when the machine has no dedicated program or when an automatic foot cannot travel over the area. Mark the rectangle precisely, use a narrow dense zigzag for the sides, and a wider near-zero-length zigzag for the bartacks.
Before attempting this method, understand how width and length change the stitch. The zigzag stitch guide explains those controls in detail.
9. Use a Corded Buttonhole for Extra Body
Cording supports the dense zigzag and produces a raised, durable buttonhole. It is particularly useful on coats, jackets, textured fabrics, and areas that will receive repeated wear.
Loop fine buttonhole cord or strong thread around the hook on a compatible buttonhole foot, guide both ends under the foot, and sew over the cord. After stitching, pull the cord gently to remove slack and secure the ends on the wrong side.
10. Open the Buttonhole Safely
Check that the stitch cycle is complete before cutting. Place a pin immediately inside each bartack to act as a stop. Insert a seam ripper near the centre and cut toward one end, then turn the work and cut from the centre toward the other end.
A buttonhole chisel and cutting block gives the cleanest straight opening, especially for dense or repeated work. Do not force a blunt seam ripper through thick fabric because it can jump across the bartack.
Practical Starting Points
Buttonhole Problems and Their Likely Causes
For general stitch formation problems, see the sewing machine troubleshooting guide. For thread balance problems, use the sewing machine tension guide.
Final Quality Check
Both buttonhole sides are parallel and similar in density.
The bartacks are complete and not cut.
The opening is centred between the stitched sides.
The fabric lies flat without rippling or stretching.
The button passes through firmly without forcing.
Repeated use does not pull the buttonhole out of shape.
Frequently Asked Questions
How much longer should a buttonhole be than the button?
A common starting point is the button diameter plus its thickness, with a small amount of ease. Always test with the exact button because shank depth, fabric thickness, and button shape affect the final size.
Why does my buttonhole look uneven on one side?
Uneven density can come from poor stabilisation, fabric drag, incorrect buttonhole balance, or a machine that needs its buttonhole balance adjusted. Test on a matching fabric sandwich before sewing the garment.
Do all buttonholes need interfacing?
Most garment buttonholes benefit from some stabilisation. Firm woven fabrics may need only the garment interfacing, while knits, loose weaves, slippery fabrics, and lightweight fabrics usually need extra temporary stabiliser during stitching.
Can I sew a buttonhole without a buttonhole foot?
Yes, on many machines you can form a manual buttonhole with a zigzag foot, but it requires careful marking, controlled stitch width and density, and accurate bartacks. Use the method recommended in the machine manual.
How do I stop cutting through the end of a buttonhole?
Place a pin across the bartack before cutting, then open from the centre toward each end in separate passes. A buttonhole cutter and block gives the cleanest control.
Final Thoughts
The most reliable buttonhole is made on a properly stabilised fabric sample before the garment is sewn. Confirm the real button size, duplicate the final layers, allow the foot to travel freely, and cut the opening only after checking the bartacks. A careful test buttonhole prevents most permanent mistakes.