

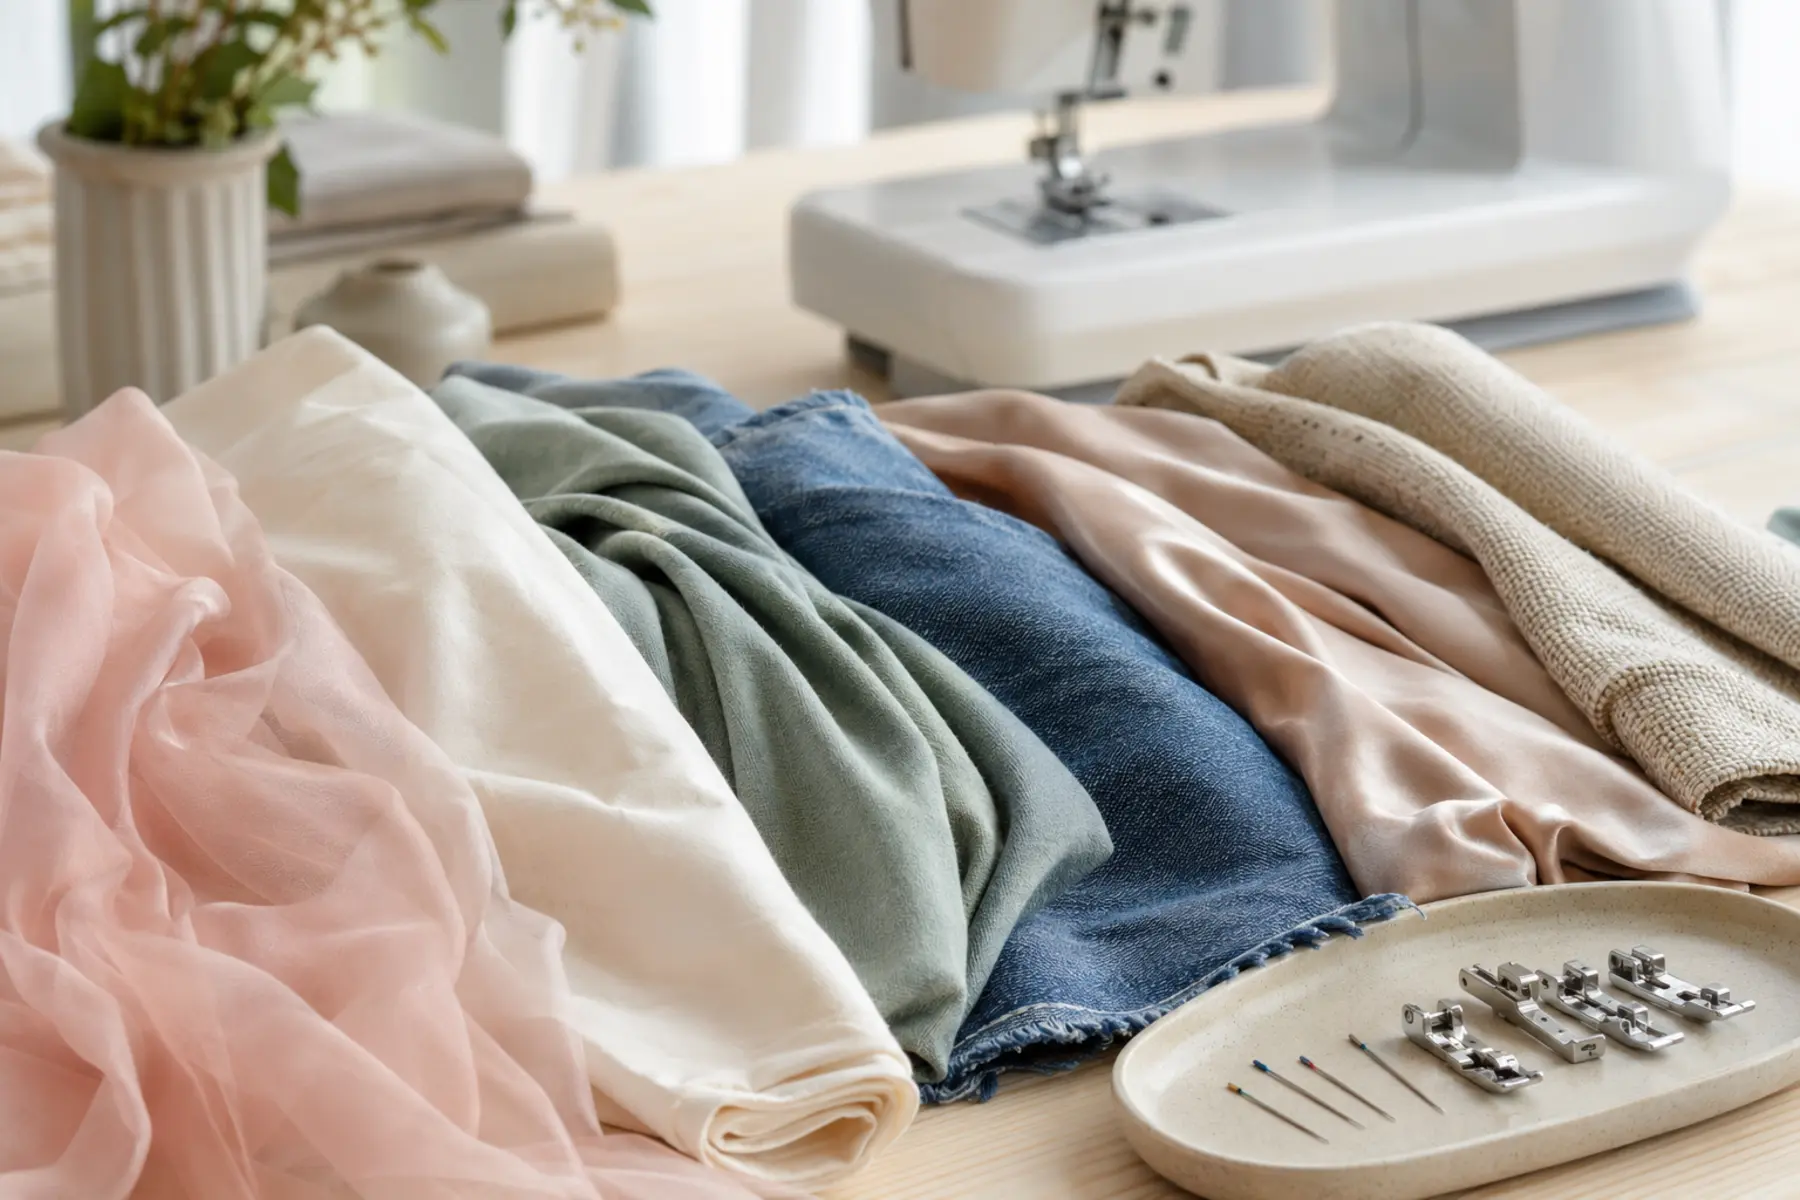
The safest starting point is not a universal tension number or one “best” stitch. It is a controlled test using the exact fabric, thread, interfacing, batting, seam thickness, and grain direction planned for the project.
Use the needle sizes and types guide for detailed needle selection. This page focuses on how each fabric behaves under the machine and what to change first.
1. Classify the fabric before changing settings
Identify five things: whether it is woven, knit, or non-woven; its weight; how much it stretches; whether the surface is slippery, sticky, piled, or coated; and how many layers will pass under the foot. Those factors predict most feeding and stitch problems.
Test on project scraps, not an unrelated fabric
Use the same number of layers and stabilizers
Start with normal tension
Change one variable at a time
Record the final needle, stitch, length, foot, and tension
2. Woven cotton and quilting cotton
Stable woven cotton is the easiest baseline. Start with a universal 75/11 or 80/12 needle, all-purpose polyester or cotton-compatible thread, a standard foot, and a straight stitch around 2.4 to 2.8 mm.
Prewash when shrinkage matters. Align the edge to one seam allowance guide and let the feed dogs move the fabric. For piecing, test a quarter-inch foot or accurate needle position rather than assuming the foot edge equals the required allowance.
3. Linen and loose woven fabrics
Linen can shift, fray, and grow during handling. Use a sharp or universal needle appropriate to the weight, a medium stitch length, and avoid excessive backstitching at fragile edges. Staystitch curved or bias areas before they stretch.
Finish seam allowances early with zigzag, overcasting, a serger, or a bound finish. Support large pieces so their weight does not pull the seam off line.
4. Denim, canvas, and dense workwear fabrics
Use a denim or strong sharp needle sized for the actual layers, not only the fabric label. Lengthen the straight stitch slightly, use strong suitable thread, and reduce speed at bulky intersections.
A walking foot can help multiple layers feed evenly. At a thick hump, stop with the needle down, raise the presser foot, and use a hump jumper or folded scrap behind the foot to keep it level. Do not pull from behind.
5. Jersey and ordinary knit fabrics
Use a ballpoint or jersey needle and a stitch that can stretch with the fabric. Depending on the machine and seam, use a narrow zigzag, lightning stitch, stretch stitch, or a longer straight stitch only where little stretch is required.
Do not stretch the fabric while sewing. If the seam waves, reduce handling pressure, support the fabric, test lower presser-foot pressure where adjustable, or use a walking foot. Stabilize shoulders and other areas that should not stretch.
6. High-stretch athletic and swim fabrics
Use a stretch needle when a jersey needle skips. Test polyester thread and an elastic stitch. Highly elastic materials often need a narrow zigzag or machine stretch stitch so the seam can extend without breaking.
Use clips rather than pins where holes remain visible. Test elastic application separately because stretching the elastic, fabric, or both changes the finished recovery.
7. Fleece, sweatshirt fabric, and soft bulky knits
Fleece is bulky but often compressible. Use a ballpoint or stretch needle according to the fabric structure, a longer stitch, and enough presser-foot lift for the layers. A walking foot can reduce layer shifting.
Trim bulk from seam allowances where the pattern permits. Avoid crushing the fabric under excessive presser-foot pressure. Brush lint from the bobbin and feed area more frequently.
8. Satin and slippery woven fabrics
Satin can shift, snag, and show needle damage. Use a fine sharp or microtex needle, fine smooth thread, and a fresh needle plate free of burrs. Cut in a single layer when accuracy matters and use fine pins or clips inside the seam allowance.
Reduce handling and support the full piece. A straight-stitch foot or plate may improve control on compatible machines. Test stitch marks before unpicking because holes can remain visible.
9. Chiffon, organza, and very light fabric
Use a fine microtex or sharp needle and fine thread. Begin slightly away from the raw edge, hold the thread tails, or use a small leader fabric to prevent the edge from being pulled into the needle plate.
A straight-stitch plate and foot can support the fabric if compatible with the selected stitch. Use tissue, wash-away stabilizer, or another project-appropriate support when the fabric shifts or puckers. Shorten neither stitch nor tension aggressively; very short stitches can perforate delicate fabric.
10. Velvet and other pile fabrics
Velvet layers creep because the pile pushes them in opposite directions. Mark the nap direction before cutting, use clips or hand basting, and test a walking foot or roller foot. Sew with light pressure and support the fabric.
Press with a velvet board or appropriate method so the pile is not crushed. Avoid unnecessary unpicking because stitch marks can remain.
11. Leather, faux leather, vinyl, and sticky surfaces
For genuine leather, use a leather needle unless the material manufacturer specifies otherwise. For faux leather and coated textiles, test a microtex or appropriate specialty needle. Use clips because pin holes may be permanent.
A non-stick, roller, or walking foot can improve feeding. Lengthen the stitch so the seam does not create a perforated tear line. Do not repeatedly backstitch over the same holes; secure ends using the method appropriate to the material and project.
12. Lace, mesh, and open fabrics
Use a fine needle suitable for the fibre and structure. Support open areas with stabilizer, tissue, or a narrow strip of compatible fabric so the feed dogs and foot have something to grip. Test zigzag width carefully to avoid needle strikes.
13. Quilted layers, batting, and uneven stacks
Use a quilting needle and walking foot when layer shifting is a problem. Baste sufficiently, support the weight of the quilt, and lengthen the stitch compared with ordinary piecing when appropriate.
When seam thickness changes suddenly, level the presser foot. Avoid pulling, which can bend the needle and distort stitch length.
14. Bias edges, curves, and fabric that grows
Bias-cut woven fabric stretches even though the fabric itself is not knit. Staystitch before handling, reduce hanging time before assembly, and support the piece. On curves, sew slowly and make small directional adjustments while keeping the fabric flat.
15. Fabric settings quick-reference table
16. Diagnose problems in the correct order
Do not use tension as the first fix for every symptom. Follow the dedicated sewing machine tension guide after needle, threading, bobbin, stitch, foot, and stabilization have been checked.
17. Build a useful fabric test swatch
Fold the scrap to the same number of layers as the real seam. Add the same interfacing, elastic, lining, batting, or stabilizer. Sew several labelled rows, changing only one setting between rows.
Evaluate stitch balance, seam stretch, puckering, skipped stitches, feed consistency, needle holes, thread damage, and how the seam behaves after pressing or stretching. Keep successful samples with written settings for future projects.
Frequently Asked Questions
Sewing different fabrics
Do I need different settings for every fabric?
Yes. Fabric structure, weight, surface, stretch, and number of layers affect needle choice, stitch type, stitch length, presser-foot pressure, feeding, and stabilization.
What is the best fabric for a beginner?
A stable medium-weight woven cotton is usually easiest because it does not stretch, slip, curl heavily, or require unusual feeding methods.
Should I adjust tension for each fabric?
Start with the normal setting and test first. Change tension only after confirming the needle, thread, upper threading, bobbin setup, stitch, and stabilization.
Why does fabric get pushed into the needle plate?
This is common with very light or soft fabric near an edge. A fine needle, straight-stitch plate where compatible, stabilizer, leader fabric, and a slightly longer starting distance can help.
Can one presser foot sew every fabric?
A standard foot works for many projects, but a walking foot, roller foot, non-stick foot, straight-stitch foot, or knit-specific approach can improve feeding on difficult materials.
Change the setup to match the material
Reliable sewing comes from matching the needle and stitch to the fabric structure, then controlling feeding, support, and bulk. Test the exact project stack, make one change at a time, and keep the settings that produce a balanced seam without damaging the fabric.