
← Sewing glossary

Presser foot

Darning Foot

A springing or hopping foot that gives visibility and freedom for controlled fabric movement.

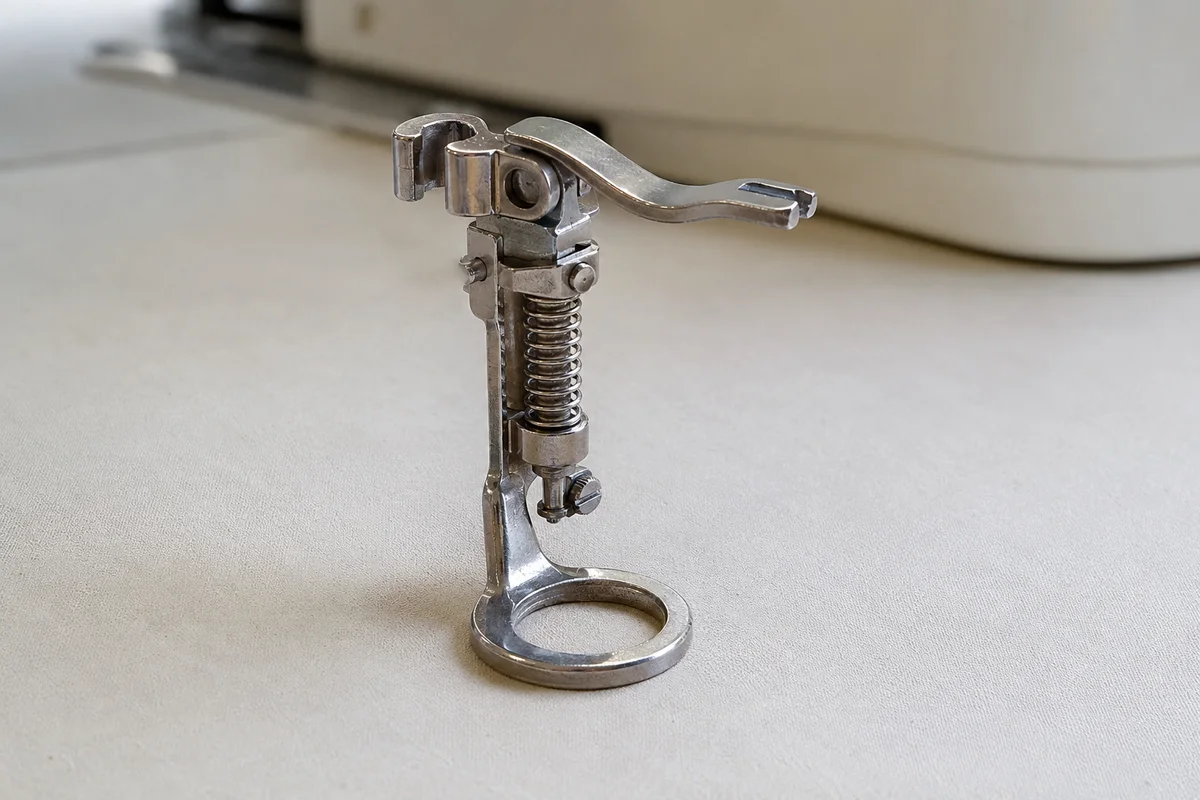
A lightly used silver spring-loaded darning foot with a circular open toe and operating arm on a pale worktable
A spring-loaded open-toe darning foot. The circular toe keeps the needle area visible, and the spring mechanism allows the foot to lift between penetrations during free-motion mending or quilting. Compatibility depends on the machine shank and attachment point.
01

Prepare the machine

Lower or cover the feed dogs when required and attach the foot to the correct presser-bar point.

02

You control stitch length

In free motion, length comes from the relationship between machine speed and hand movement.

03

Support the damaged area

Place a patch or stabilizer behind a hole and build stitches across sound fabric.

Useful distinction

Your hands become the feed dogs

The machine supplies needle speed; hand movement supplies direction and stitch spacing.

Practical guide

Control movement before trying to draw with thread

A darning foot creates clearance and visibility, but stitch quality comes from stable fabric, correct attachment, and coordination between needle speed and hand movement.

Attach the foot to the moving mechanism

Match the foot to the machine shank and follow its attachment instructions. On many hopping feet, an operating arm rests over the needle-clamp screw. If that arm sits below or misses the screw, the foot may not lift correctly and can press the work down continuously.

Prepare a damaged area for mending

Trim only loose fibers, then place a patch or stable support behind the worn area so stitches enter sound fabric beyond the hole. Begin with rows in one direction and add crossing rows as needed. Dense thread over an unsupported gap becomes stiff and may tear away from the weak edge.

Coordinate speed and stitch length

The machine determines how often the needle penetrates; your hands determine how far the fabric travels between penetrations. If stitches are long, slow hand movement or increase needle speed gradually. If stitches are tiny and crowded, move more steadily rather than racing the machine.

Choose between hoop, gloves, and free support

A hoop can keep small areas taut for embroidery-like control. Quilting gloves or a grippy surface help move larger work without stretching it. Support the project weight on the table so a hanging quilt or garment does not pull against the needle.

Avoidable mistakes

Free-motion problems with practical causes

  • Installing the foot without placing its operating arm correctly.
  • Sewing directly over a hole without supporting the weakened fabric.
  • Trying to correct uneven stitches by changing tension before coordinating movement.
  • Holding fabric so tightly that the needle deflects while changing direction.

Common questions

Darning Foot FAQs

Why does the foot bounce?

Many designs intentionally hop with each needle cycle so fabric can move.

Must feed dogs be lowered?

Usually for free motion, though some machines use a cover plate or guided method.

Why are stitch lengths uneven?

Hand speed and pedal speed are not synchronized yet.

Can this foot be used for quilting?

Yes, when it matches the machine shank and clears the quilt thickness.