
← Sewing glossary

Utility stitch

Zigzag Stitch

A stitch that alternates left and right needle penetrations while moving forward.

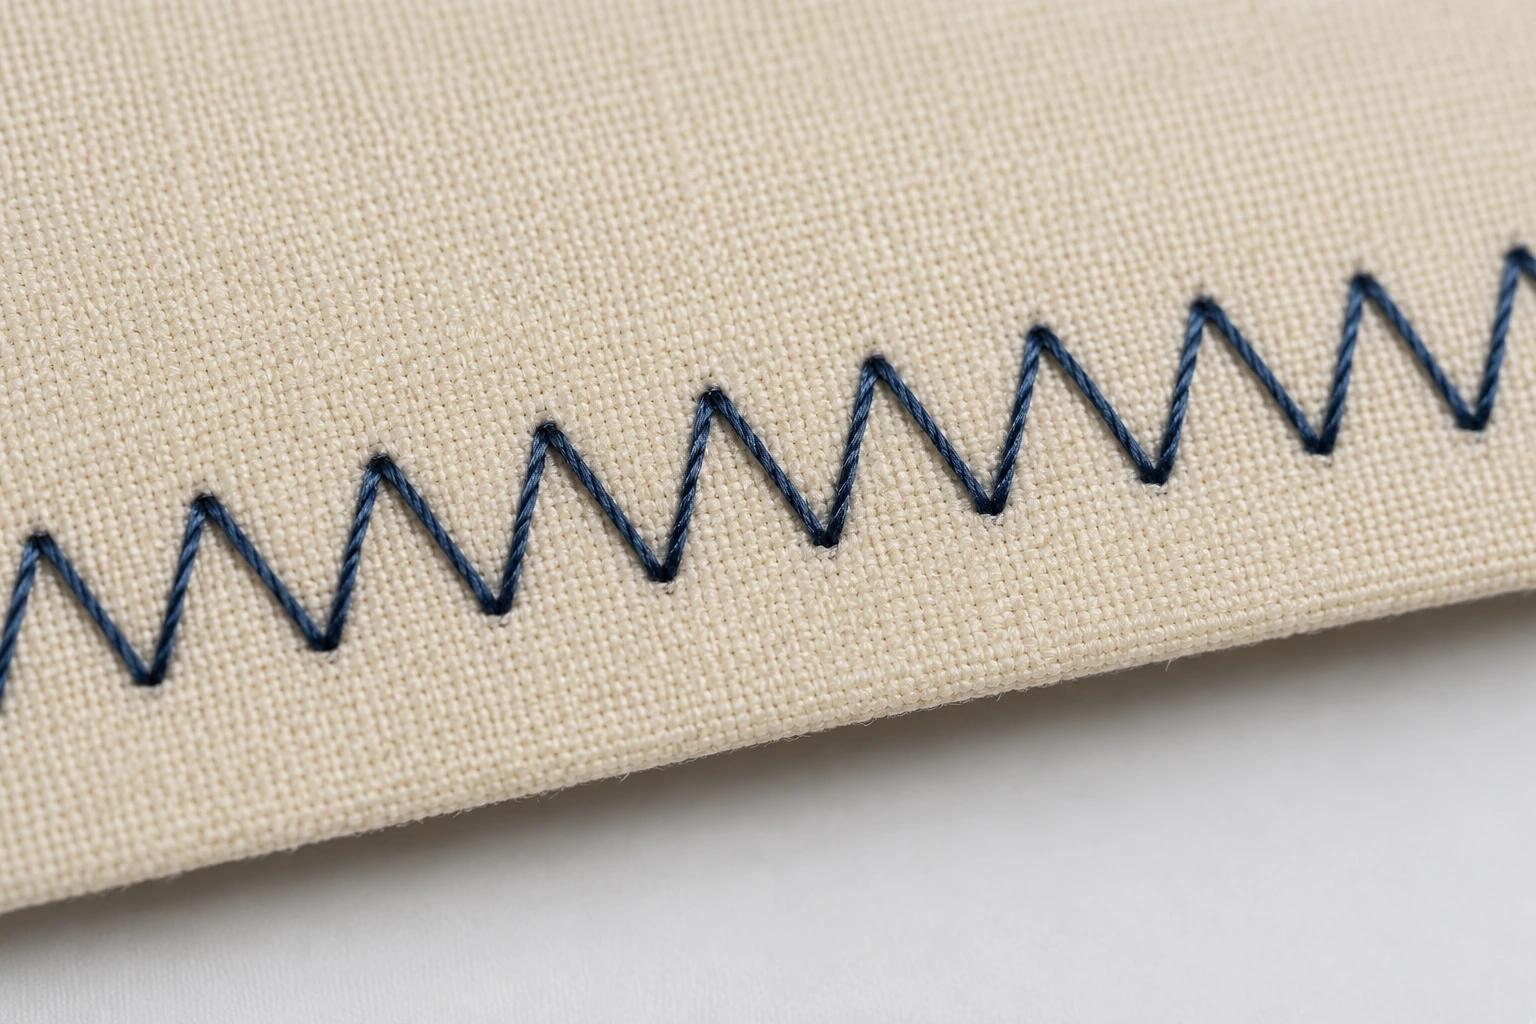
Close-up of an even navy zigzag stitch sewn across cream woven fabric
An evenly formed zigzag stitch on woven fabric. The needle alternates from side to side to create a flexible zigzag line. Stitch width controls the lateral spread, while stitch length determines how closely the points sit together.
01

Narrow and flexible

A narrow zigzag can act as a stretch-friendly construction seam while still looking nearly straight.

02

Wide and open

Medium or wide settings work for edge finishing, elastic, and mending when the stitch remains visibly spaced.

03

Dense satin effect

Shorten the length until rows sit close together, then stabilize the fabric and use a suitable foot.

Useful distinction

Two controls, two jobs

Width changes lateral travel; length changes how closely each zigzag sits beside the next.

Practical guide

Match zigzag shape to what the seam must do

Zigzag is not one fixed stitch. Width, length, thread, fabric support, and needle choice turn the same basic motion into a flexible seam, an edge finish, an attachment stitch, or dense surface coverage.

For stretch seams

Use a narrow width and moderate length so the stitch can open when the fabric stretches without looking heavily scalloped. Sew a two-layer sample across the direction of greatest stretch, then pull it as the finished garment will be pulled. If thread snaps, adjust the setup rather than simply widening the stitch.

For raw-edge finishing

Position the fabric so the right swing lands at or just beyond the raw edge. A medium, open zigzag controls fraying without building a hard ridge. An overcasting foot can support the thread at the edge, but its guide and support bar require a compatible stitch width.

For elastic and appliqué

A medium zigzag can attach elastic while preserving stretch; guide the elastic consistently without letting the needle pierce beyond its edge. For appliqué, a short dense zigzag covers the cut edge. Stabilizer beneath the work prevents tunneling and keeps corners from collapsing.

For satin stitching

Shorten length gradually until the stitches sit close together, but do not force the machine toward zero. Dense stitching concentrates thread and can jam, pucker, or damage light fabric. Use a satin-stitch foot with clearance beneath it and test whether the needle thread lies smoothly without pulling the fabric inward.

Avoidable mistakes

Why a zigzag sample can mislead you

  • Testing on one layer when the final seam contains two layers or elastic.
  • Shortening length before confirming width and presser-foot clearance.
  • Letting both needle swings land inside the fabric when trying to wrap a raw edge.
  • Trying to cure tunneling only with tension instead of adding appropriate support.

Common questions

Zigzag Stitch FAQs

Why does zigzag sew as a straight line?

Width may be near zero, a safety mode may be active, or the selected stitch may not allow lateral movement.

Which zigzag settings suit knit seams?

Start narrow with a medium-short length and test the seam under realistic stretch.

Why does zigzag create a raised tunnel?

Dense thread, high tension, or weak support can draw the fabric inward.

Can zigzag replace a serged edge?

It can control fraying well, but it does not trim or form a multi-thread looper finish.