
← Sewing glossary

Machine setting

Stitch Width

The side-to-side distance covered by a zigzag or decorative stitch.

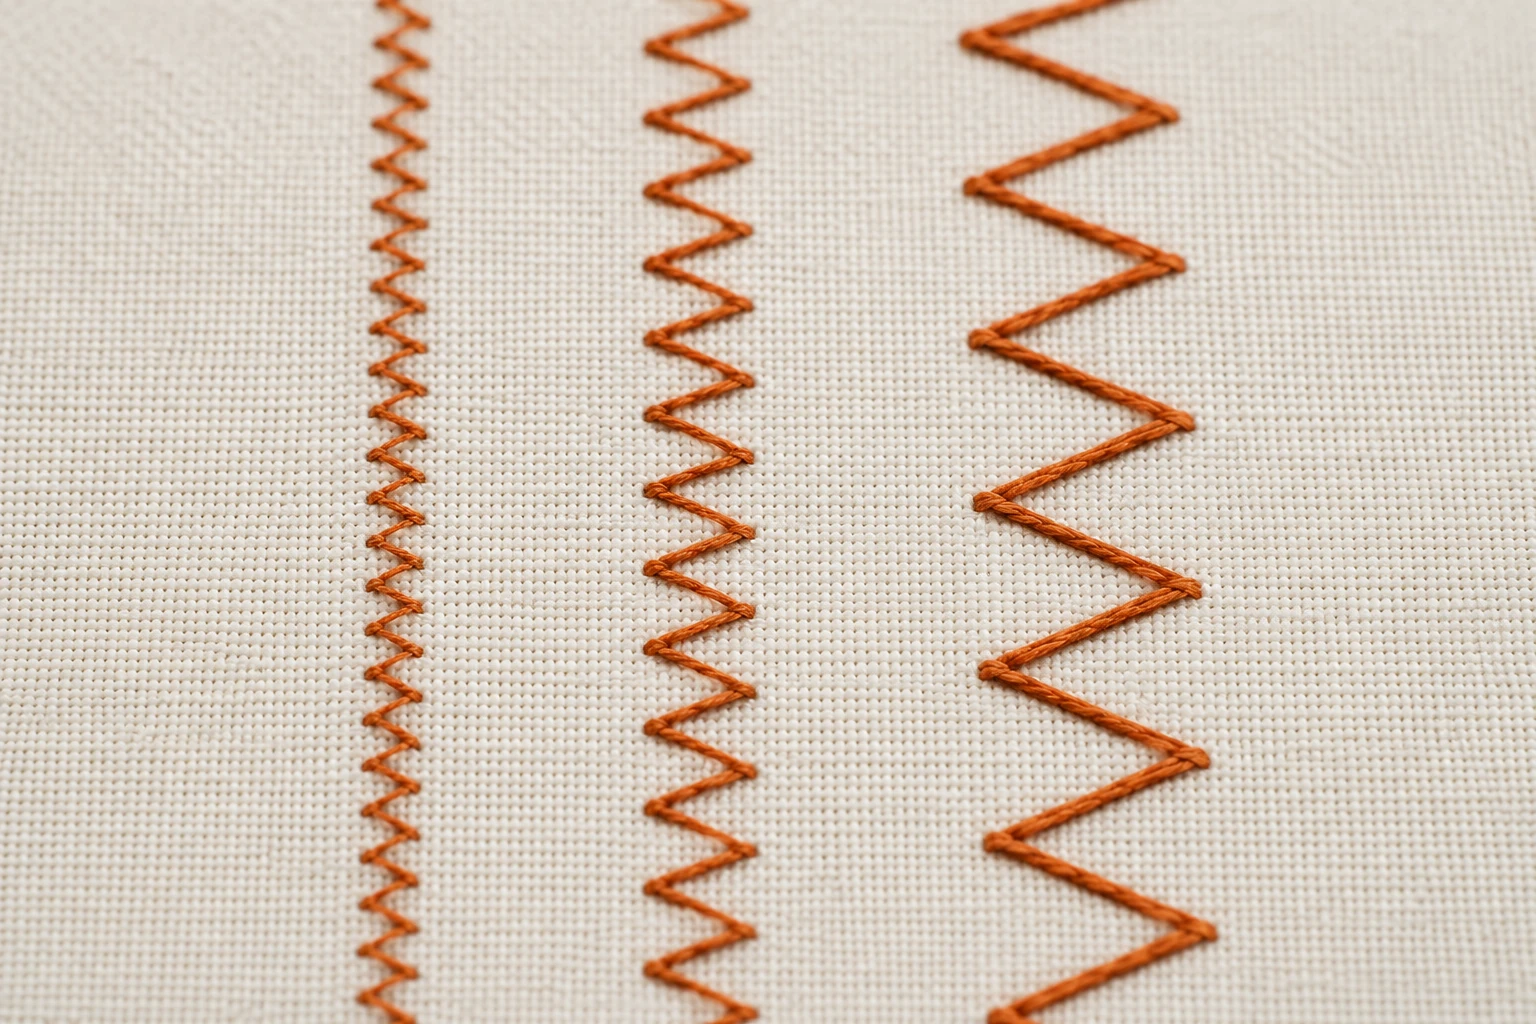
Three orange zigzag stitch rows showing narrow, medium and wide lateral needle movement on cream fabric
Narrow, medium and wide zigzag stitch widths. The rows demonstrate how stitch width changes the side-to-side distance travelled by the needle. Wider settings cover more fabric, while safe clearance through the presser foot and needle plate must always be confirmed.
01

How width changes the result

Increasing width moves the needle farther left and right. Length must also be adjusted so the stitch does not become crowded.

02

Clearance comes first

Straight-stitch feet and plates have narrow holes. Hand-turn a full cycle before sewing a wider pattern.

03

Useful width ranges

Narrow zigzags add stretch, medium widths finish edges, and wide dense stitching creates satin effects with stabilizer.

Useful distinction

Maximum is not always best

The widest setting is a capability, not a default. Choose only enough width to serve the fabric and technique.

Practical guide

Treat width as both a design and clearance setting

Width determines where the needle can travel. It must suit the stitch purpose, but it must also stay inside the opening provided by the presser foot and needle plate.

Narrow flexible seams

A small zigzag width lets a seam extend without the visibly wide pattern used for edge finishing. Pair it with a moderate length and test across the fabric’s greatest stretch. Too much width can create a scalloped seam without adding useful recovery.

Raw-edge finishing

Set enough width for one needle swing to enter sound fabric while the other lands at or just beyond the cut edge. An overcasting foot can support the thread as it wraps, but its guide and bar require a compatible width and stitch pattern.

Appliqué and satin coverage

Wider stitching covers more of an appliqué edge, while shorter length makes the line denser. Stabilize the fabric before increasing density. Very wide, dense thread can tunnel light fabric even when the upper tension is reasonable.

Width as needle-position control

With a straight stitch selected, some machines use the width buttons to move the needle left or right. That changes the real distance to seam guides and foot edges. Re-measure the seam allowance and perform a manual clearance cycle after every position change.

Avoidable mistakes

Width changes that risk a needle strike

  • Leaving a straight-stitch foot or plate installed before selecting lateral movement.
  • Assuming a snap-on foot is centred without checking its attachment.
  • Increasing width and density together without stabilizing a test sample.
  • Using maximum width when a narrower setting would serve the edge or seam more cleanly.

Common questions

Stitch Width FAQs

Why does the needle hit the foot after width is increased?

The foot may have a narrow opening or be mounted off-center. Stop and fit a compatible foot.

Can width move a straight stitch sideways?

On many machines, yes; the width control becomes a needle-position control.

Why does a wide zigzag tunnel the fabric?

Dense thread, high tension, or weak support can pull both sides inward.

What width should finish a raw edge?

Use enough width for one swing to land in fabric and the other to reach the edge.