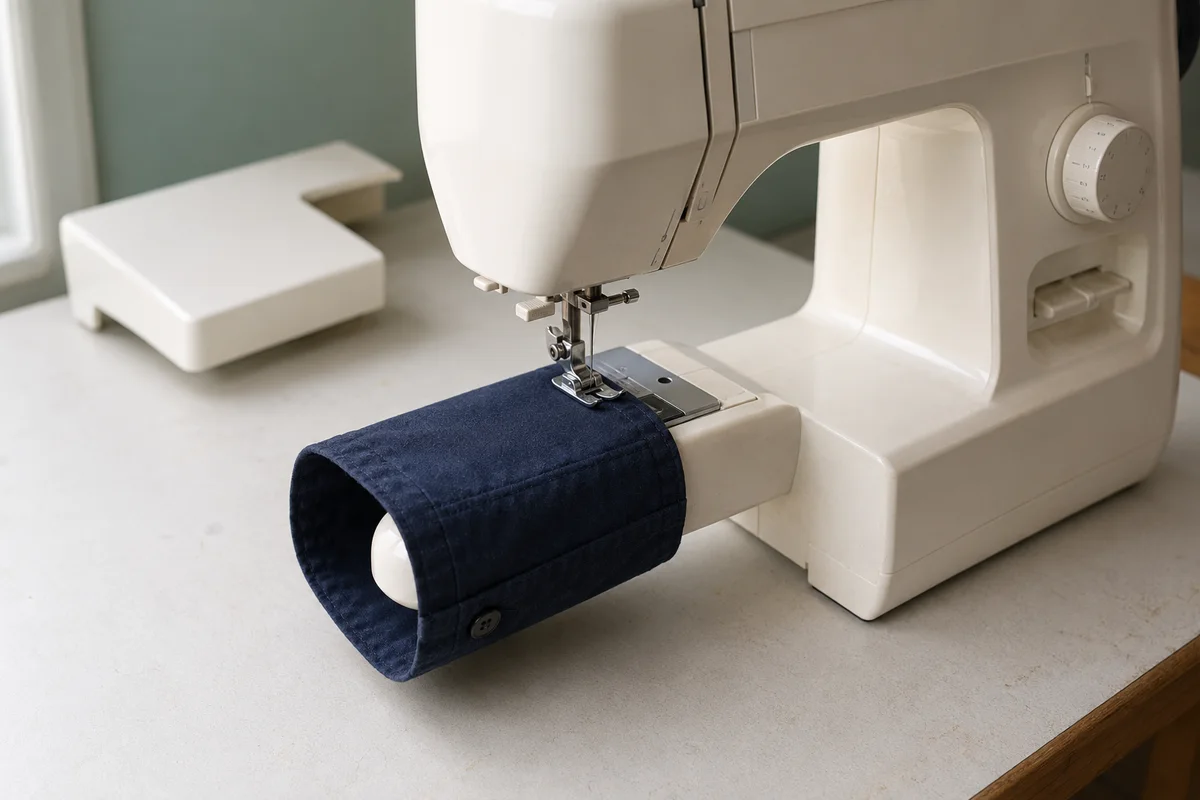
A narrow section of the machine bed exposed by removing the accessory box.
An exposed free arm with a cuff positioned for sewing. Removing the accessory table reveals the narrow arm beneath the needle plate. A sleeve or cuff can wrap around this surface so only one fabric layer passes beneath the presser foot at a time.
01
How to use it
Remove the storage compartment, slide the fabric tube over the arm, and rotate the item as the seam progresses.
02
What still may not fit
Very narrow cuffs can be smaller than the arm. Sew from inside the tube or temporarily open a seam when construction allows.
03
Control garment weight
Support the rest of the project so it does not pull backward, and stop with the needle down when repositioning.
Useful distinction
Access is not alignment
The free arm makes a tube reachable, but marking, pressing, and steady rotation still determine whether the hem stays even.
Practical guide
Handle tubular projects without twisting the seam
The free arm creates access beneath a fabric tube. The useful technique is to keep only one layer beneath the foot while the rest of the garment rotates without pulling.
Hemming trousers and sleeves
Mark and press the hem before sliding the opening around the arm. Begin near an inconspicuous seam, keep the folded edge aligned to a fixed guide, and support the garment body beside the machine. Overlap the ending stitches only enough to secure the circular seam.
Sewing cuffs and children’s clothing
Small openings may fit tightly around the arm and resist rotation. Work slowly, stop with the needle down, and redistribute the fabric frequently. If the tube is smaller than the arm, turn the item inside out and sew along the inner circumference from the opening.
Repairing knees, elbows, and bag handles
A free arm can bring a localized worn area closer to the needle, but not every closed construction can be positioned flat. Open an existing seam when necessary, complete the repair with a patch or reinforcement, then close the seam using its original allowance.
Preventing accidental second-layer stitching
Before starting, place one hand inside or beneath the tube and check that lining, pocketing, and the opposite side are clear. Recheck after every rotation. A free arm reduces the bed width, but loose fabric can still fold underneath unnoticed.
Avoidable mistakes
Why circular seams become uneven
Letting the garment hang from the arm pulls the seam away from its guide.
Stretching a knit cuff around the arm changes its circumference while sewing.
Watching the needle instead of keeping the folded edge on a consistent reference.
Failing to check beneath the tube can stitch the opposite side into the seam.
Common questions
Free Arm FAQs
Why will a sleeve not fit over the arm?
Some sleeves are simply narrower. Turn the garment inside out and sew along the inner edge or open a seam temporarily.
Do all domestic machines include a free arm?
Many do, but flat-bed and specialized machines may not. Check whether the accessory box detaches.
Can the free arm help with quilting?
Only for small tubular quilted items. It does not increase internal quilting space.
Where should the accessory box go while sewing?
Place it on a stable surface so stored feet and bobbins do not spill.